Deploy to Render
You can host and share your Toolpad Studio apps on Render in a few minutes, for free.
Prerequisites
Pushing your Toolpad Studio app to GitHub
- With a GitHub account, you can create a new repository using the + button available in the header menu, followed by New repository. Then, select an appropriate name:
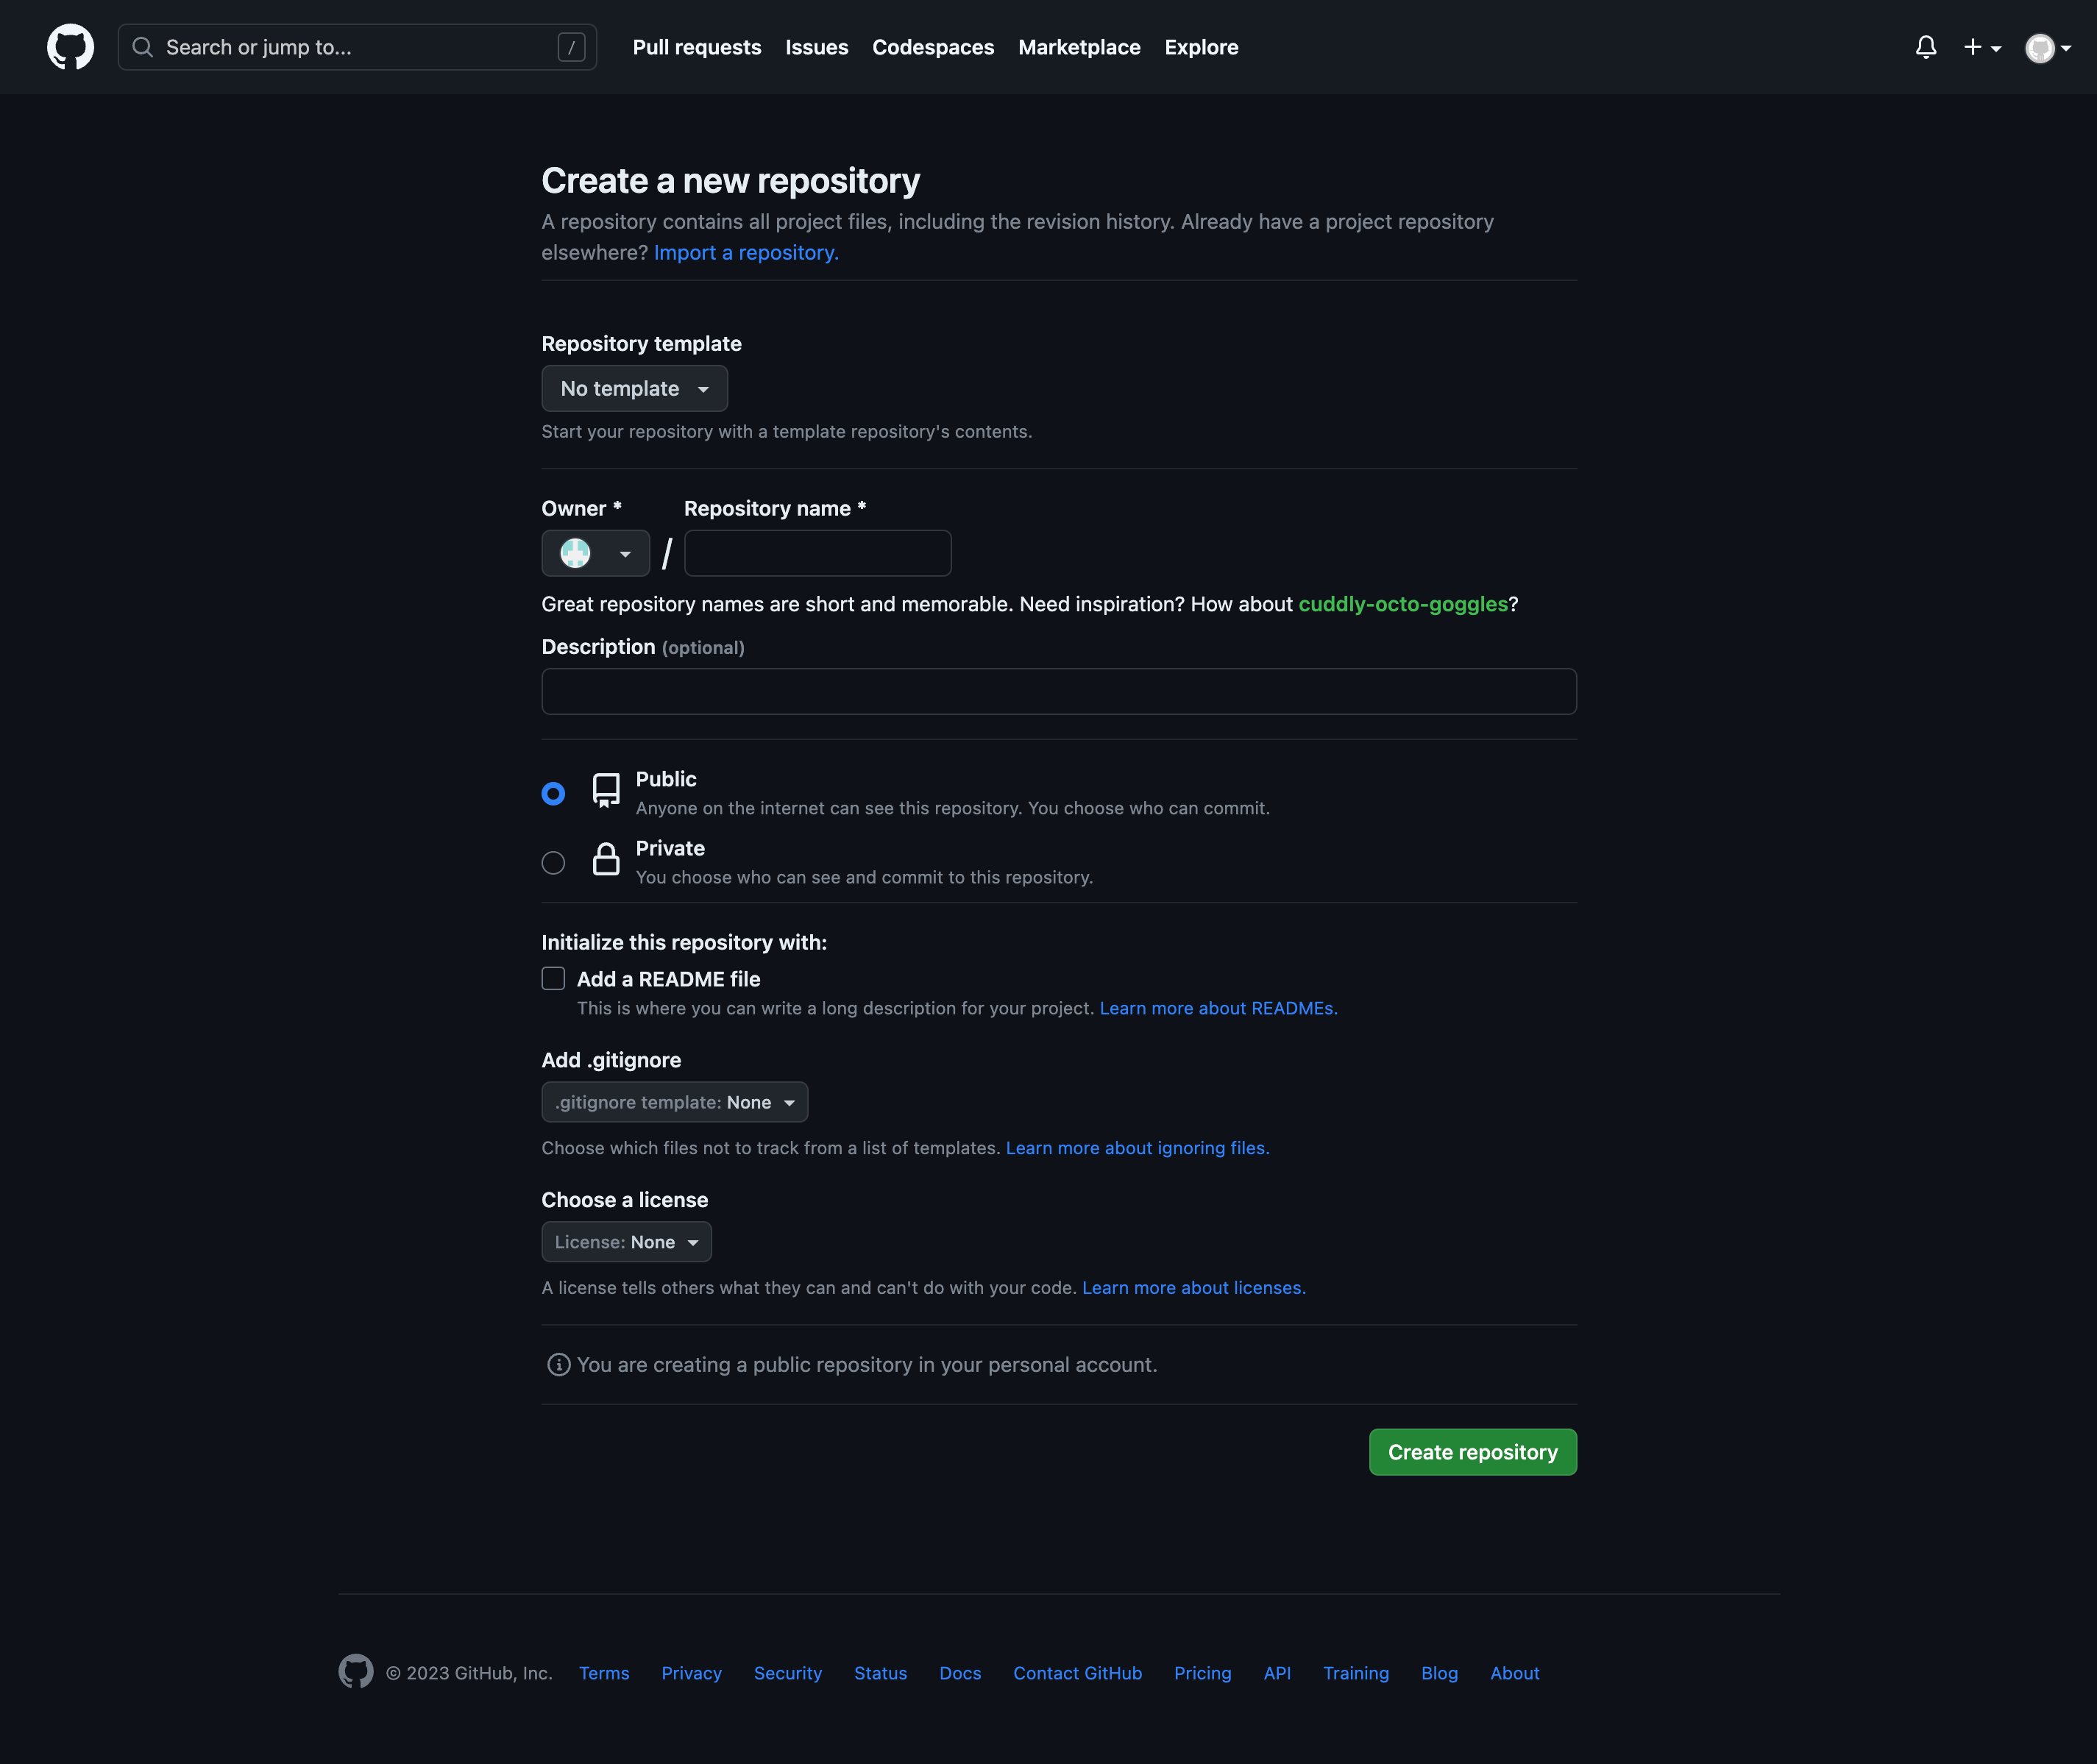
Creating a new GitHub repository
If the Toolpad Studio app is not currently a Git repository, you can run
git initto initialise it.
You can set the newly created repository on GitHub as the remote for your locally running Toolpad Studio app, using:
git remote add origin <REPOSITORY-URL>Replace
<REPOSITORY-URL>with the URL of the repository you just created on GitHub.Once you are done making changes to your Toolpad Studio app, verify that you are on the
mainbranch, commit these changes and push them to GitHub.git add . git commit -m "pushing a new version" git push origin main
Creating a new app on Render
- With a Render account, you can create a new Web Service:
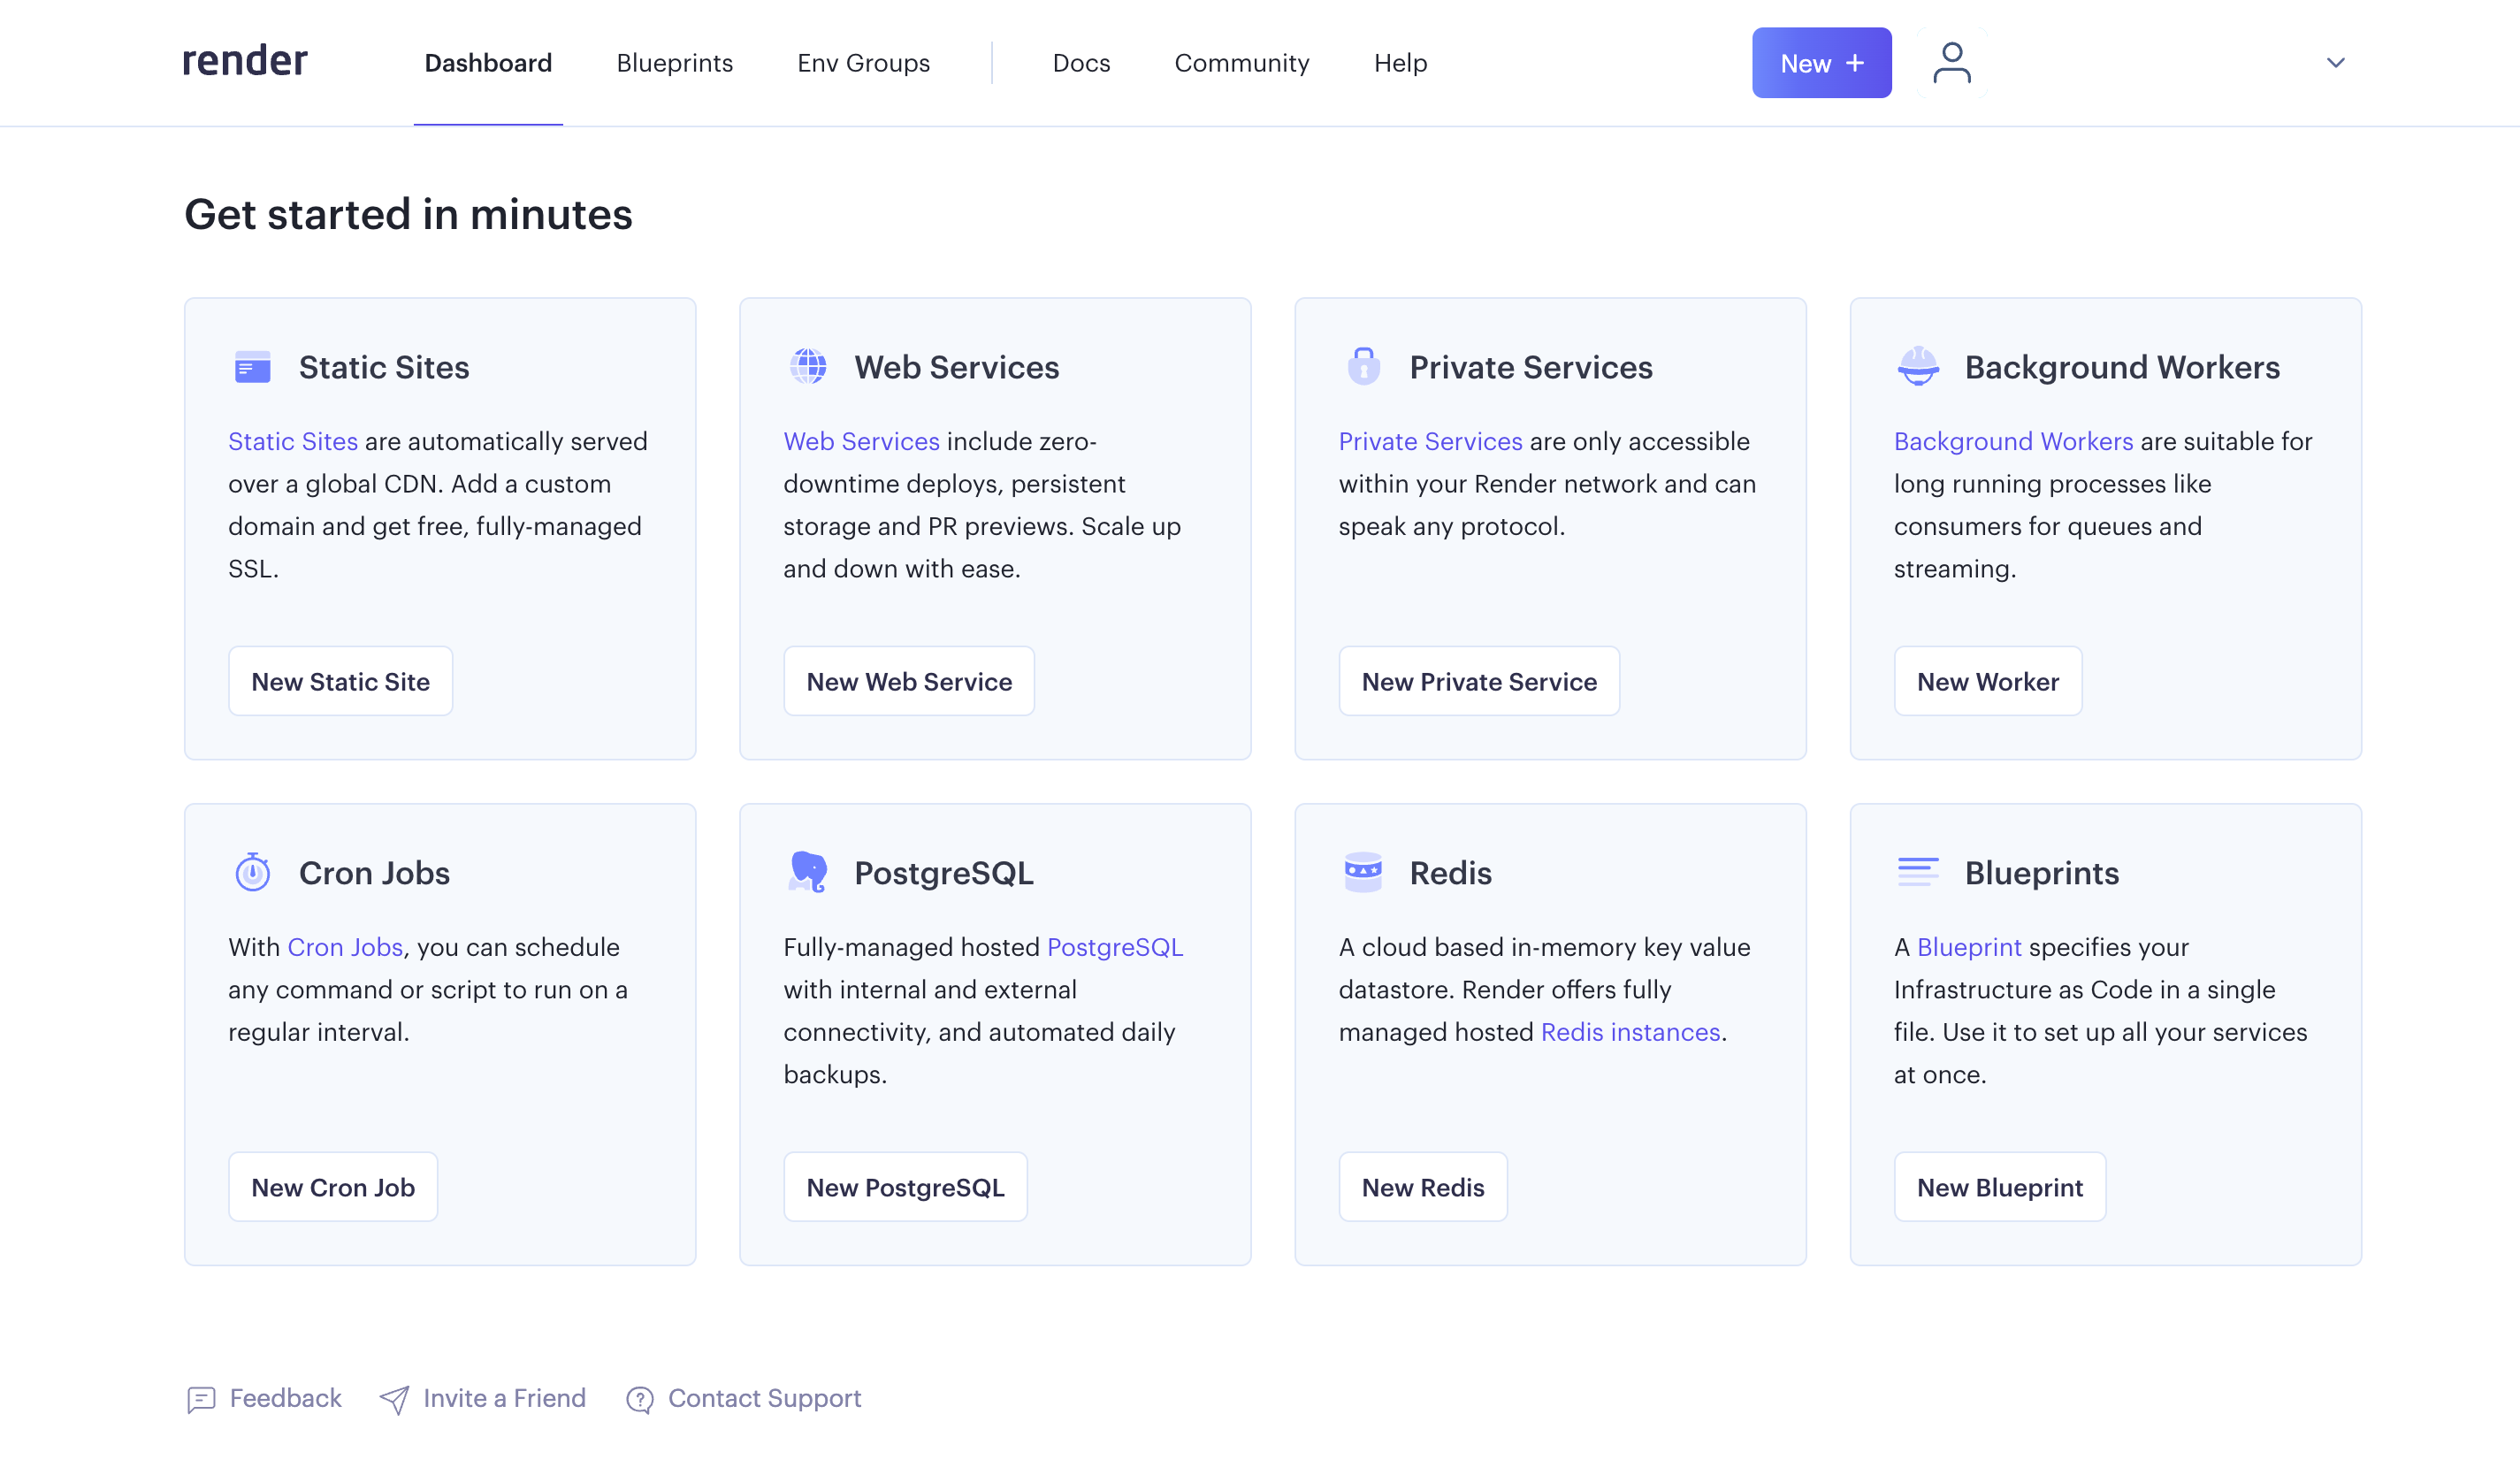
Creating a new Render Web Service
- Depending on whether the visibility of the GitHub repository is set to private or public, you need to either connect your GitHub account to Render, or paste in the URL of the repository you created above:
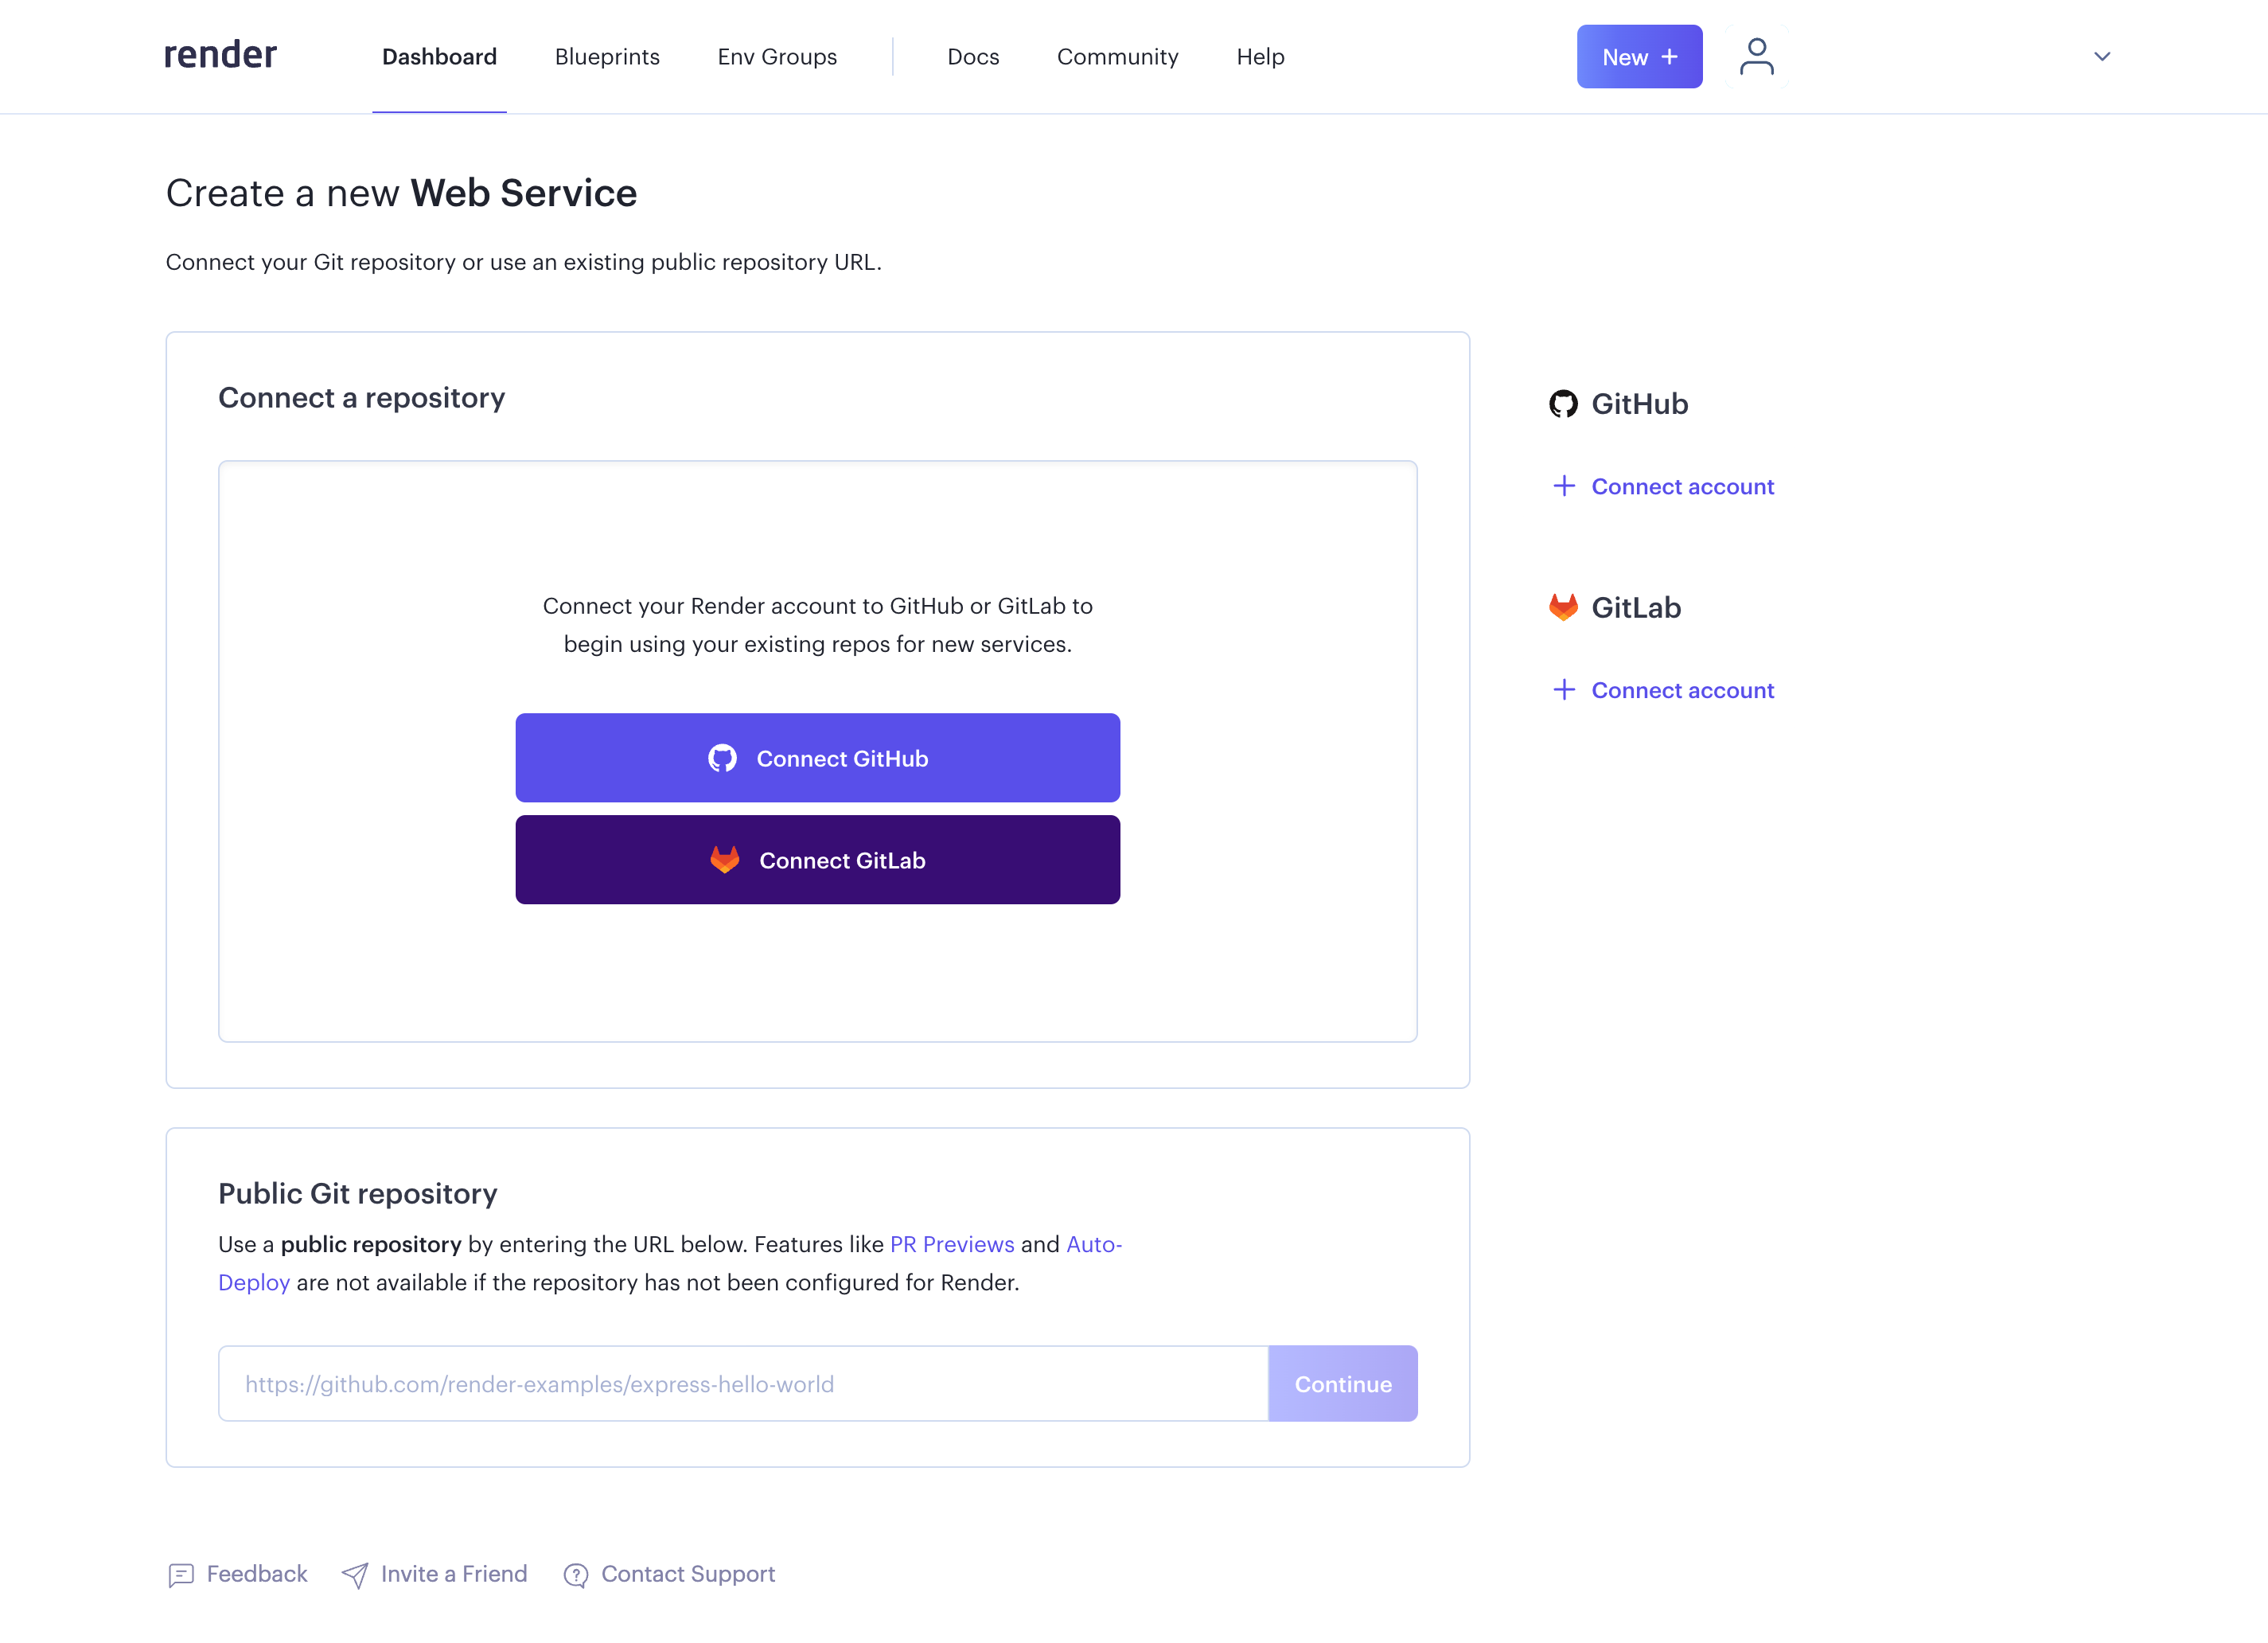
Connecting GitHub to Render
- If using a private repository, you need to search for and select the repository you intend to deploy once connected to GitHub:
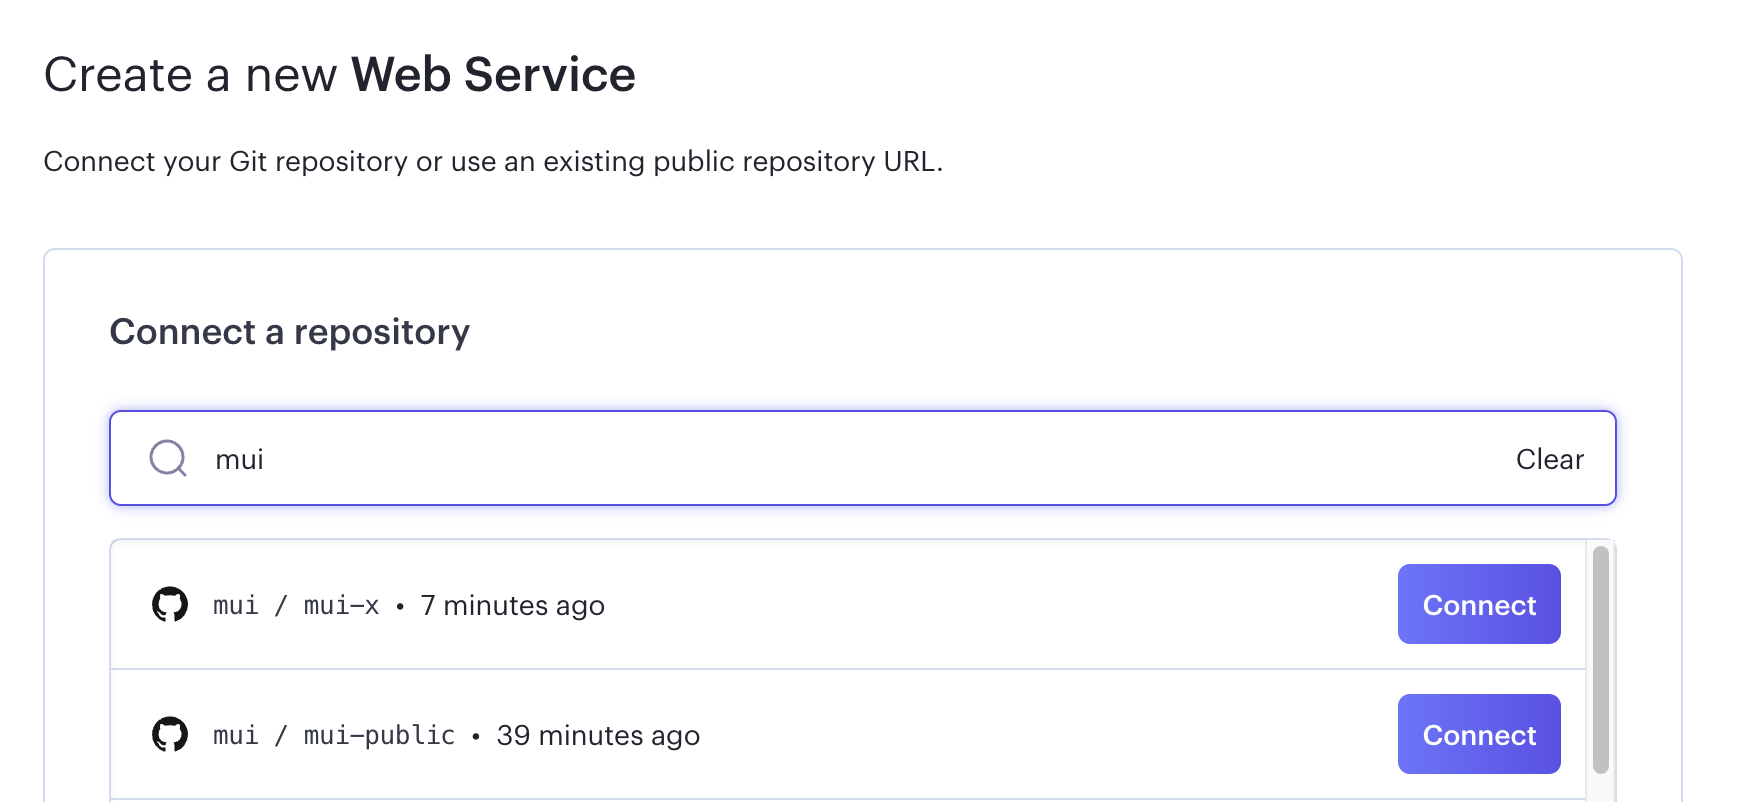
Connecting your GitHub repository
- With the repository selected, you can advance to deployment configuration. Render can guess that you are deploying a Node app. Set the name which should appear in the URL of your deployed app, like
<APP-NAME>.onrender.com:
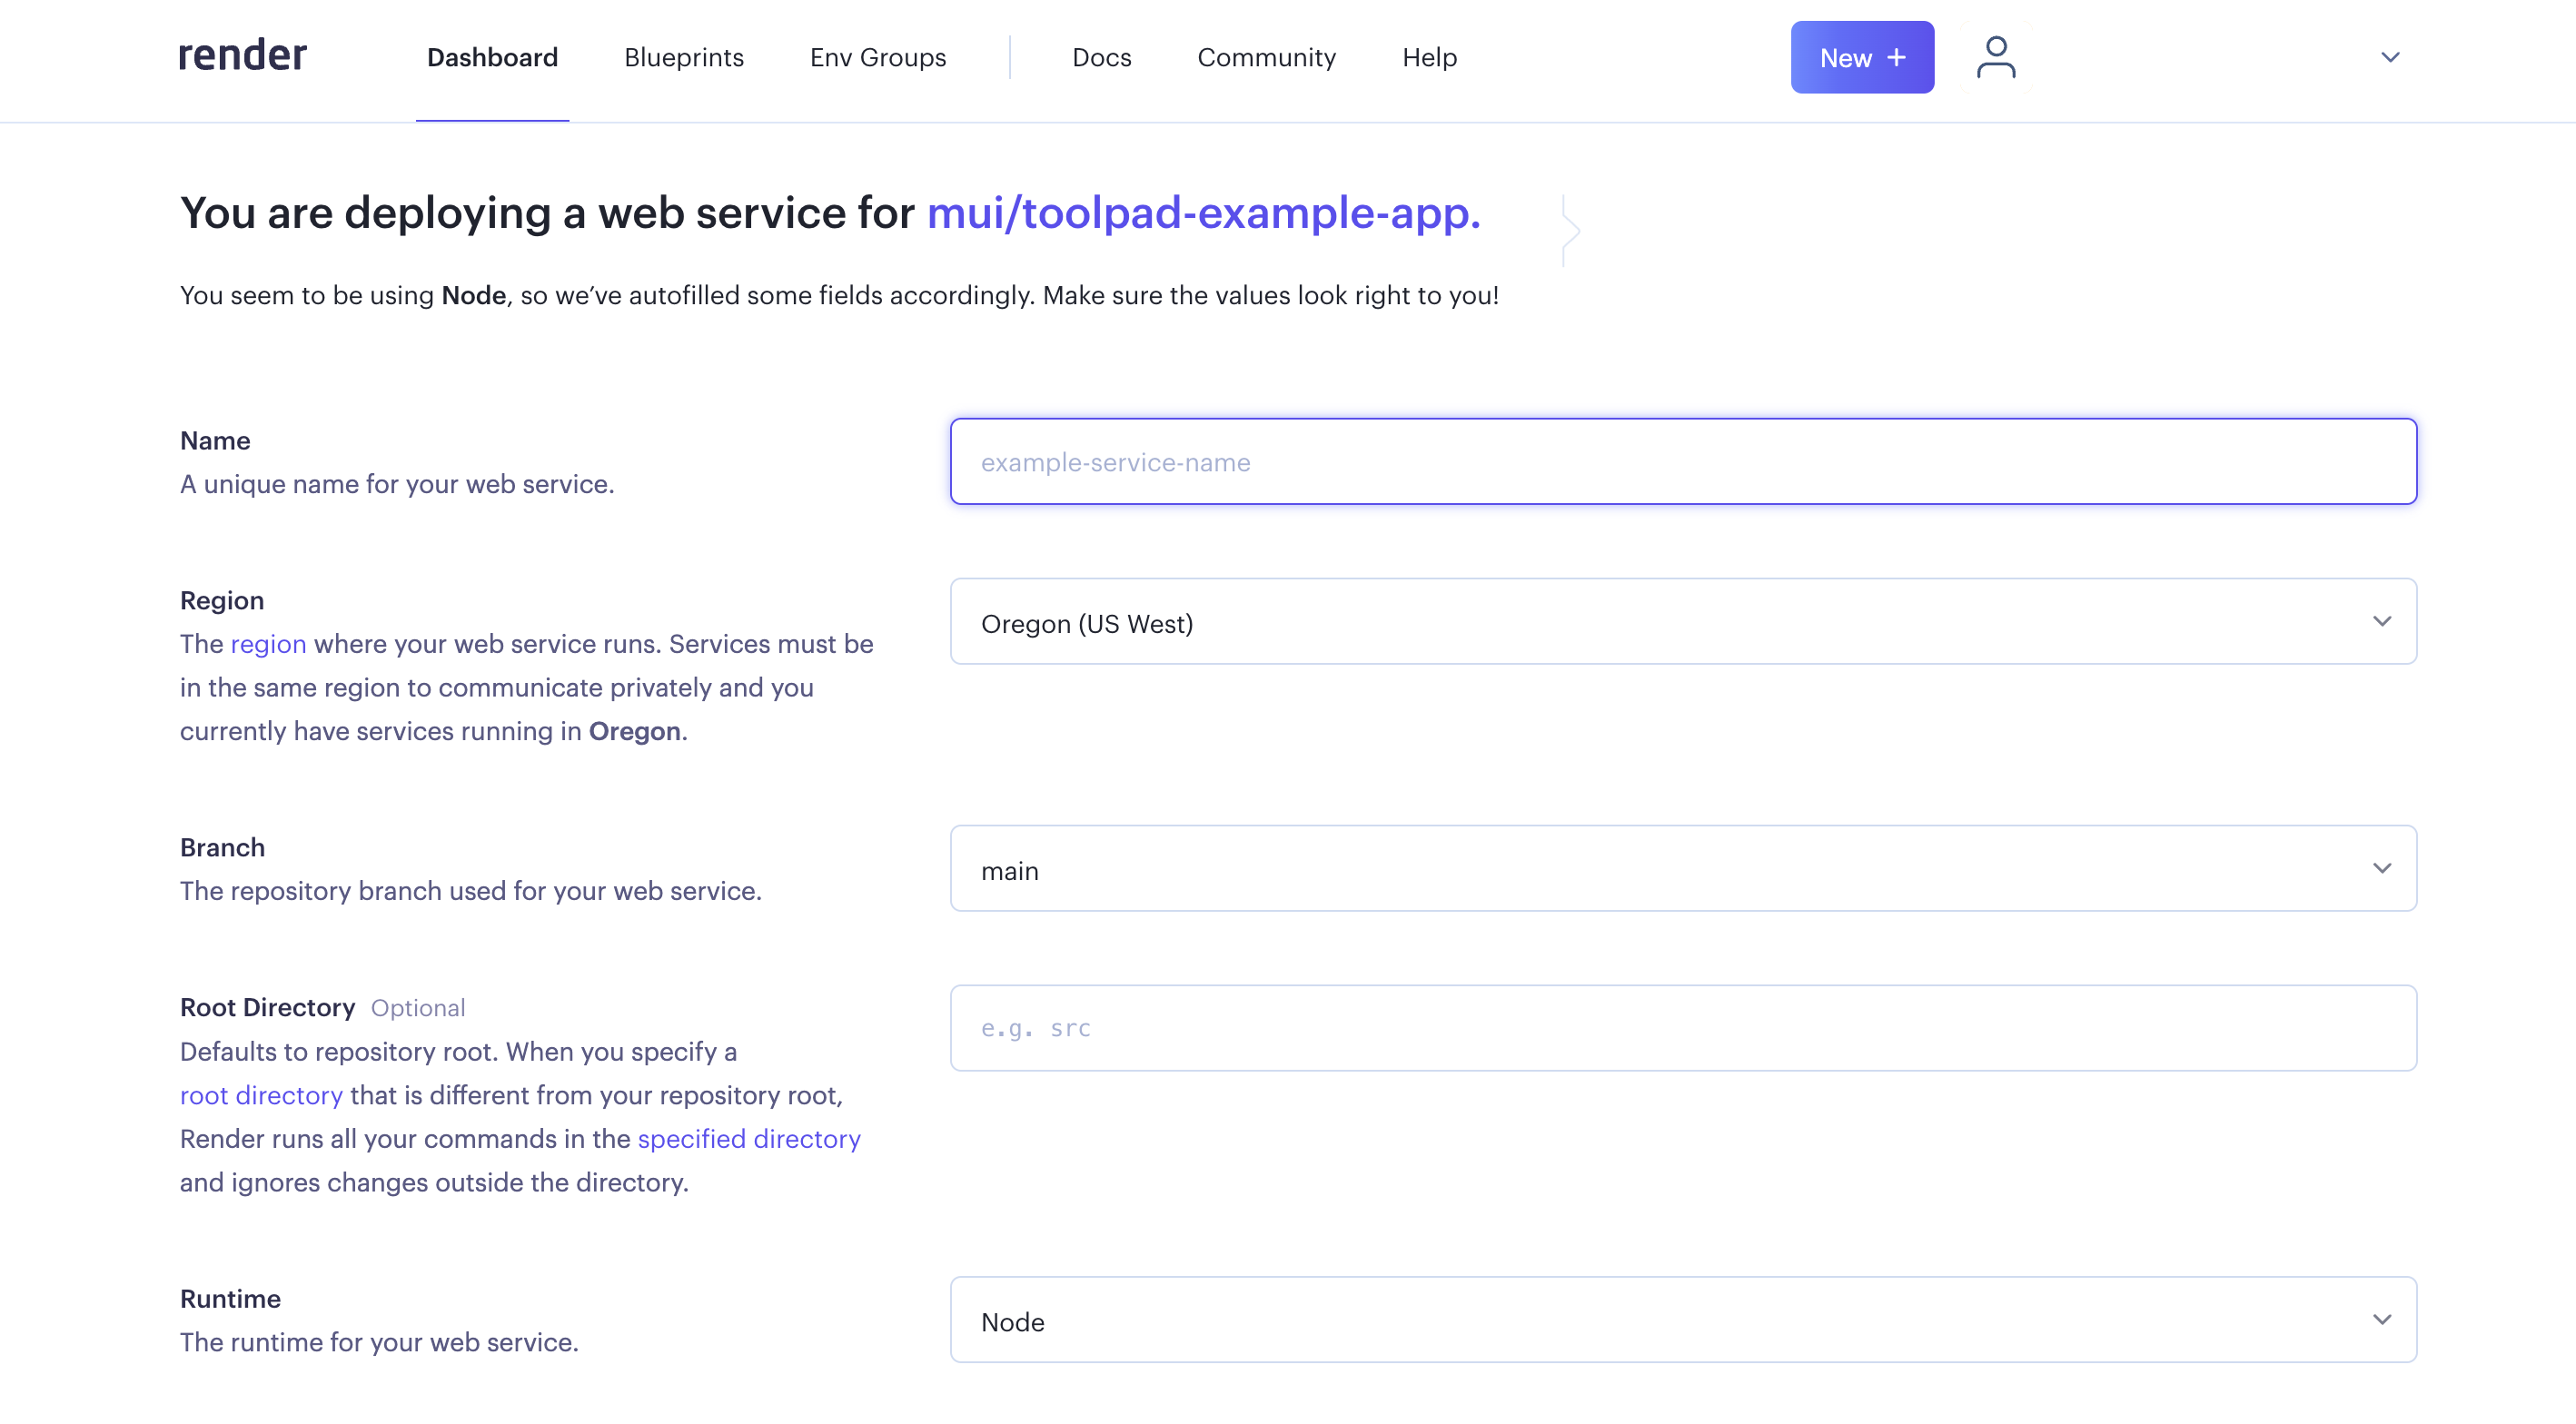
Setting the deployment configuration
The build and start commands are set to
$ yarn; yarn build $ yarn startby default. You can leave this unchanged.
Select an appropriate instance type for your deployment.
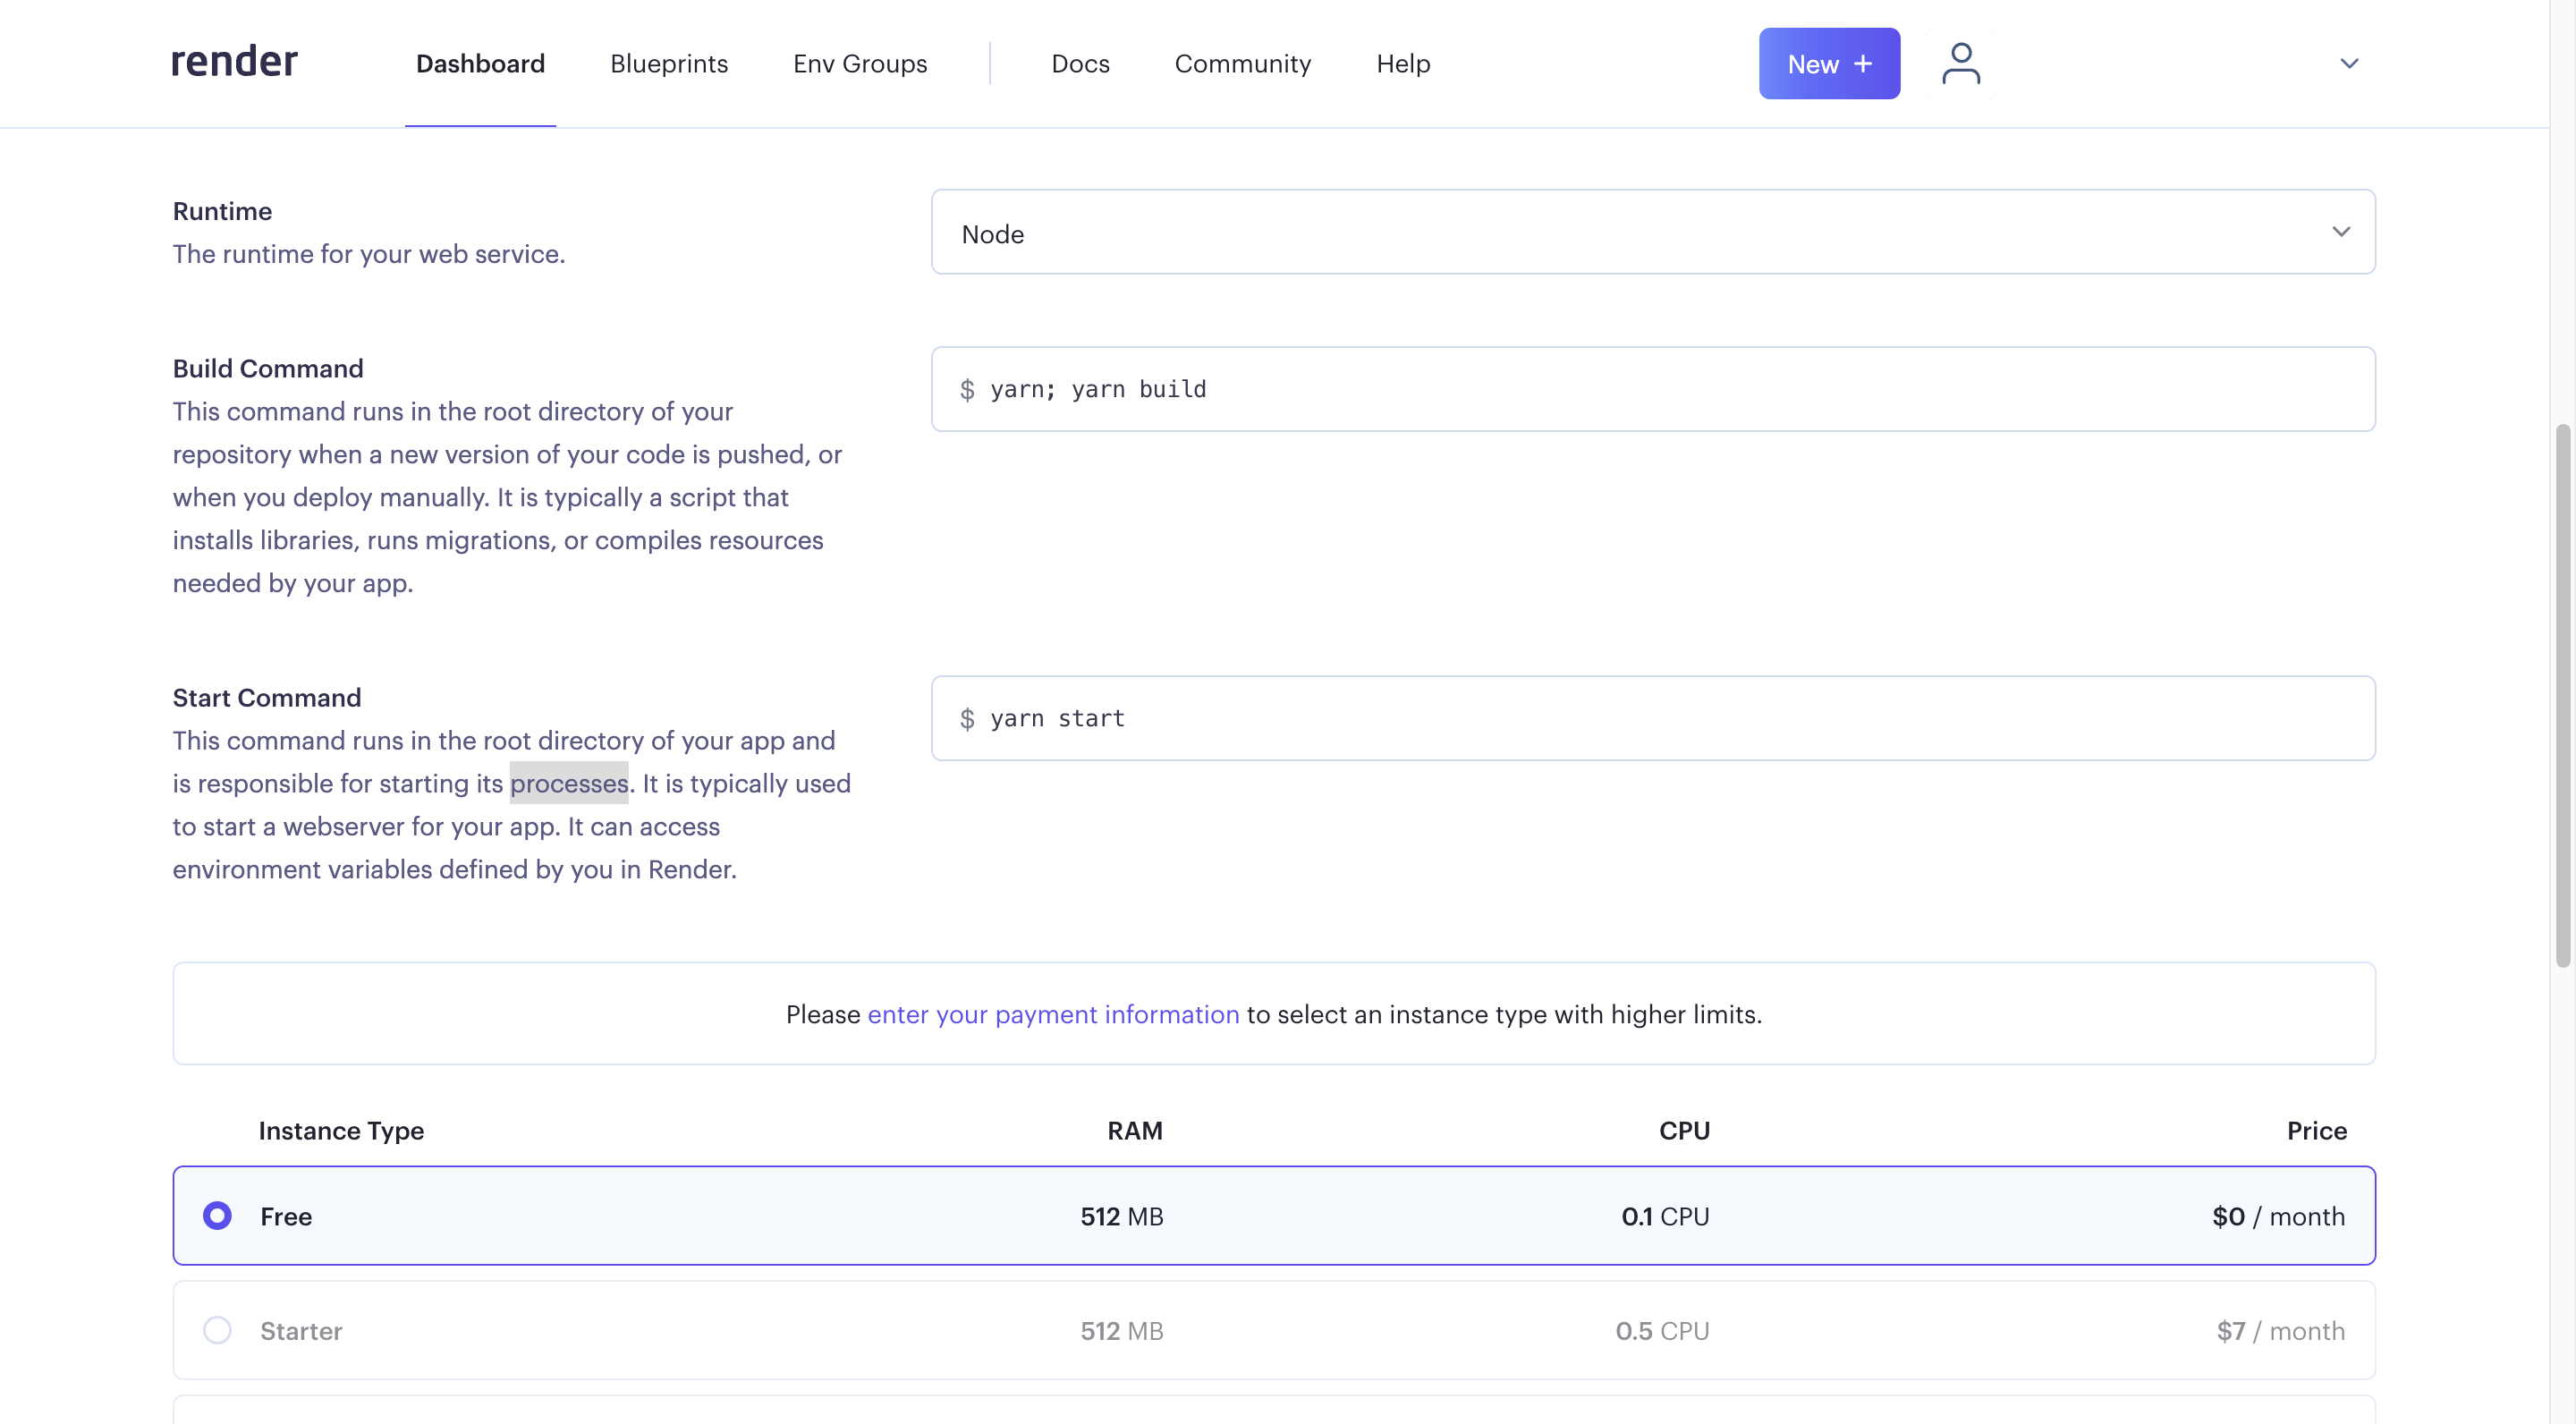
Setting deployment commands and choosing an instance type
Select Create Web Service to trigger the deployment and it redirects you to the streaming logs of the in-progress deployment.
Render.com uses
14.7.0as the default Node version. Toolpad Studio requires version18.17.1as the minimum Node version. You can change the default by setting aNODE_VERSIONenvironment variable for your deployment:
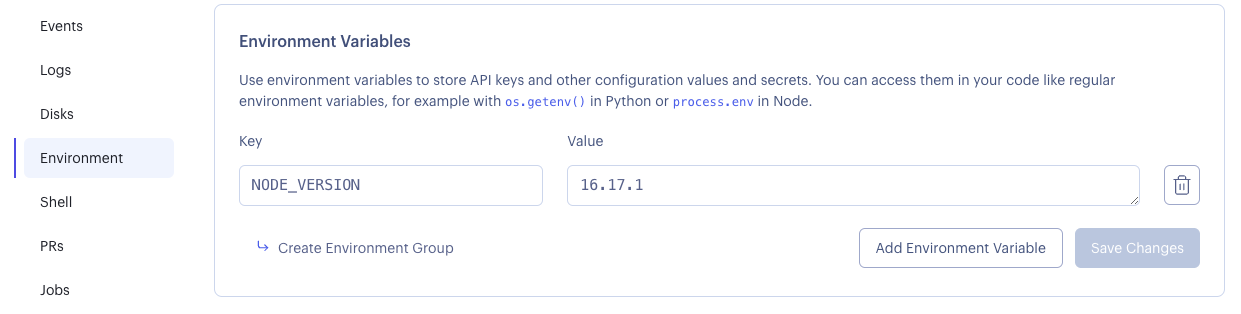
Overriding the default Node version
- Once this is successfully complete, you can access your Toolpad Studio app on
<APP-NAME>.onrender.com.
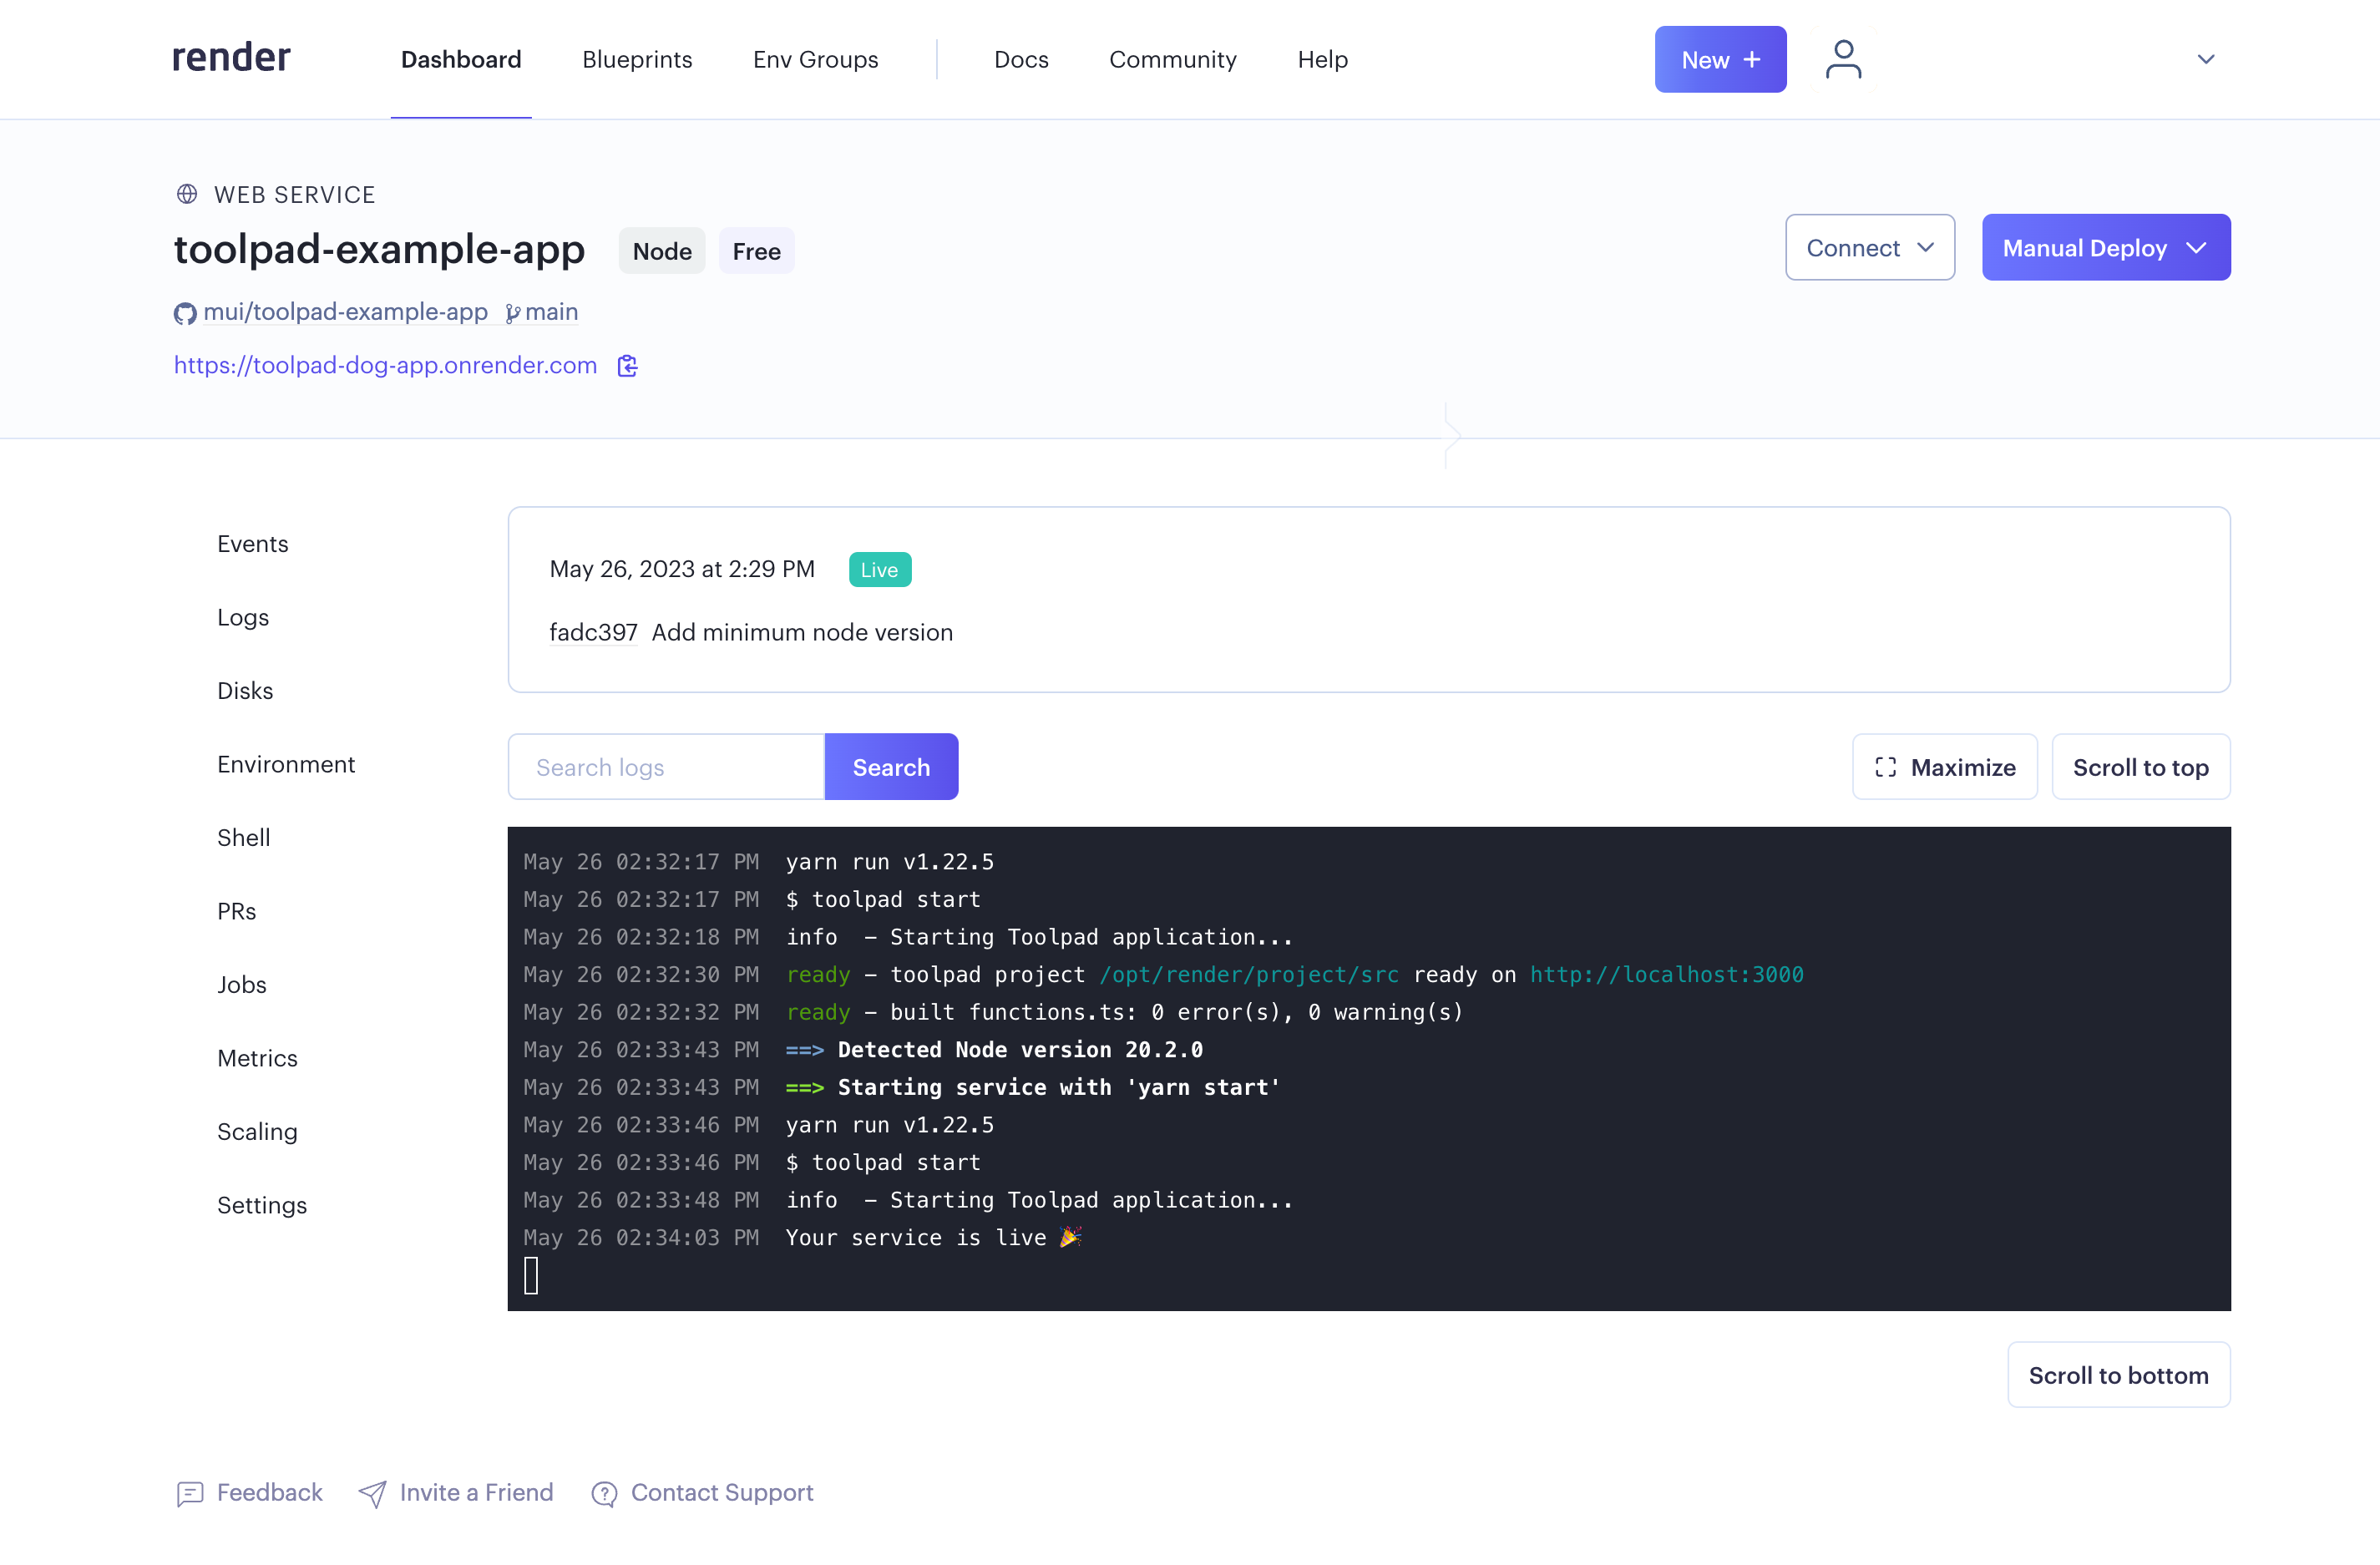
Deployed successfully
That's it! We're up and running in a few minutes.
Make changes, push to GitHub, and your app automatically redeploys each time. You may deploy to any other hosting provider of your choice as well.
Check out the Render documentation for more advanced settings, like adding environment variables to your app.