Deploy to Railway
You can host and share your Toolpad Studio apps on Railway in a few minutes, for free.
This guide walks you through the deployment of a Toolpad Studio app from a GitHub repository.
Prerequisites
- A Railway account
- A GitHub account
- A GitHub repository containing your Toolpad Studio app. Check out pushing your Toolpad Studio app to GitHub for this step.
Creating a new app on Railway
- From your Railway dashboard, click on New Project from the top-right corner and choose Deploy from GitHub repo from the drop-down.
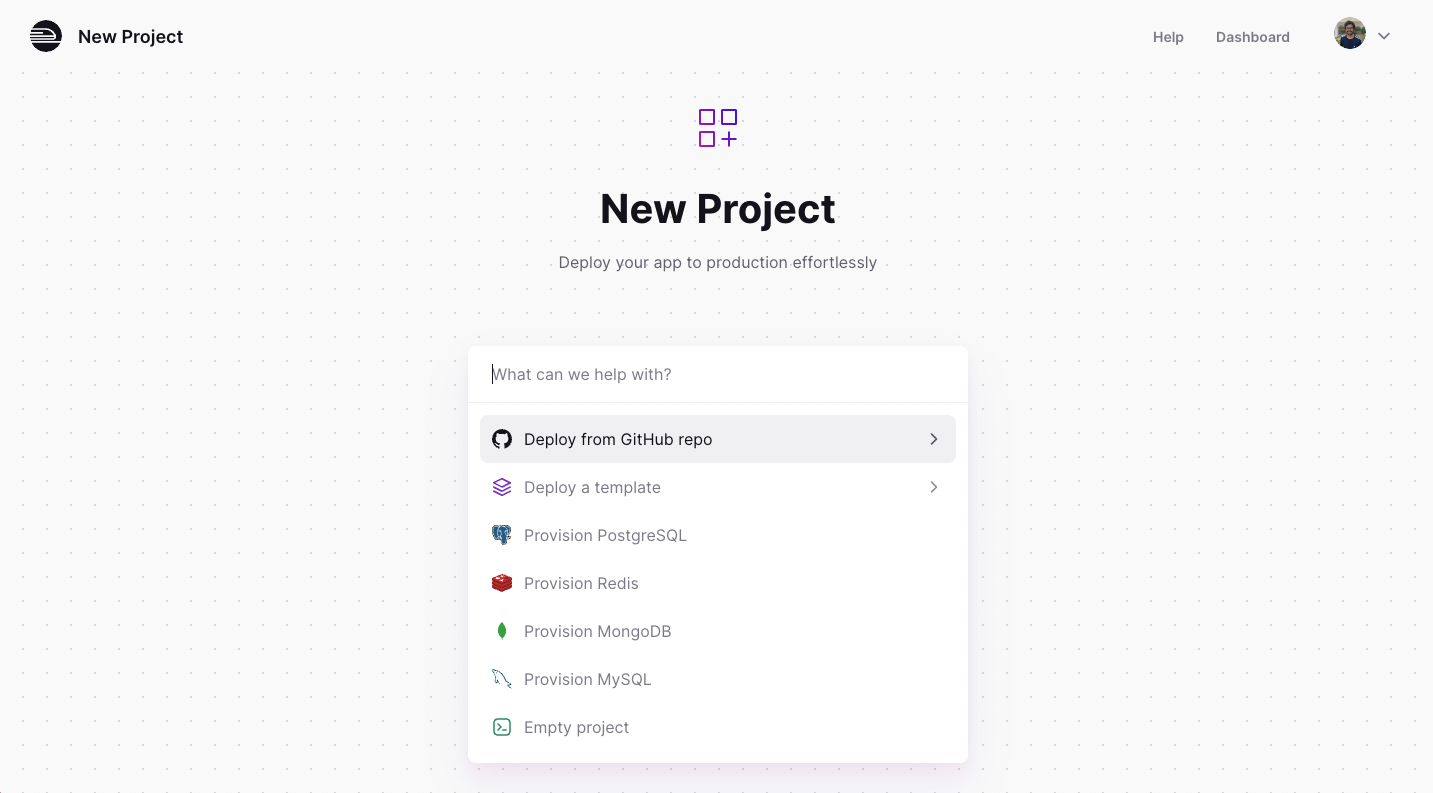
Creating a new Railway project
- Depending on whether the visibility of the repository is set to private or public, you may need to connect your GitHub account to Railway using Configure GitHub App. Once done, you'll see a list of repositories to choose from.
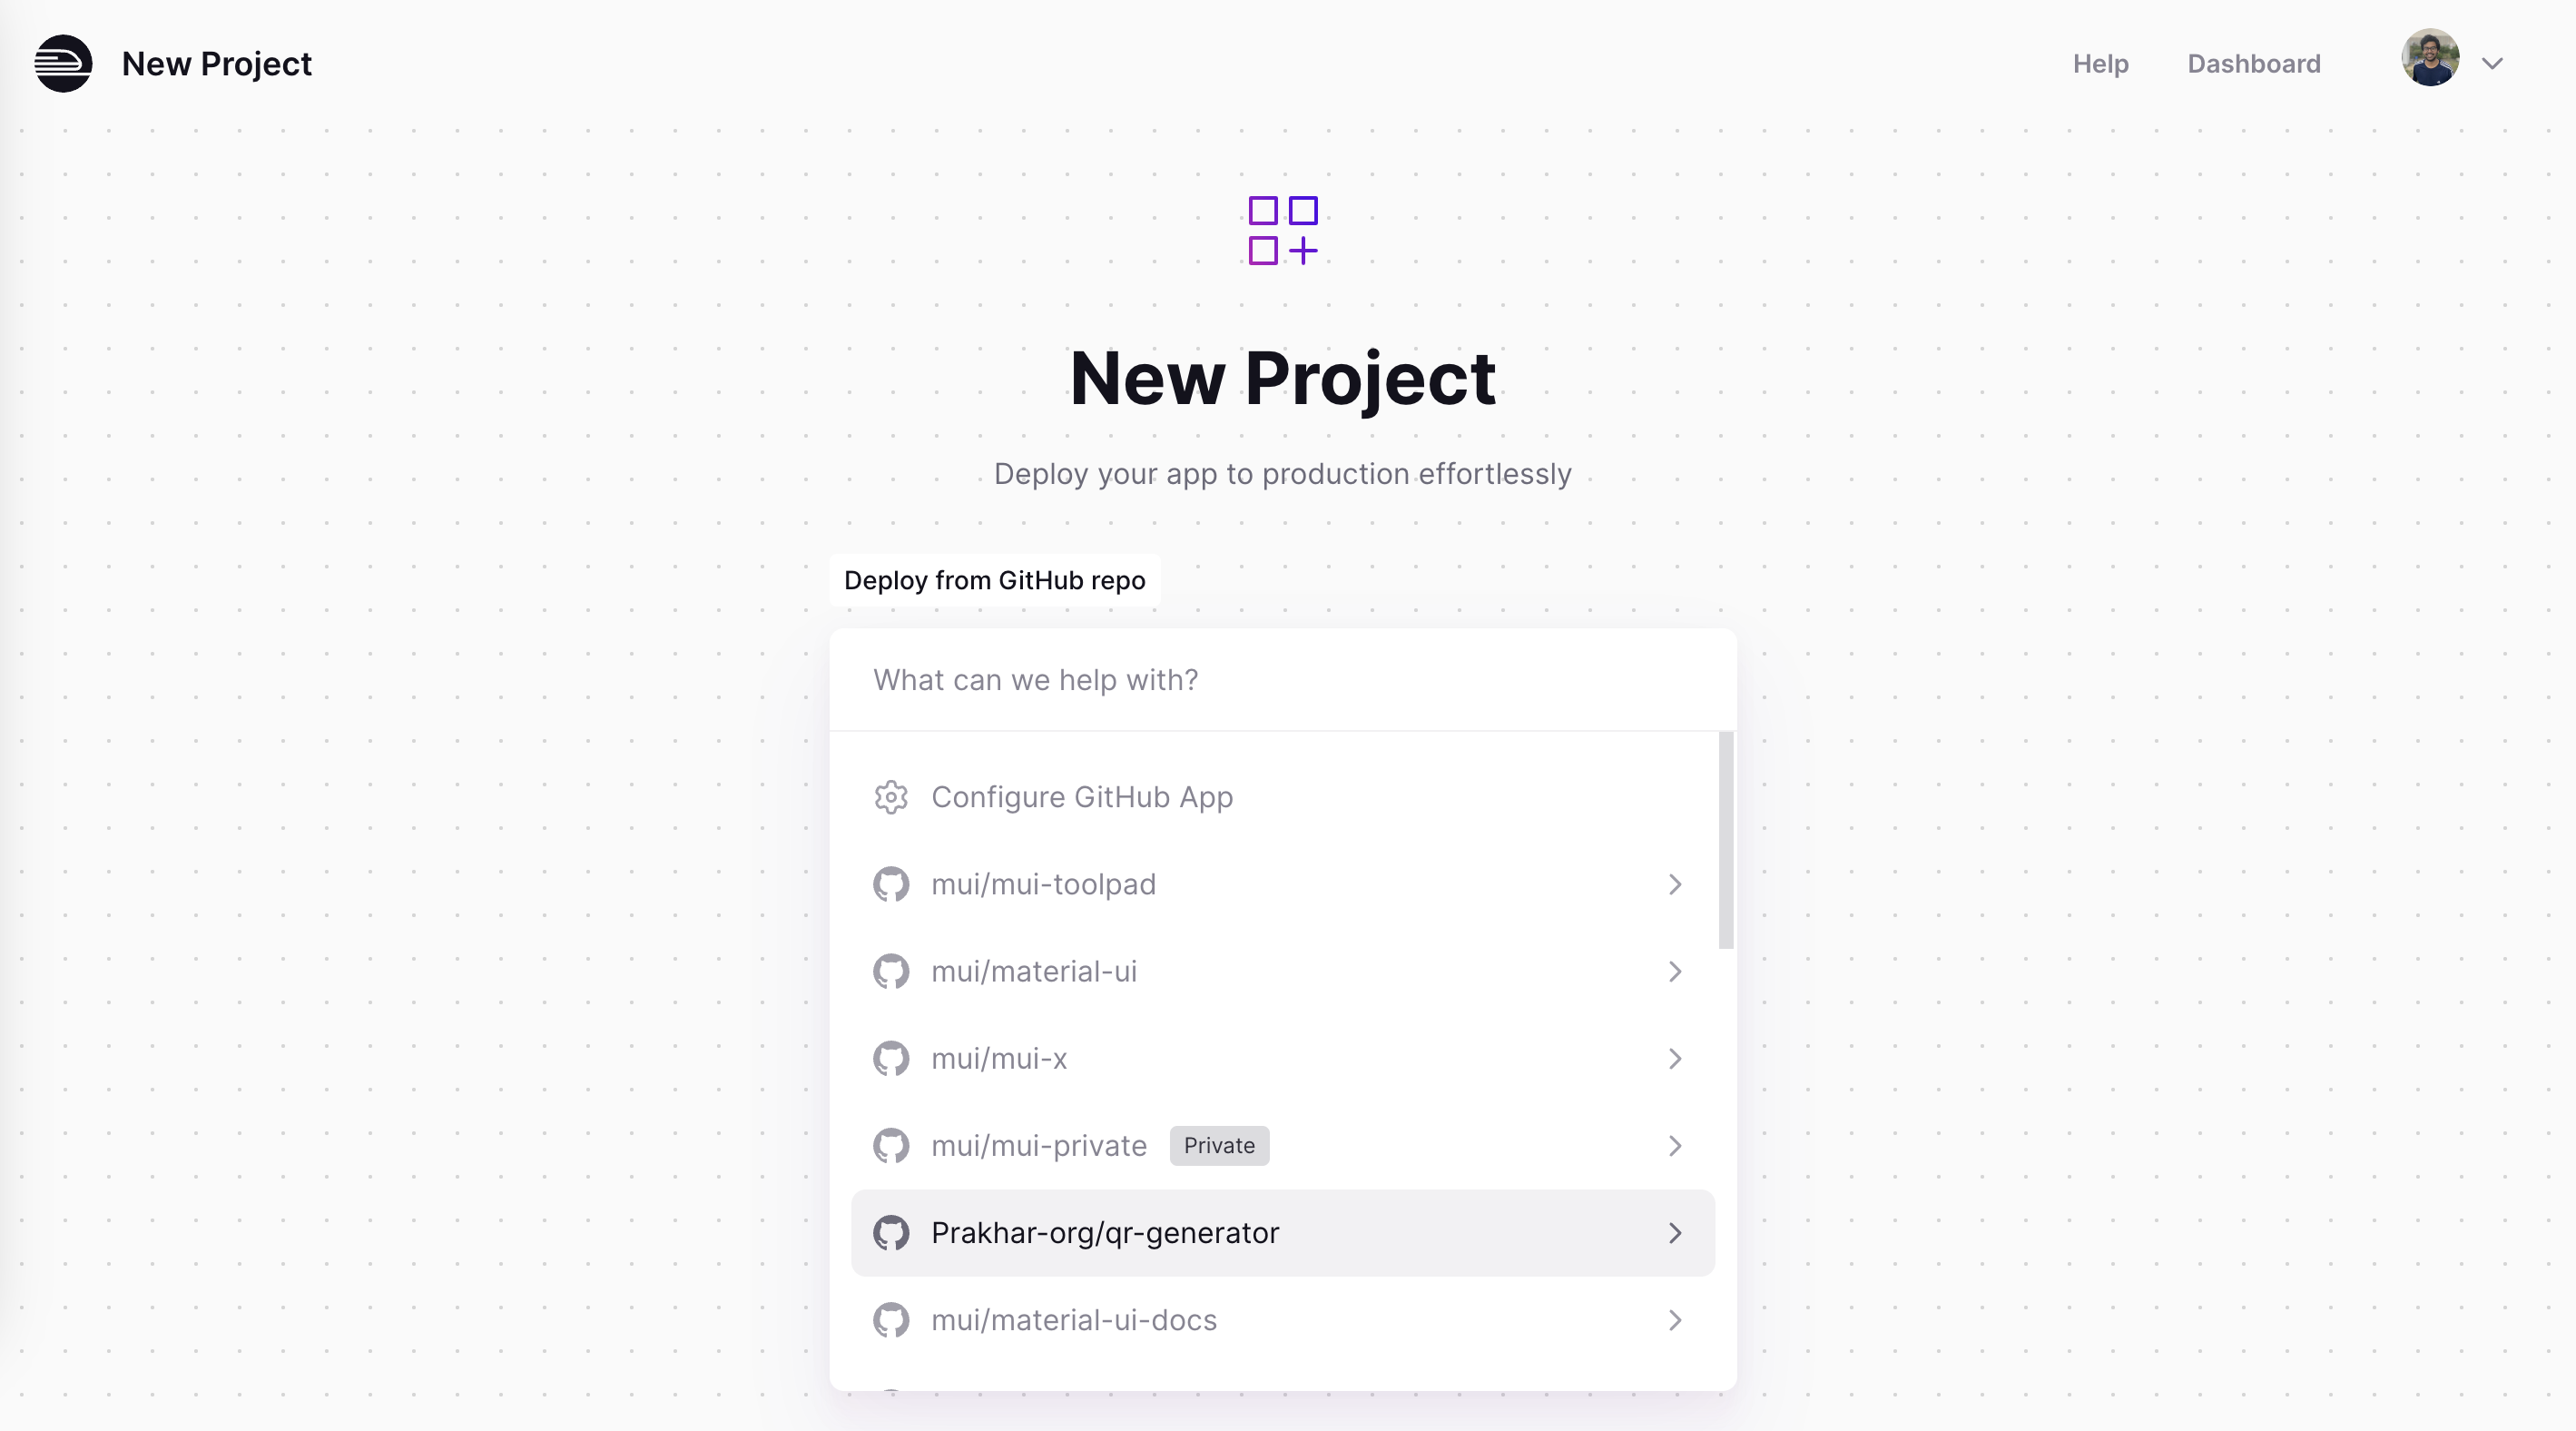
Choosing the repository
- Select the repository and click on Add Variables. Any environment variables that your app needs can be set up now.
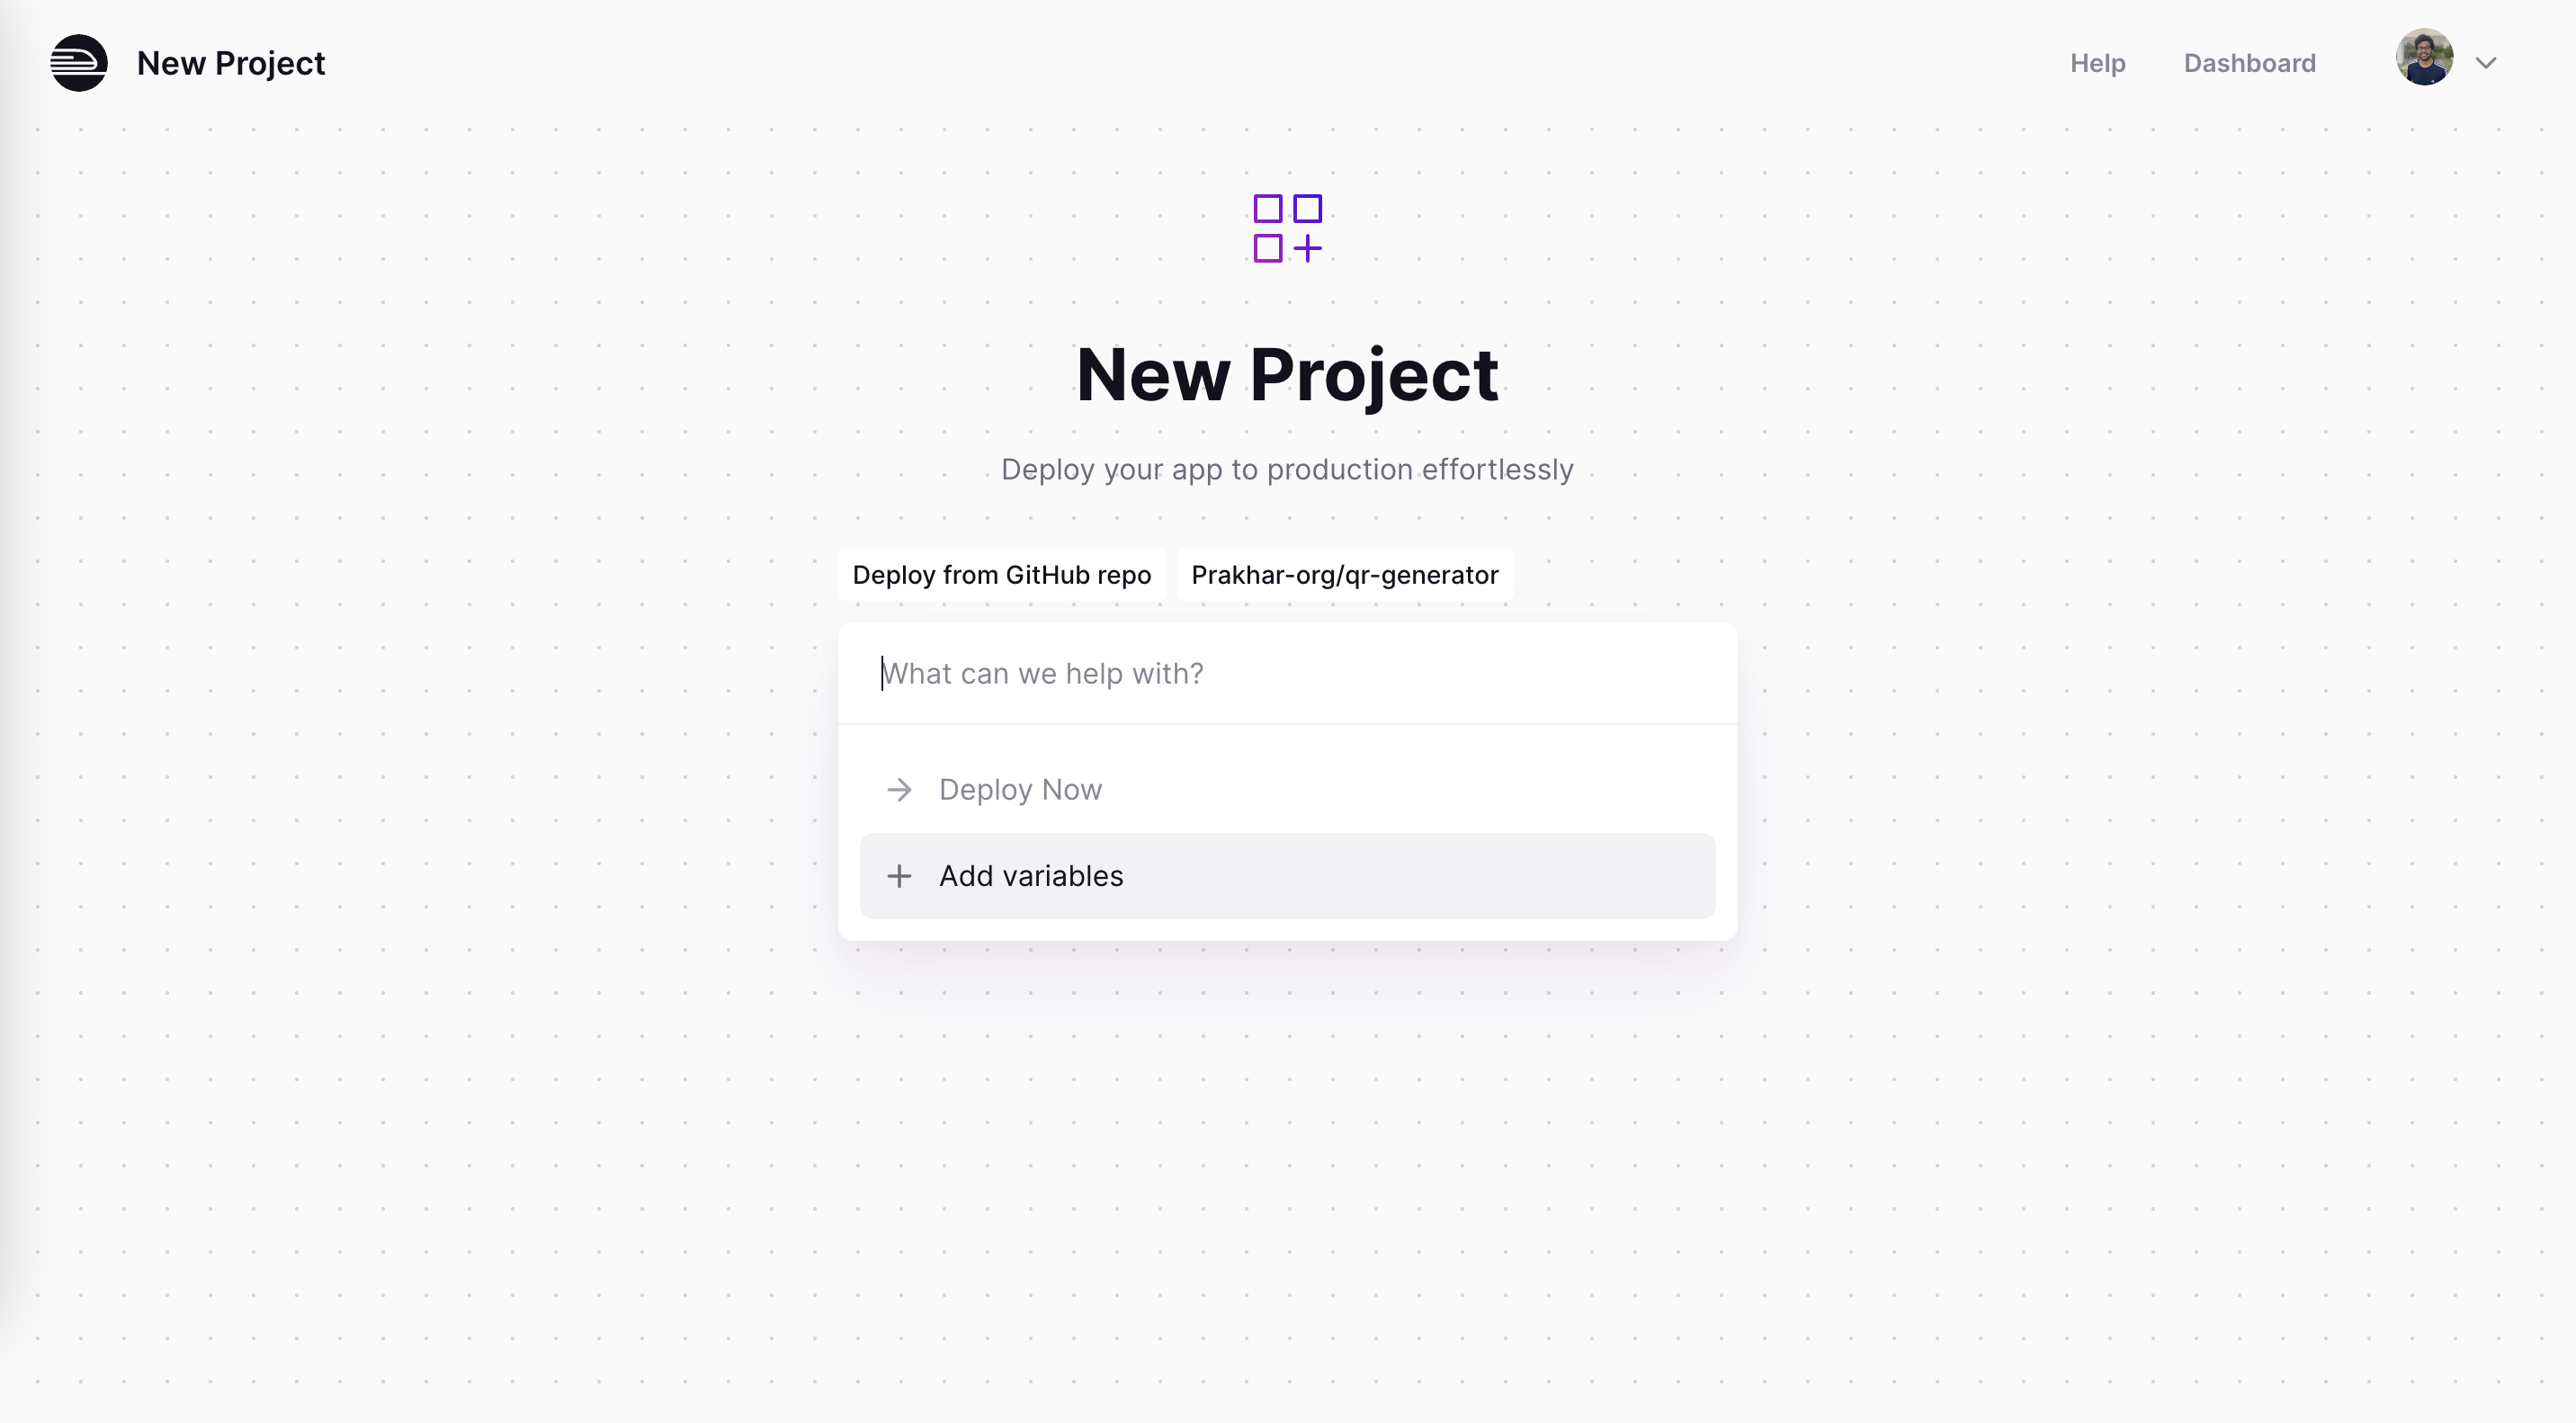
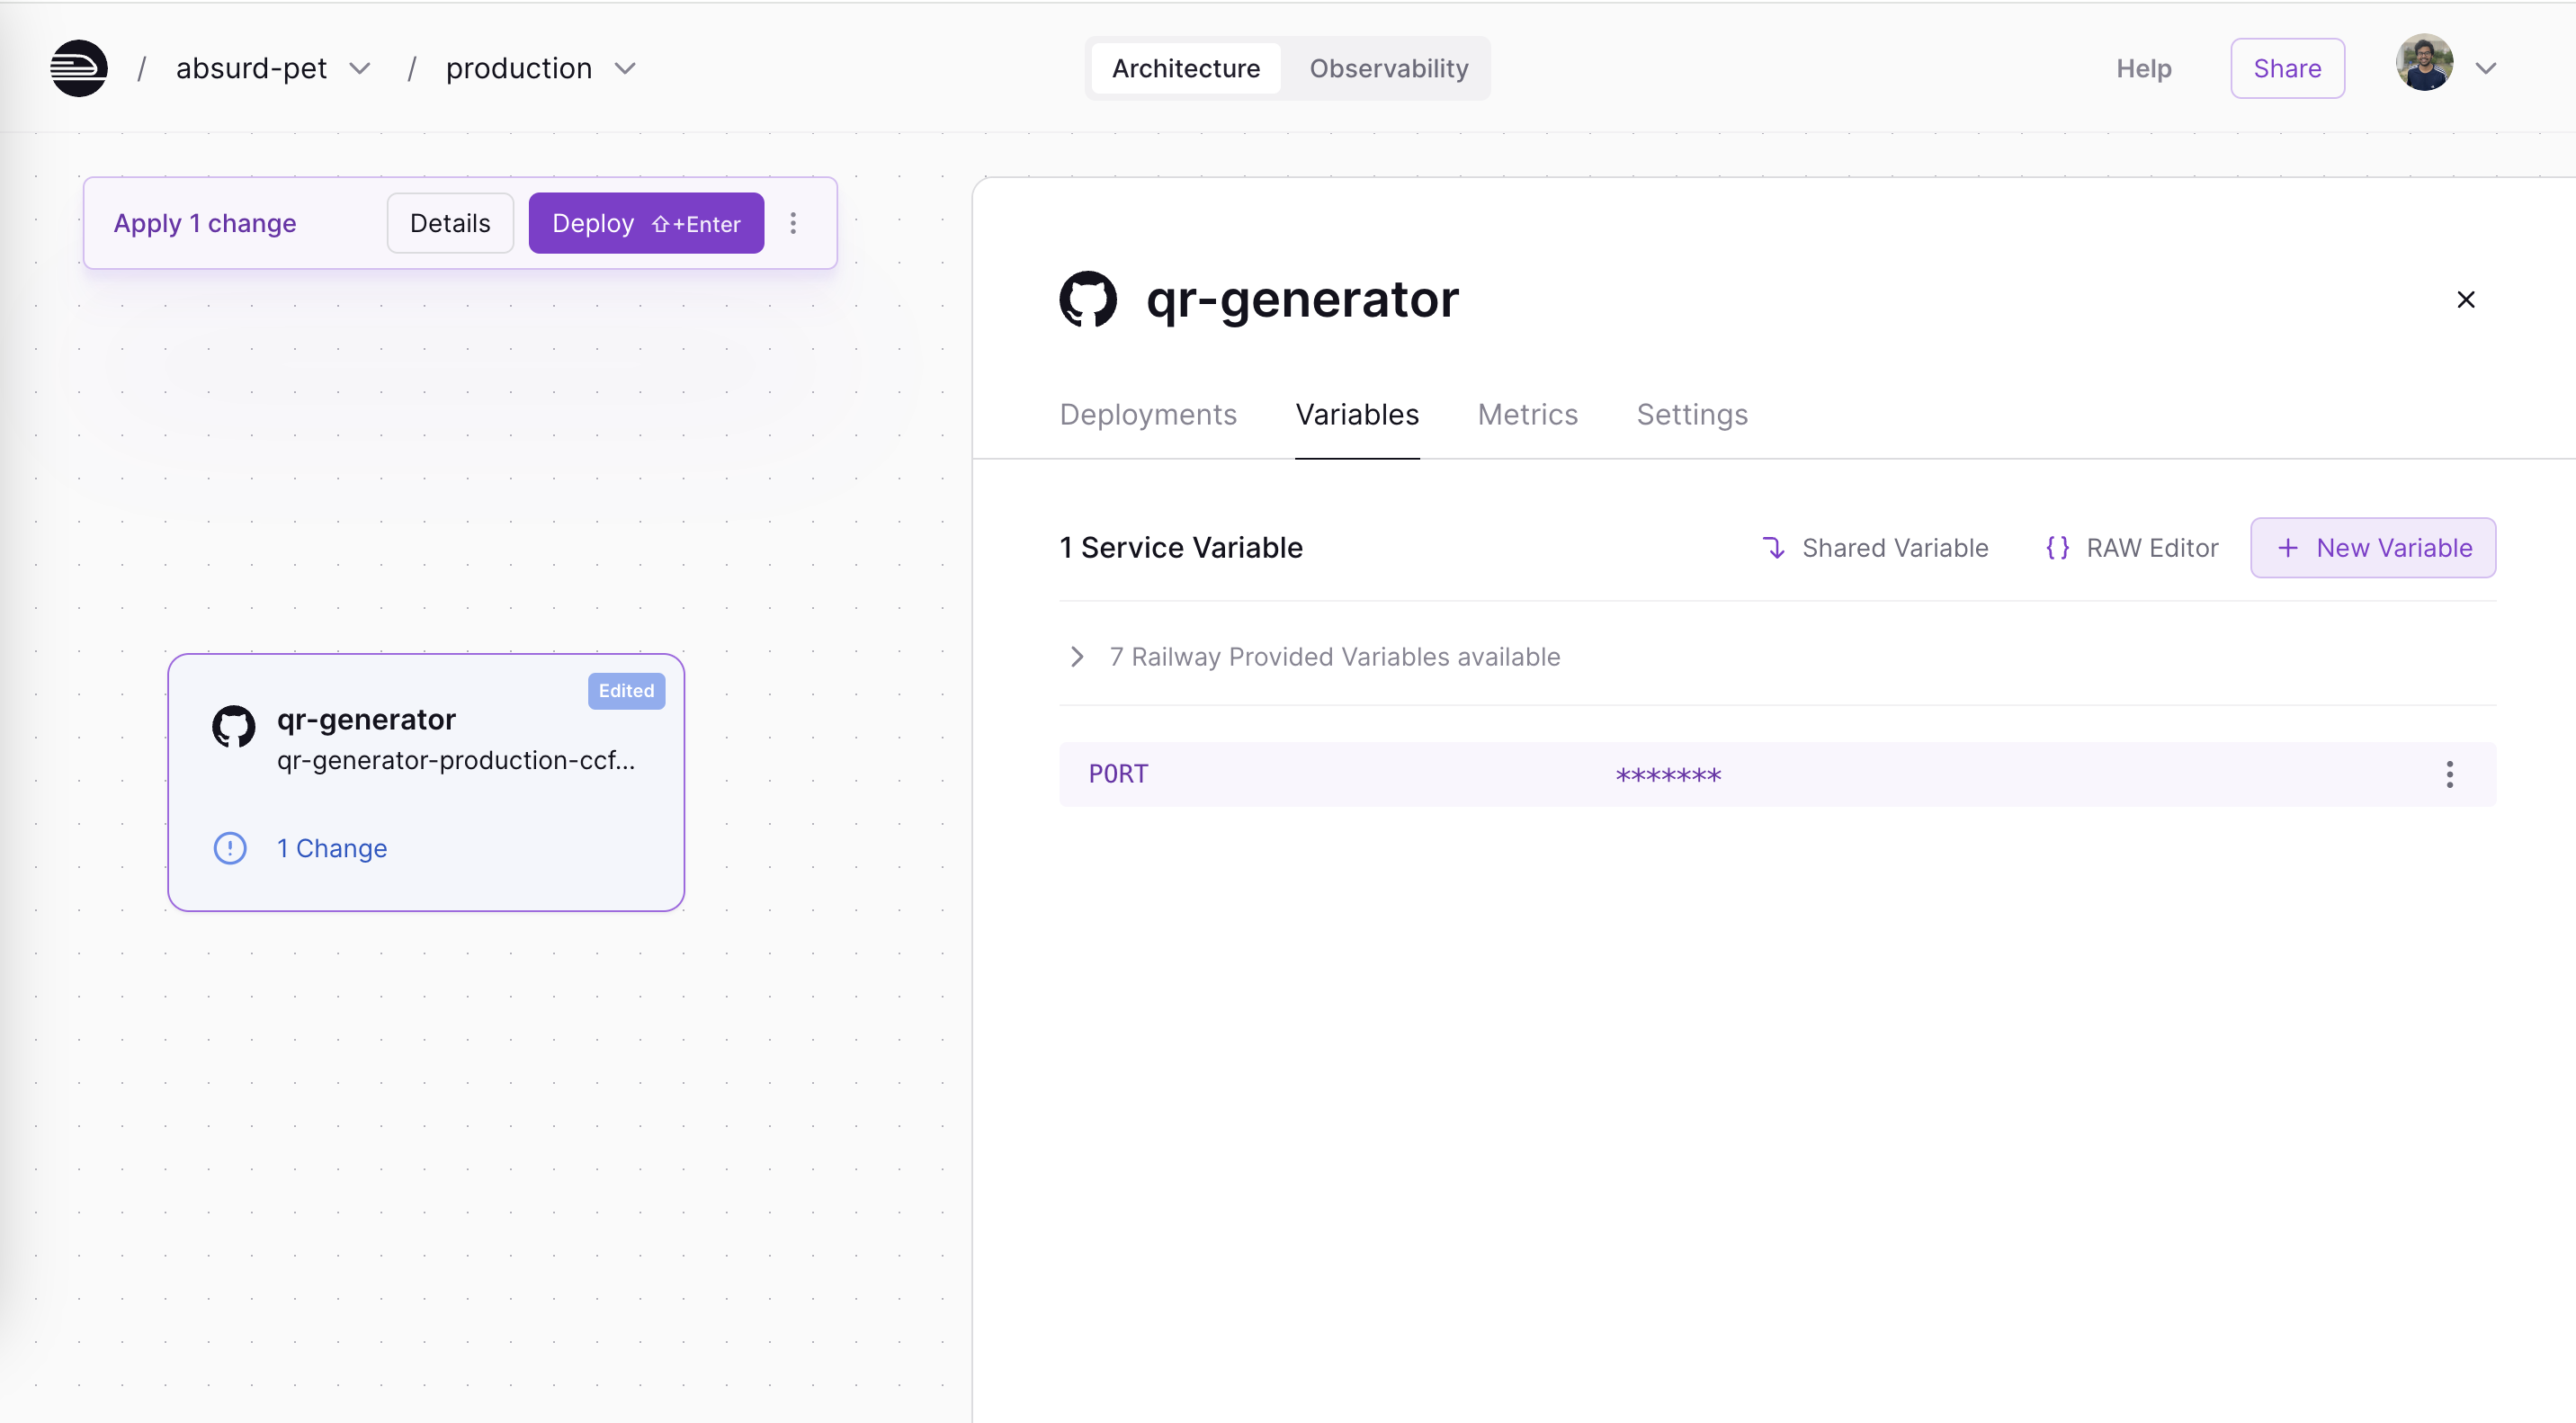
Adding a variable
- Toolpad Studio apps run on port 3000, so add a
PORTvariable and set its value to 3000.

Adding PORT as a variable
- On the same UI, go to the Settings tab, scroll down and and click on Generate Domain to create a public URL. You can also create a custom URL.
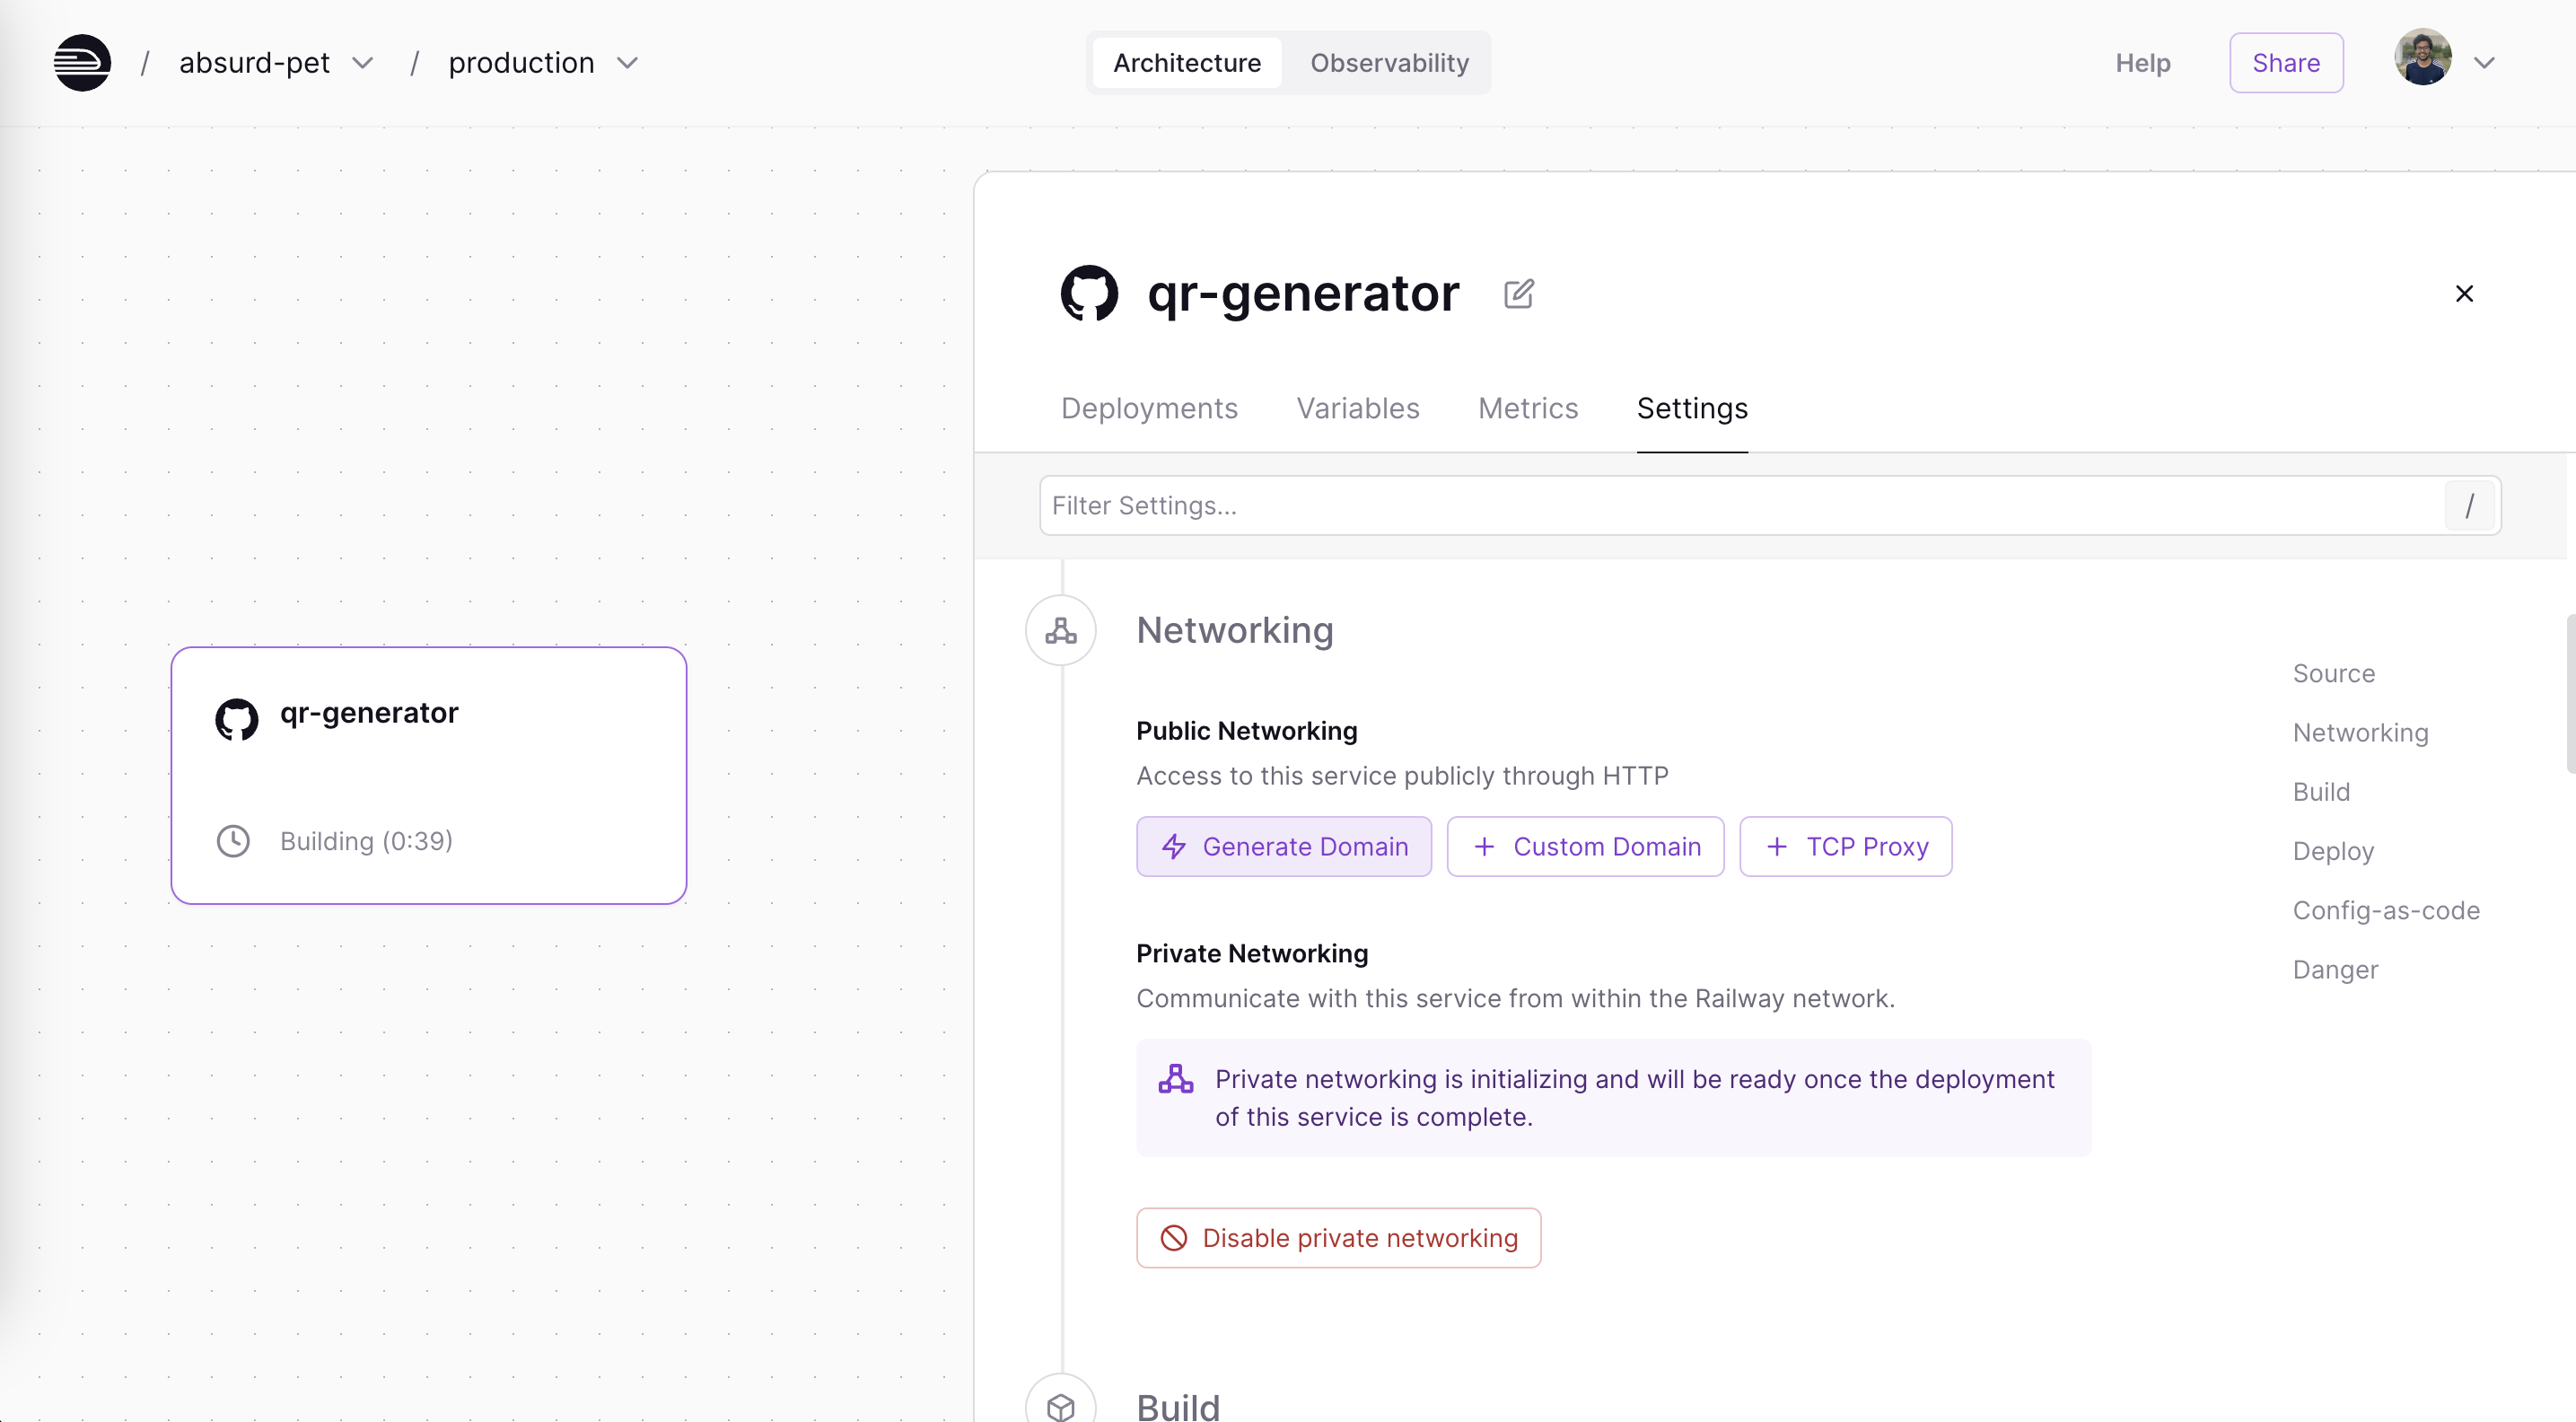
Generating a public URL
If you scroll below, you'll see that the build and start commands are set to
$ npm run build $ npm run startby default. You can leave this unchanged.
A floating Deploy button appears on the canvas.. Click it and the build starts.
Deploy app
- Once this is successfully complete, you can access your Toolpad Studio app from the public URL available on the card.
That's it! The app is up and running. Make changes, push to GitHub, and your app automatically redeploys each time. You may deploy to any other hosting provider of your choice as well.
Check out the Railway documentation for more advanced settings, like adding variables to your app.
Common Pitfalls
- Sometimes the build may fail as your app could be in a different directory. To configure the right path, navigate to the Settings tab and update the root directory.
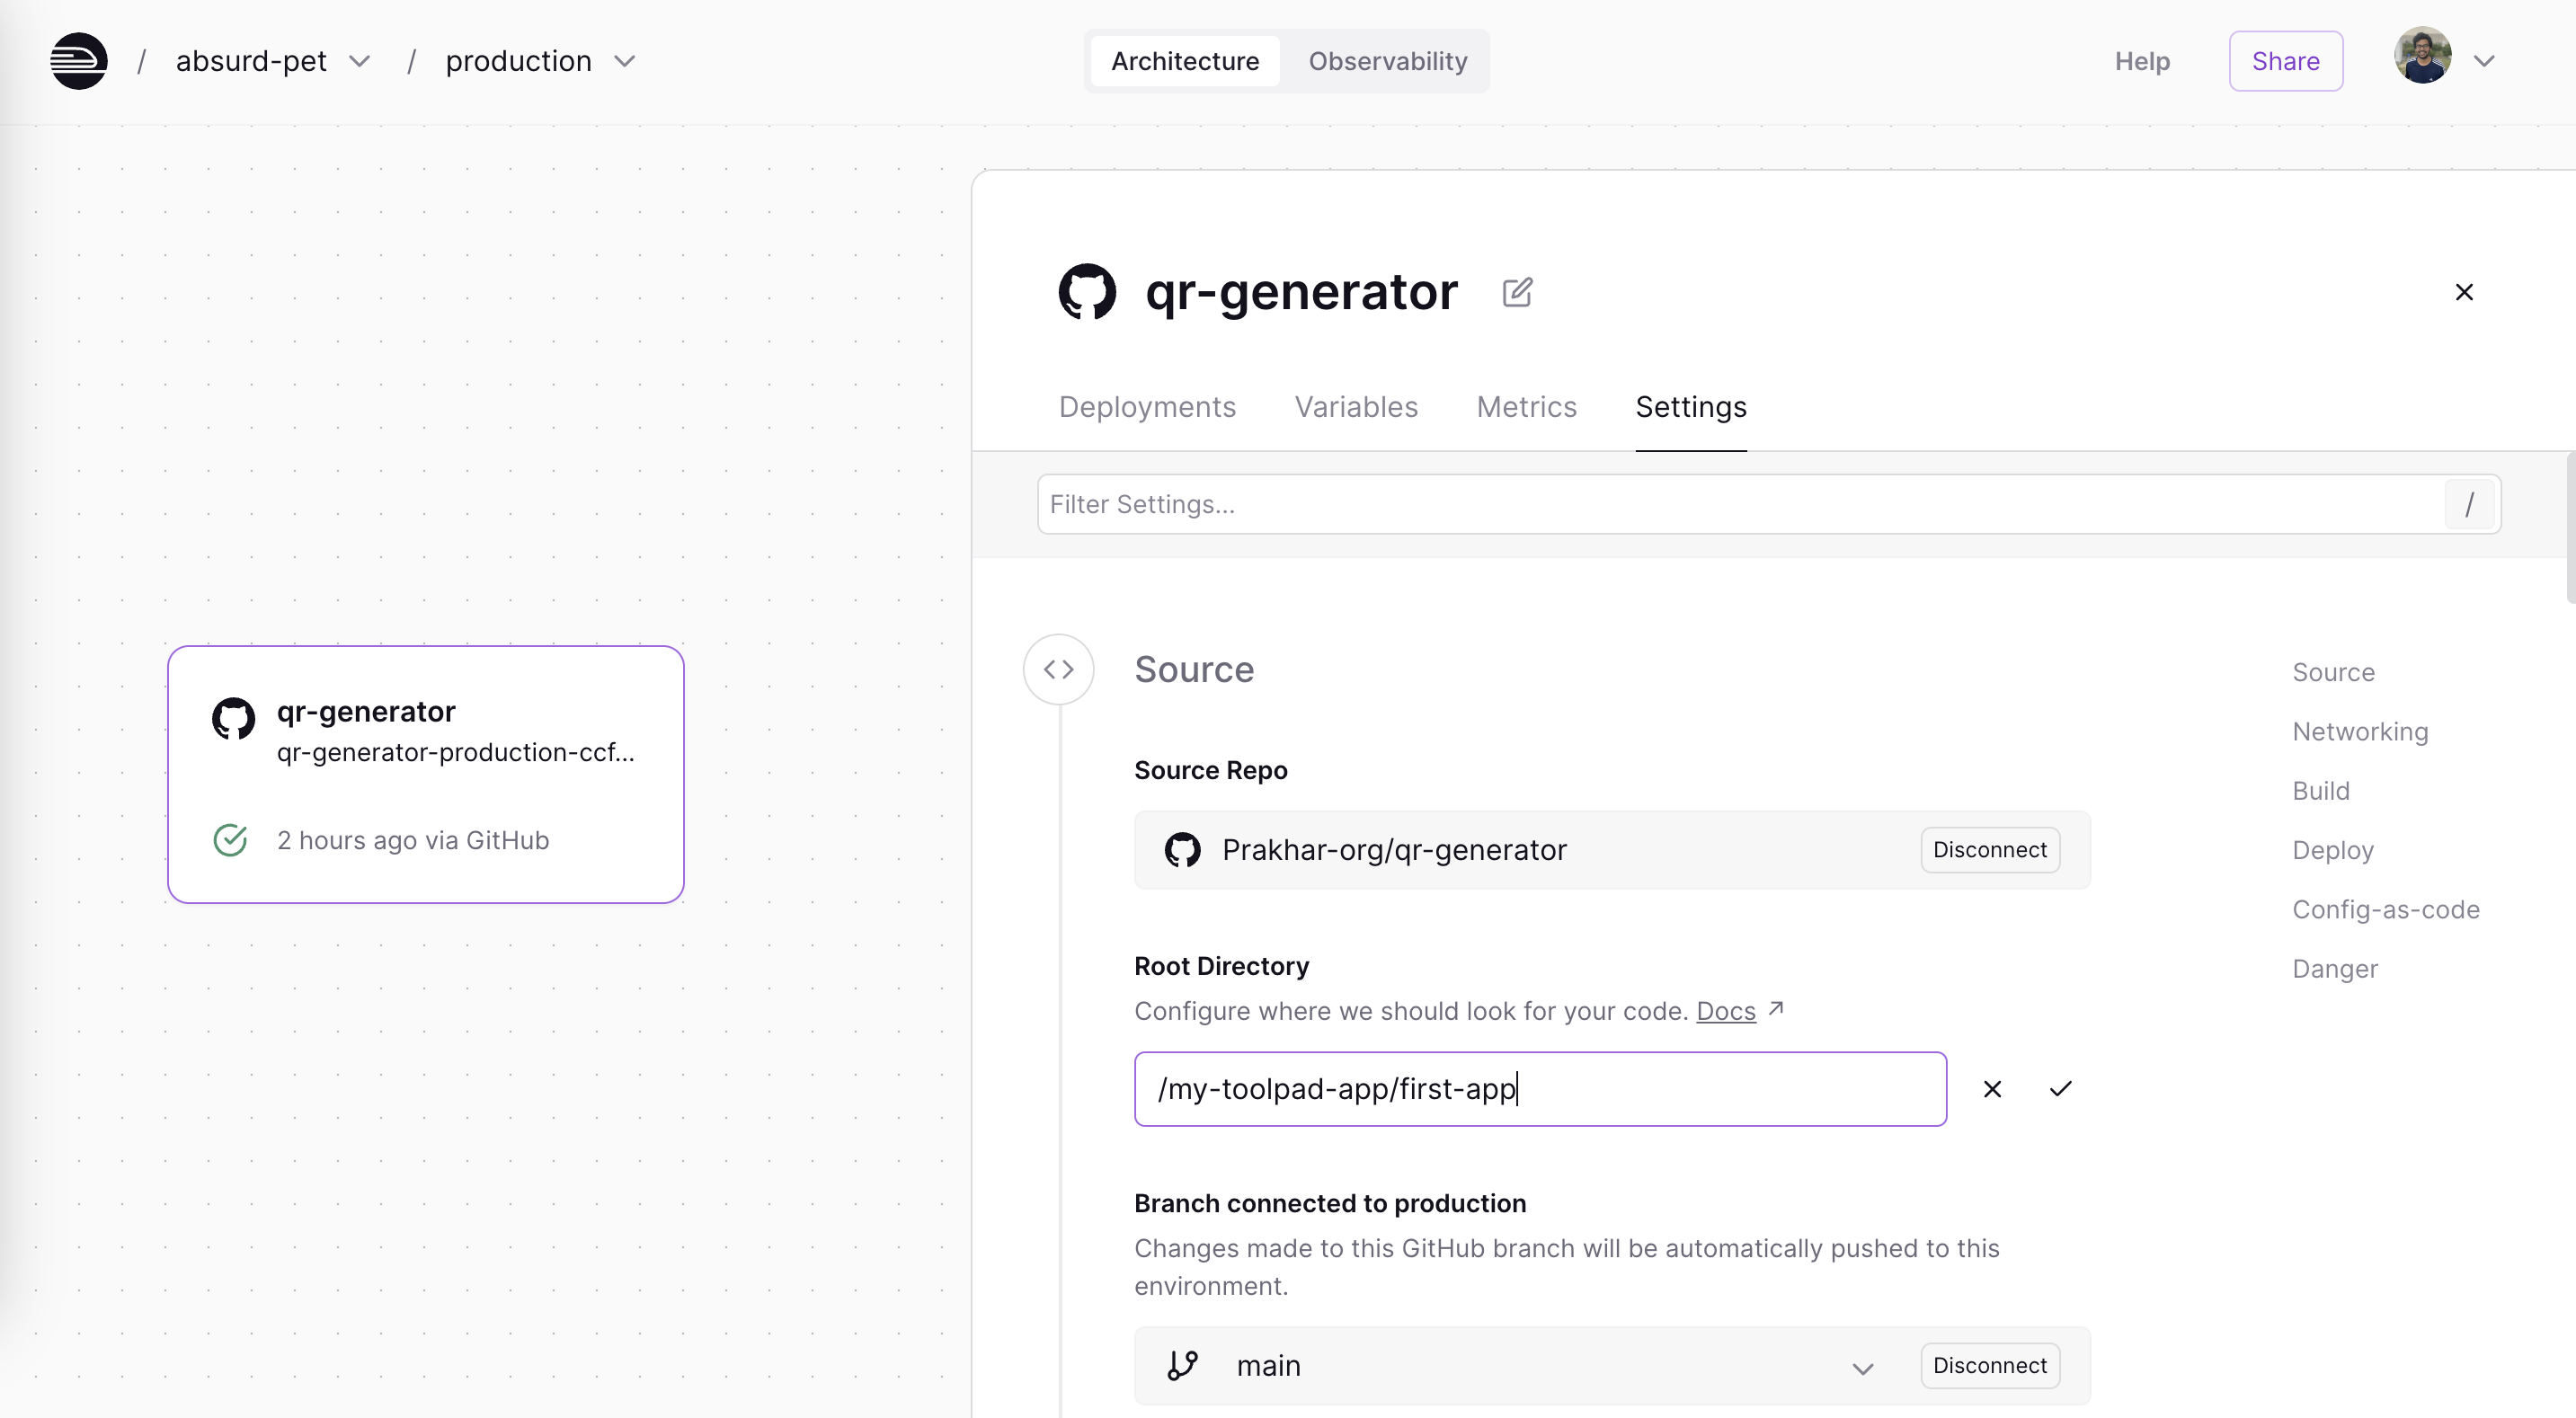
Updating the root directory