Role-based access control
Restrict pages in Toolpad Studio application to users with certain roles only.
You can configure pages in a Toolpad Studio application so that users must have certain roles within specific authentication providers in order to access them.
Before using these features, make sure that you have authentication enabled for the authenticated providers you are using.
Defining roles
Role settings can be accessed through the Authorization option in the app editor header, under the Roles tab, where you can view, create, edit and delete roles for the whole application.
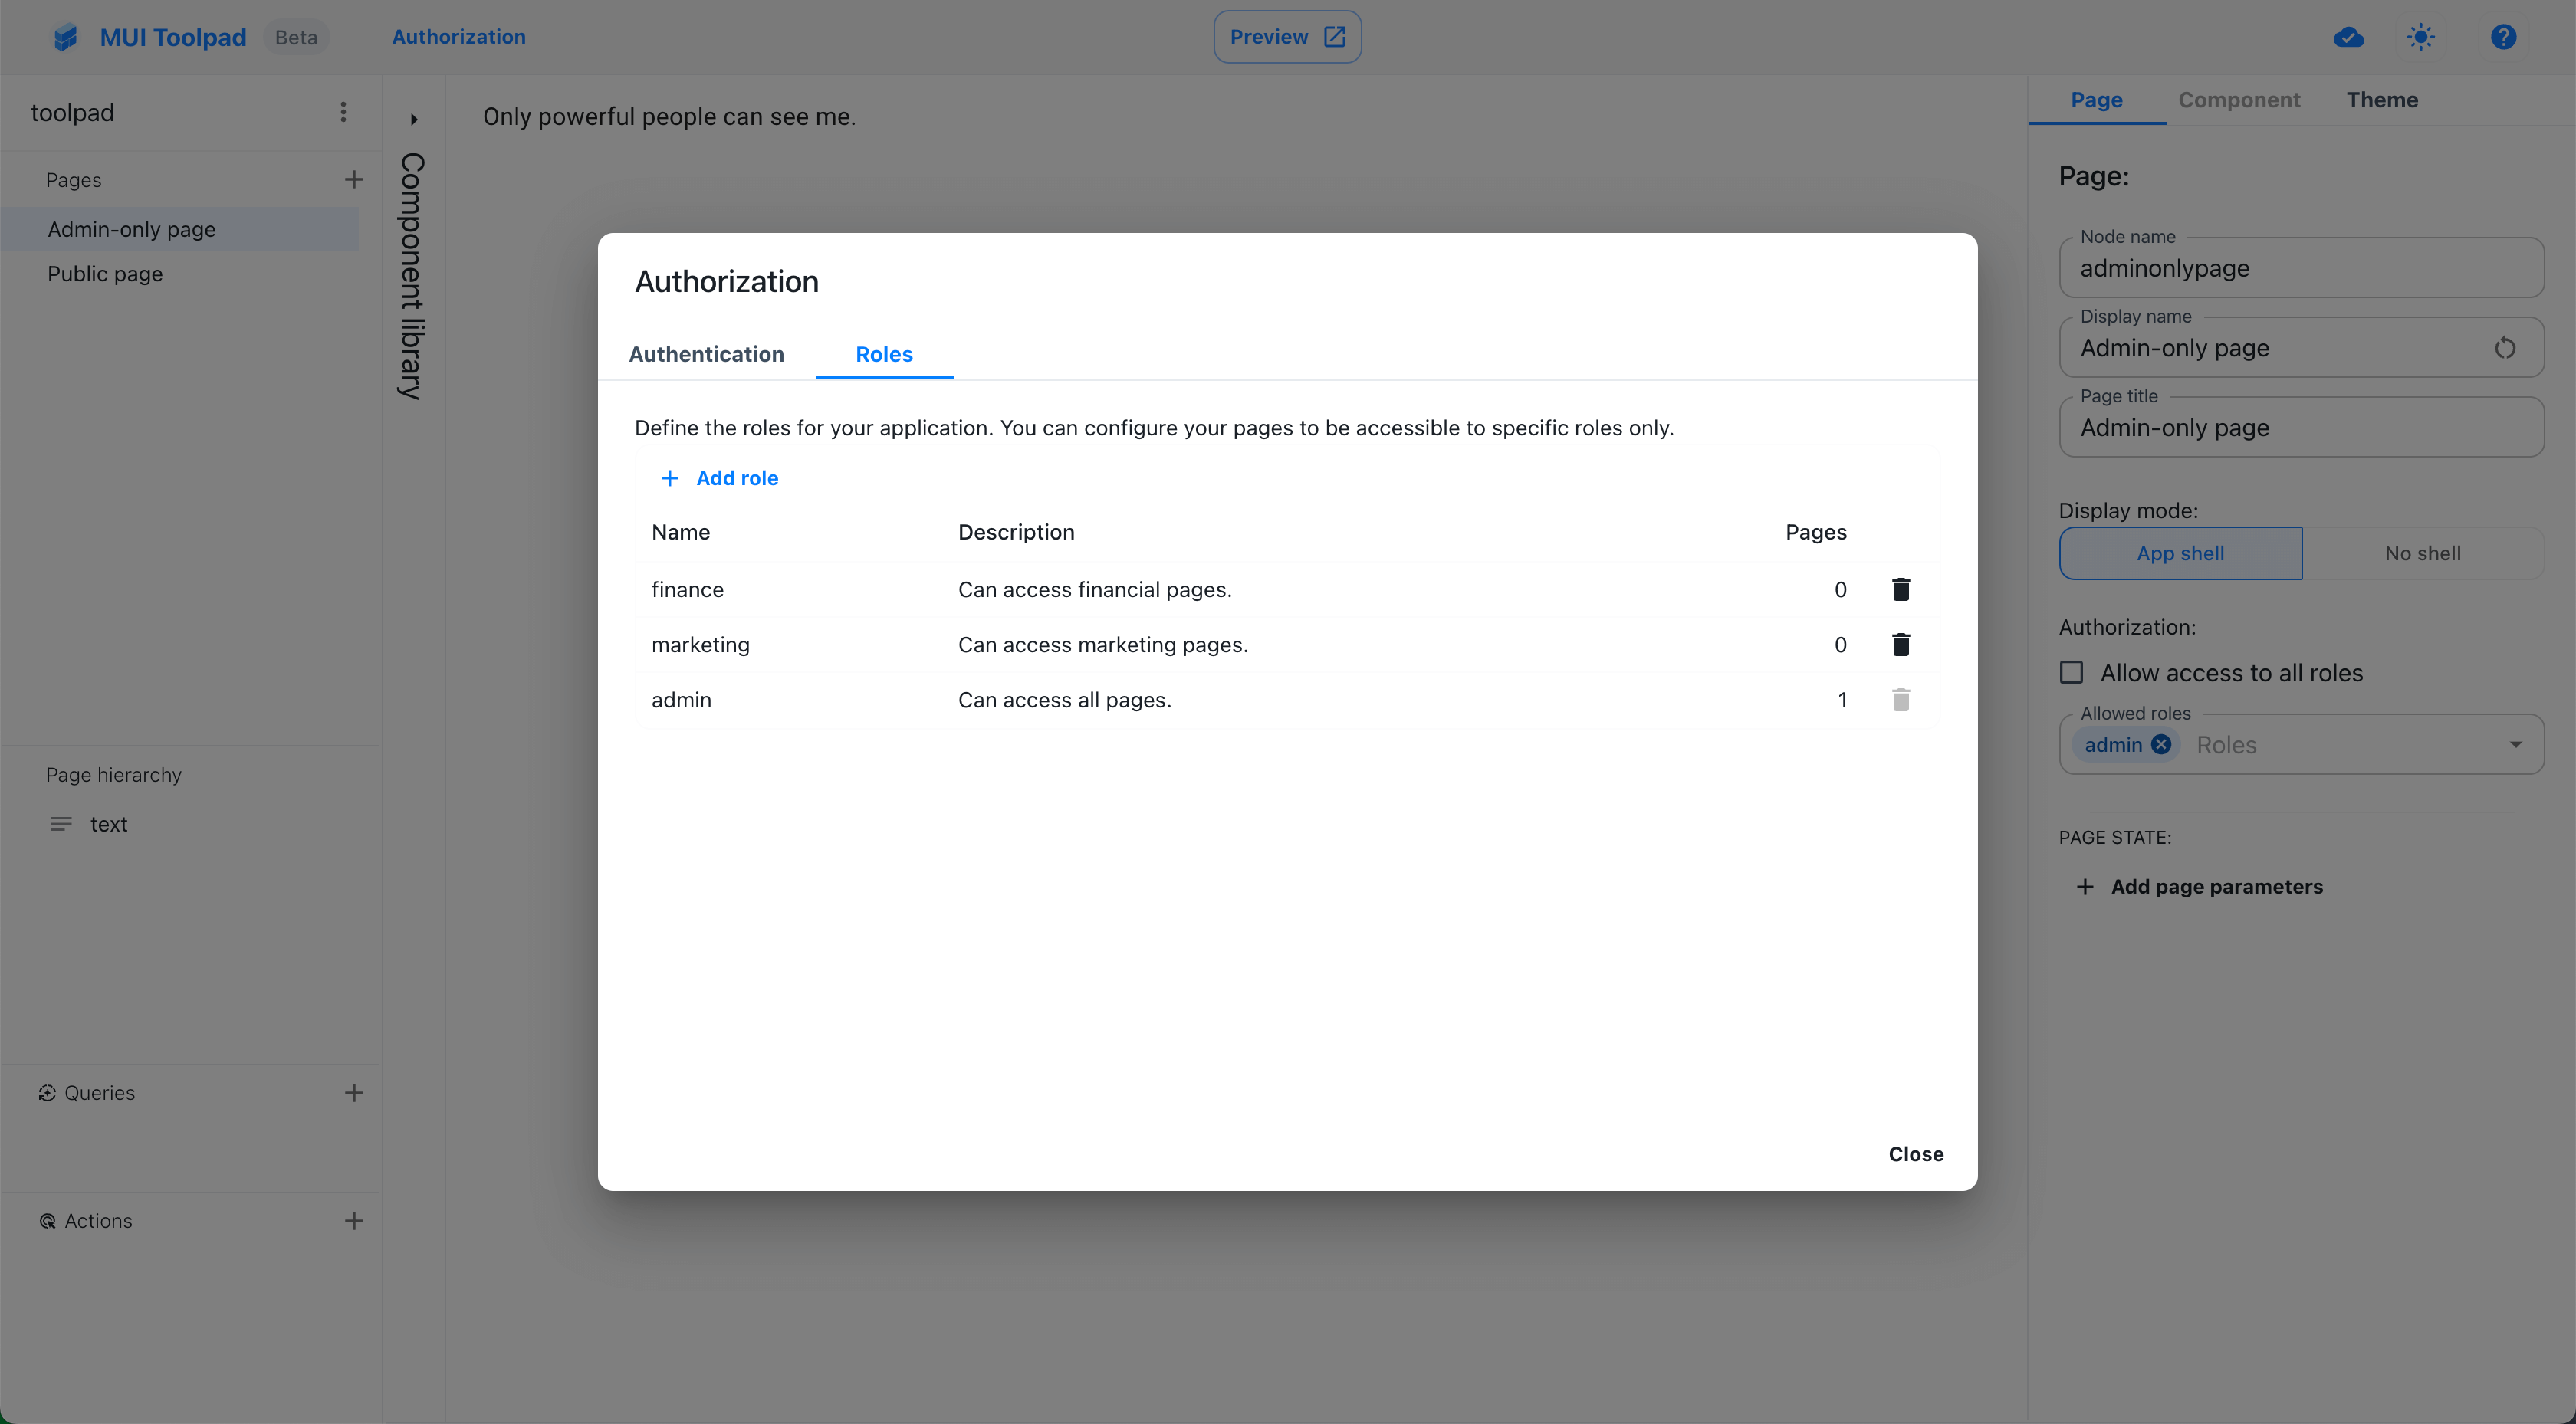
Roles settings
Restricting pages
By default, all pages are viewable by users with any roles (or even no roles).
You can change this for any individual page in the editor screen, under the Page settings in the right sidebar, where you can select/deselect Allow access to all roles and add one or multiple roles under the list of Allowed roles for the page.

Page authorization settings
Authorization providers
In order for Toolpad Studio users to have roles, you need to have those roles configured in the authentication provider they sign in with. Each authentication provider has its own configuration settings for roles.
Not all available authentication providers in Toolpad Studio support roles, so you must use one that does if you want to use this feature.
Azure Active Directory (now Entra ID)
Follow these steps to assign roles to users in an Azure AD application:
- From the Azure AD home screen, go to App registrations in the left-side menu, then in your application go to App roles on the left, where you can create new roles with the Create app role option.
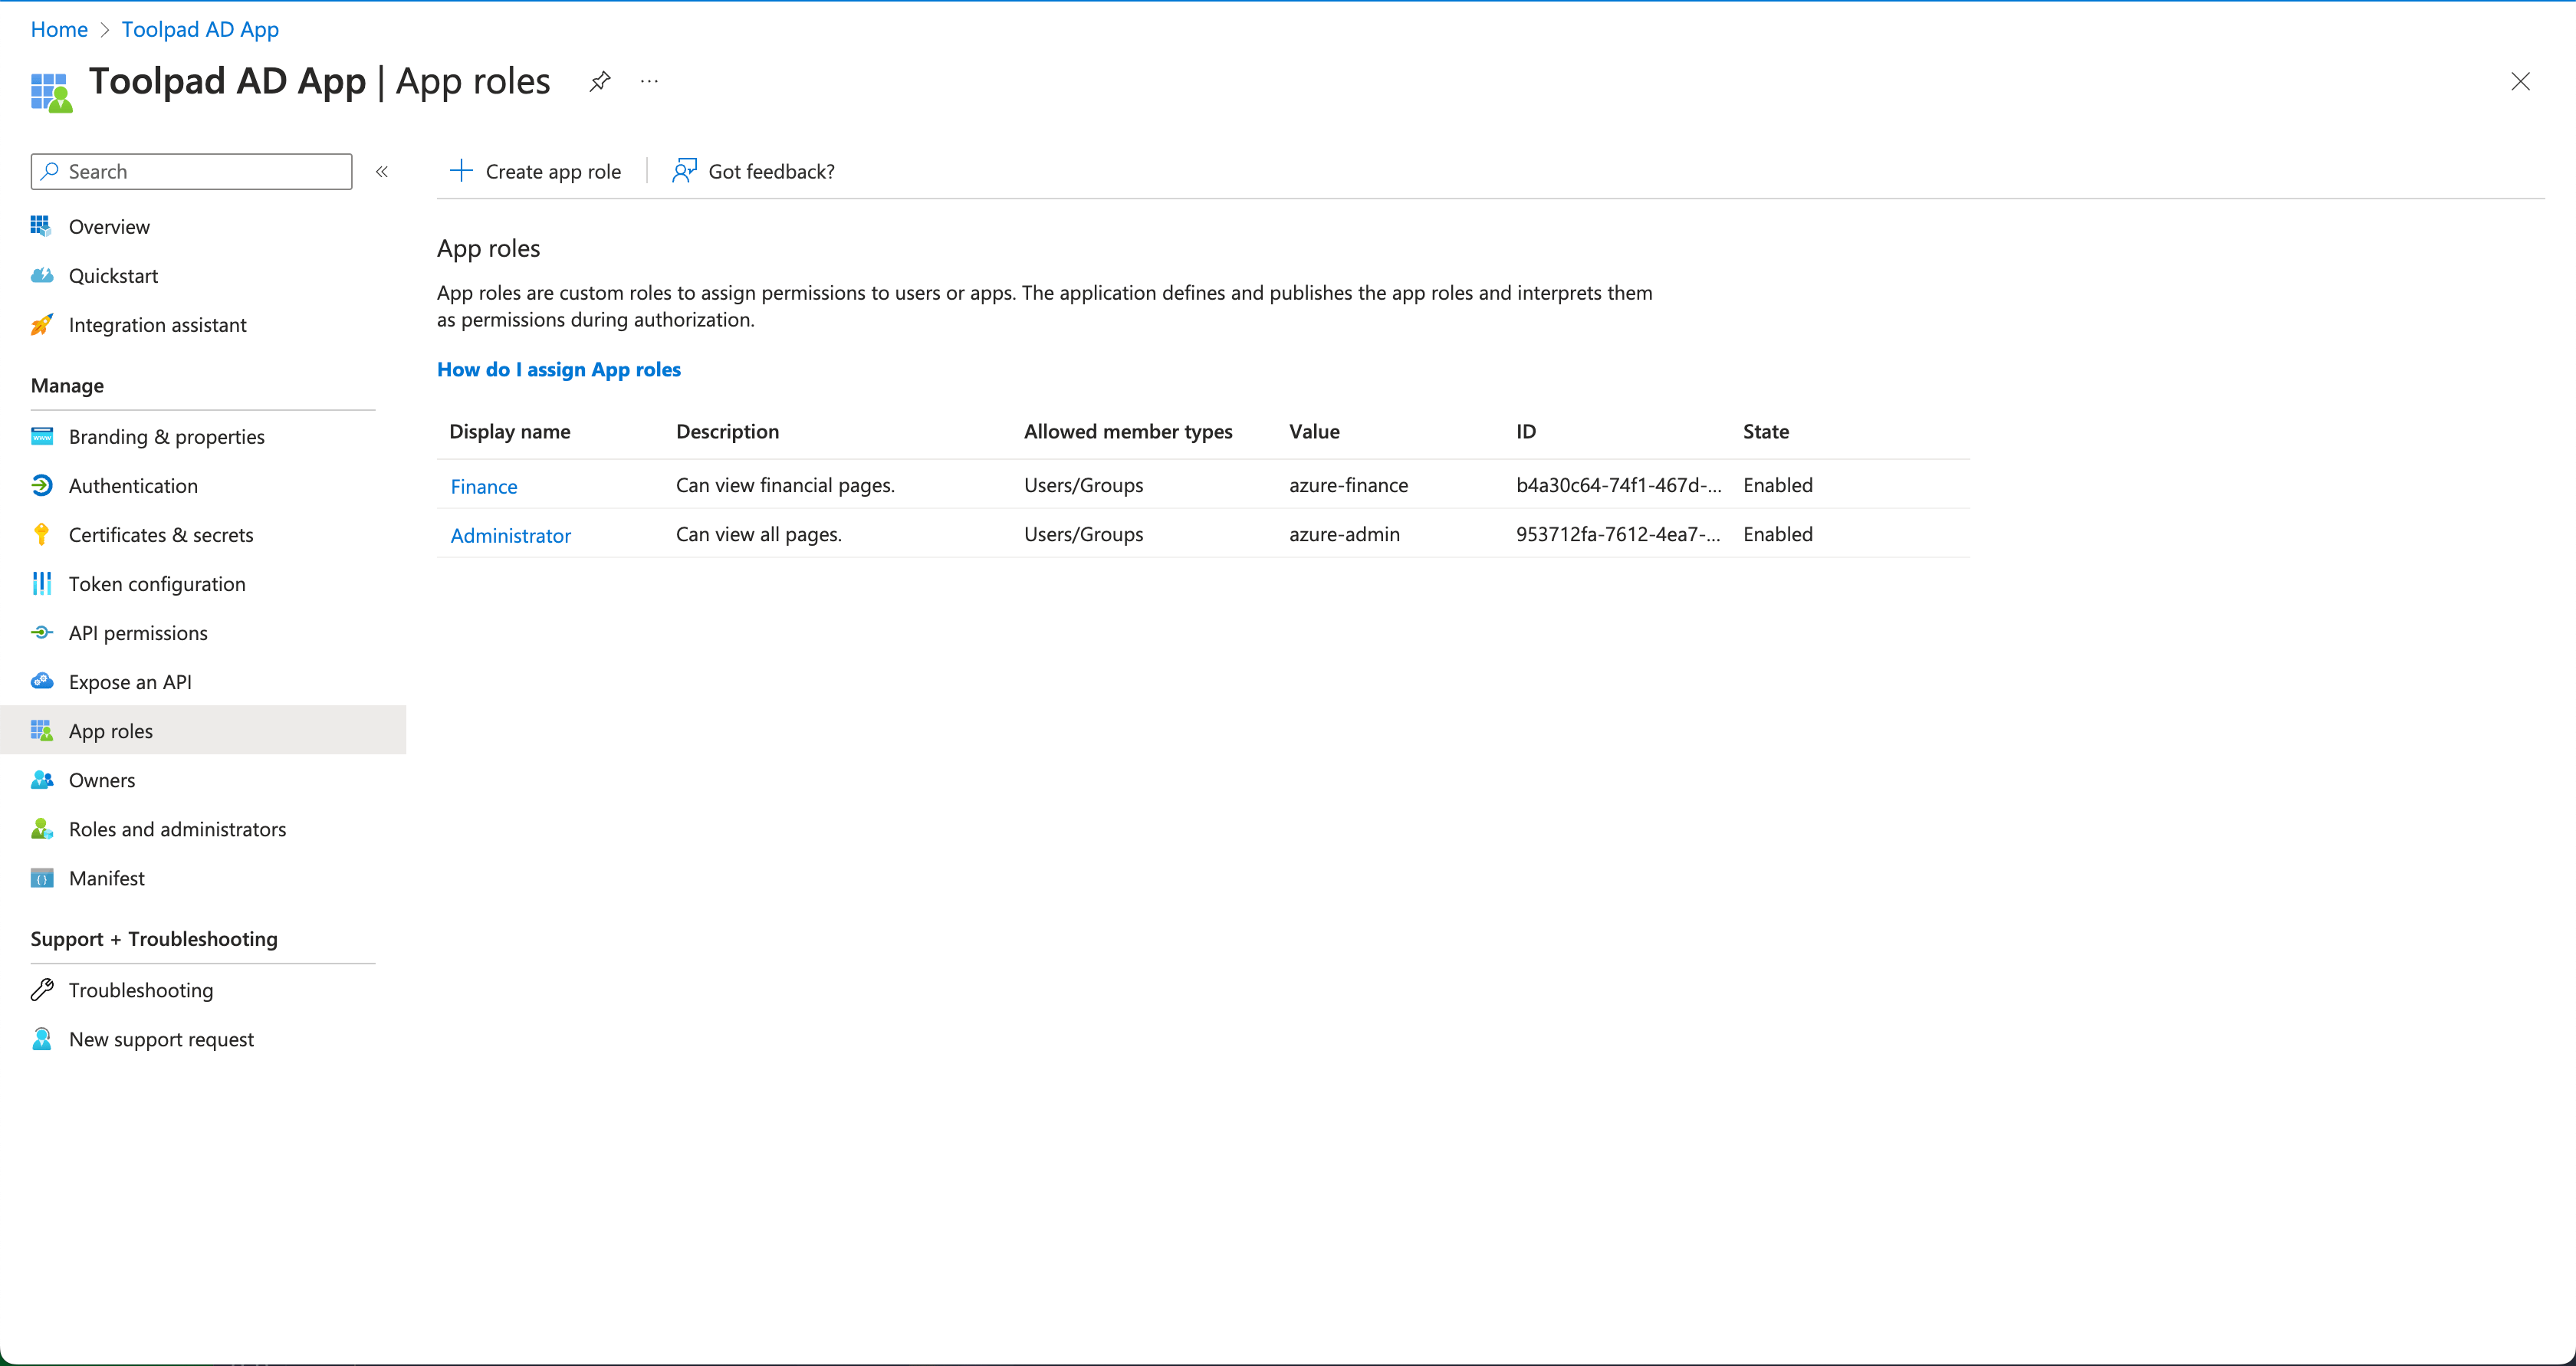
Azure AD app roles
- To assign your created roles to a user, from the Azure AD home screen go to Enterprise applications in the left-side menu, then in your application go to Users and groups on the left, where you can assign/unassign roles to selected users with the Edit assignment option.
Role mapping
By default, Toolpad Studio will expect an exact match between the names of your Toolpad Studio roles and the roles in the authentication provider being used.
If you don't want these to match, you can assign each Toolpad Studio role to one or more provider roles under the Role mappings tab in the Authorization options in the editor.
To assign more than one provider role to a Toolpad Studio role, you can separate the values with commas under the Provider role column (as in viewer, editor, admin).
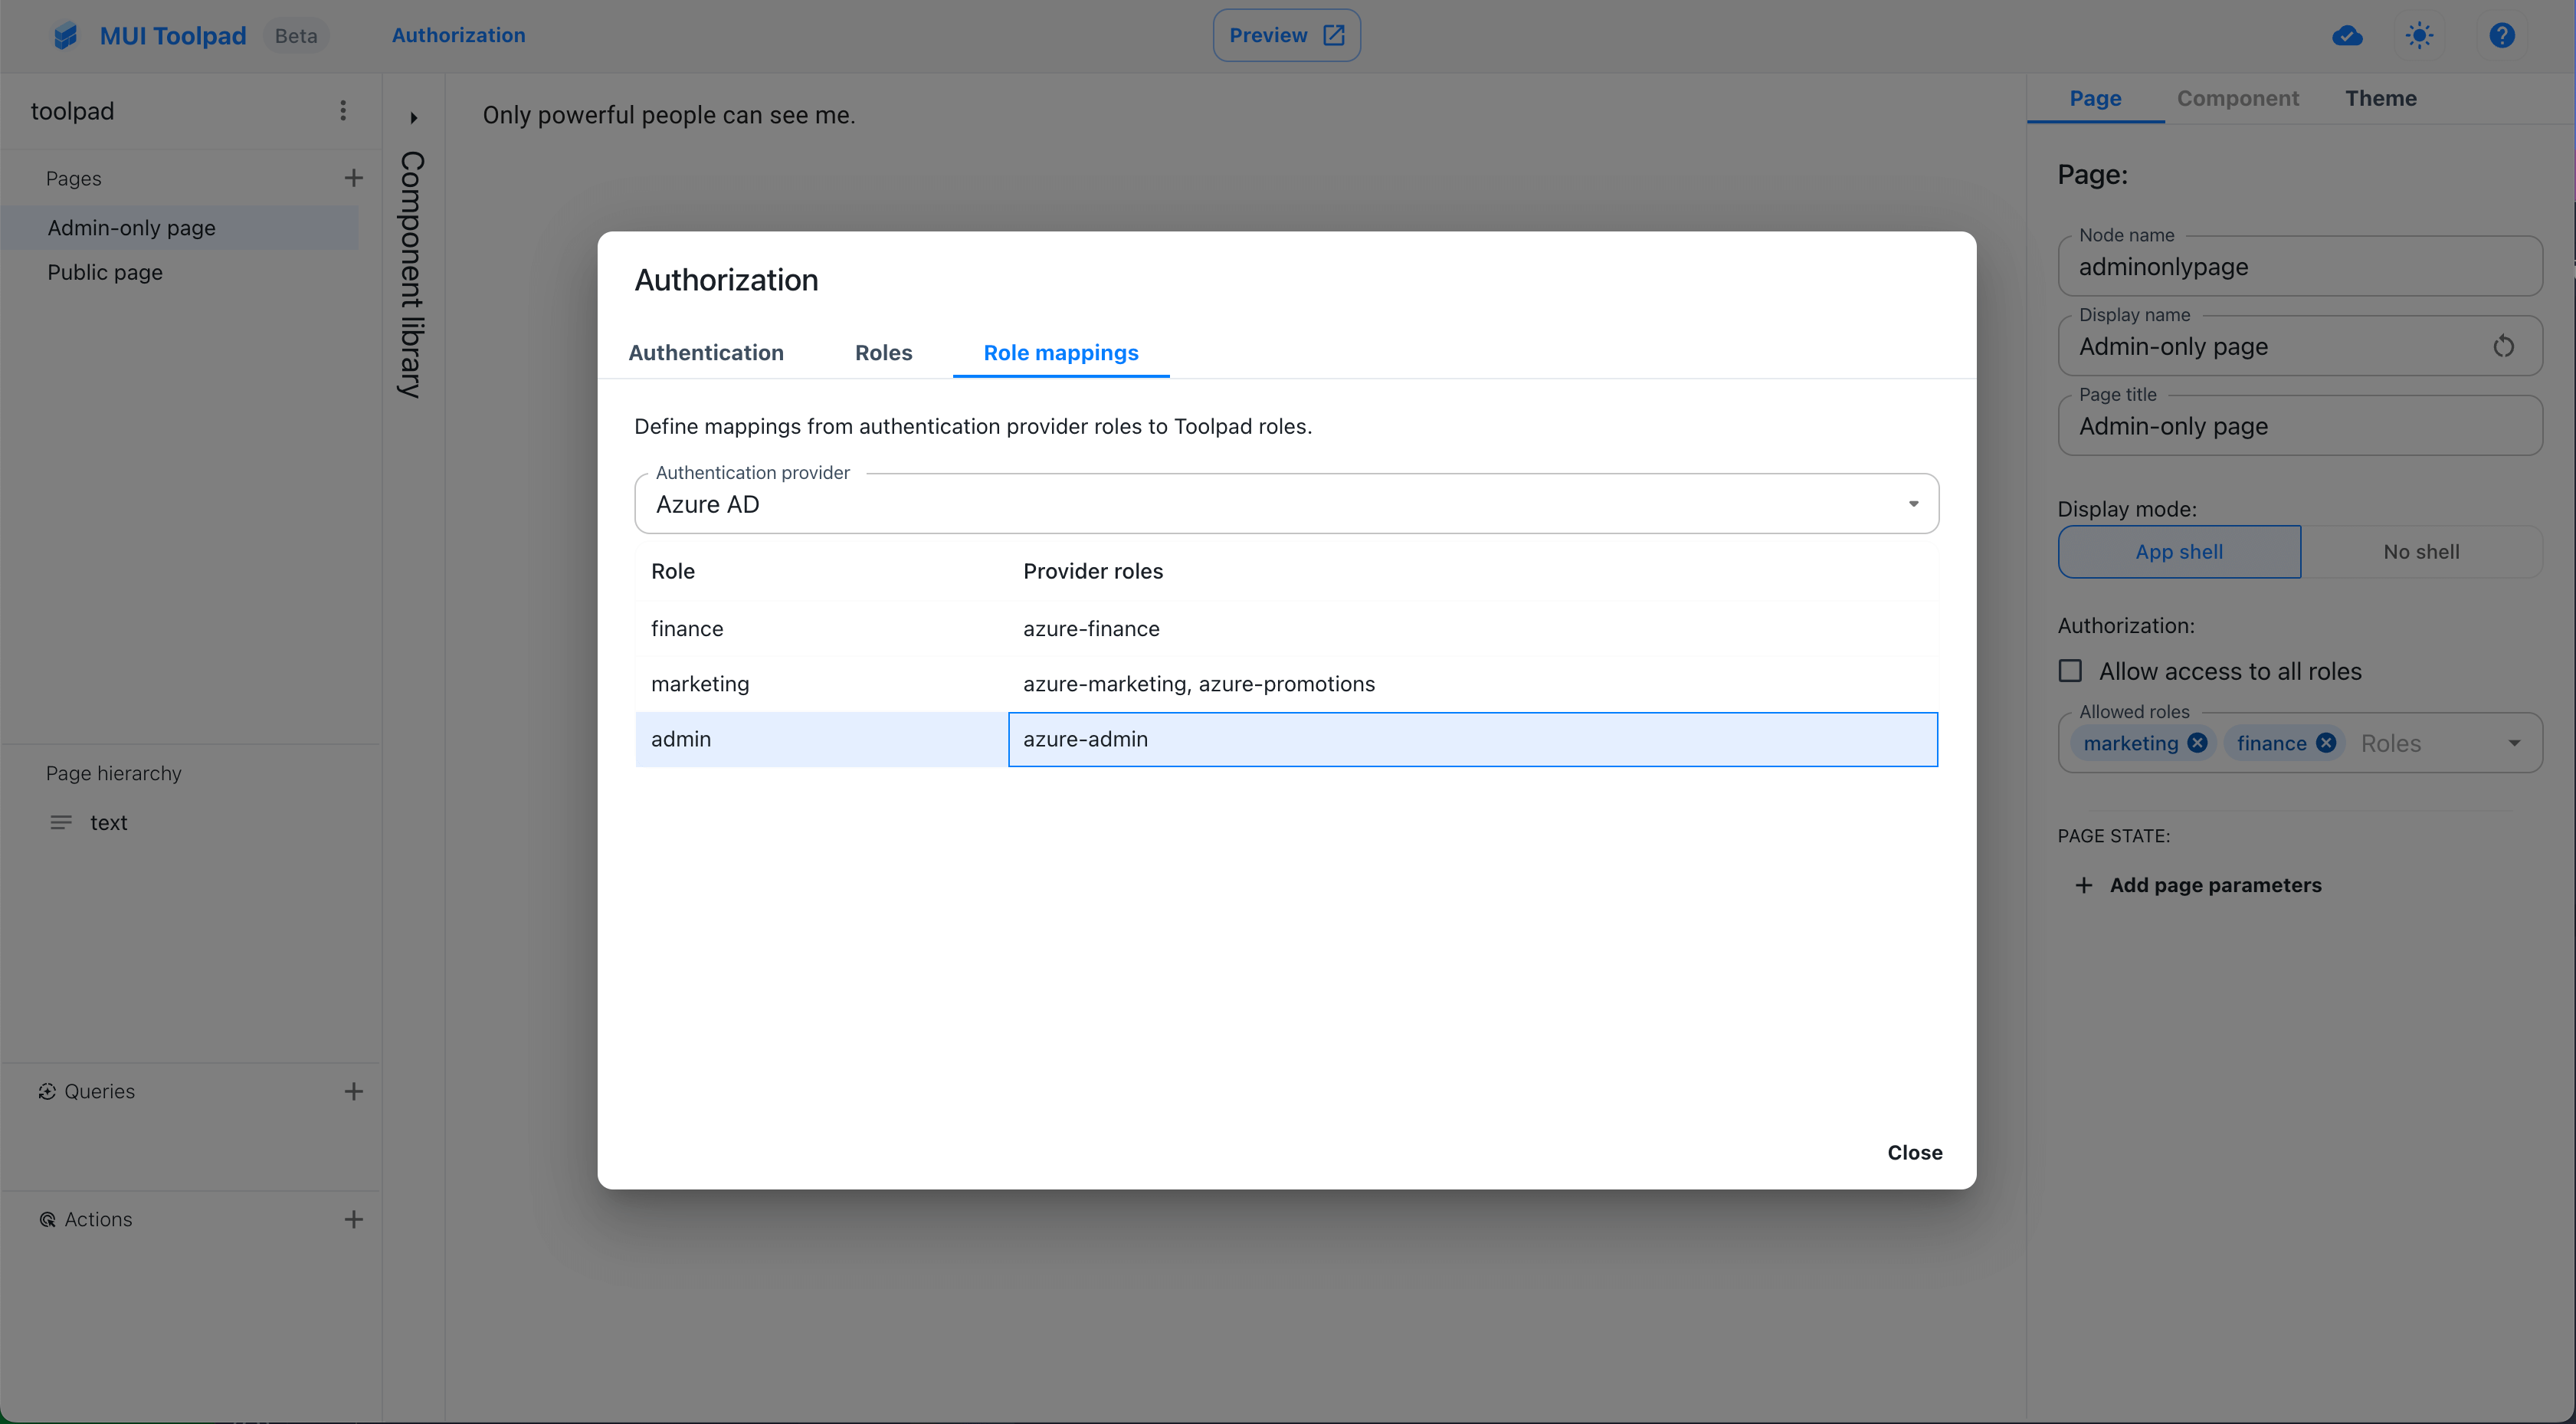
Role mapping settings