Build your first app
Learn the fundamentals of building with Toolpad Studio by creating a small application.
This guide will walk you through the process of creating a small Toolpad Studio application. You'll use the MUI X Data Grid component to display a list of dog breeds from the Dog API. When you click on the name of a breed, a random photo of the breed will be displayed using the Material UI Image component.
Purpose
This guide is intended to introduce you to the fundamentals of building with Toolpad Studio. By the end, you should be able to:
- set up a new Toolpad Studio app
- navigate through your workspace
- design a page and connect its data
Prerequisites
Make sure to install Node.js on your system.
Building your first application
Create a new app
Create a new application
npx create-toolpad-app@latest --studio dog-appStart the development server
cd dog-app npm run devThe Toolpad Studio application editor opens automatically in your browser.
Assemble the UI
- Hover over the component library and drag a Data Grid component into the canvas. Now repeat the process and drag an Image component as well. When you're done, the canvas should look like this:
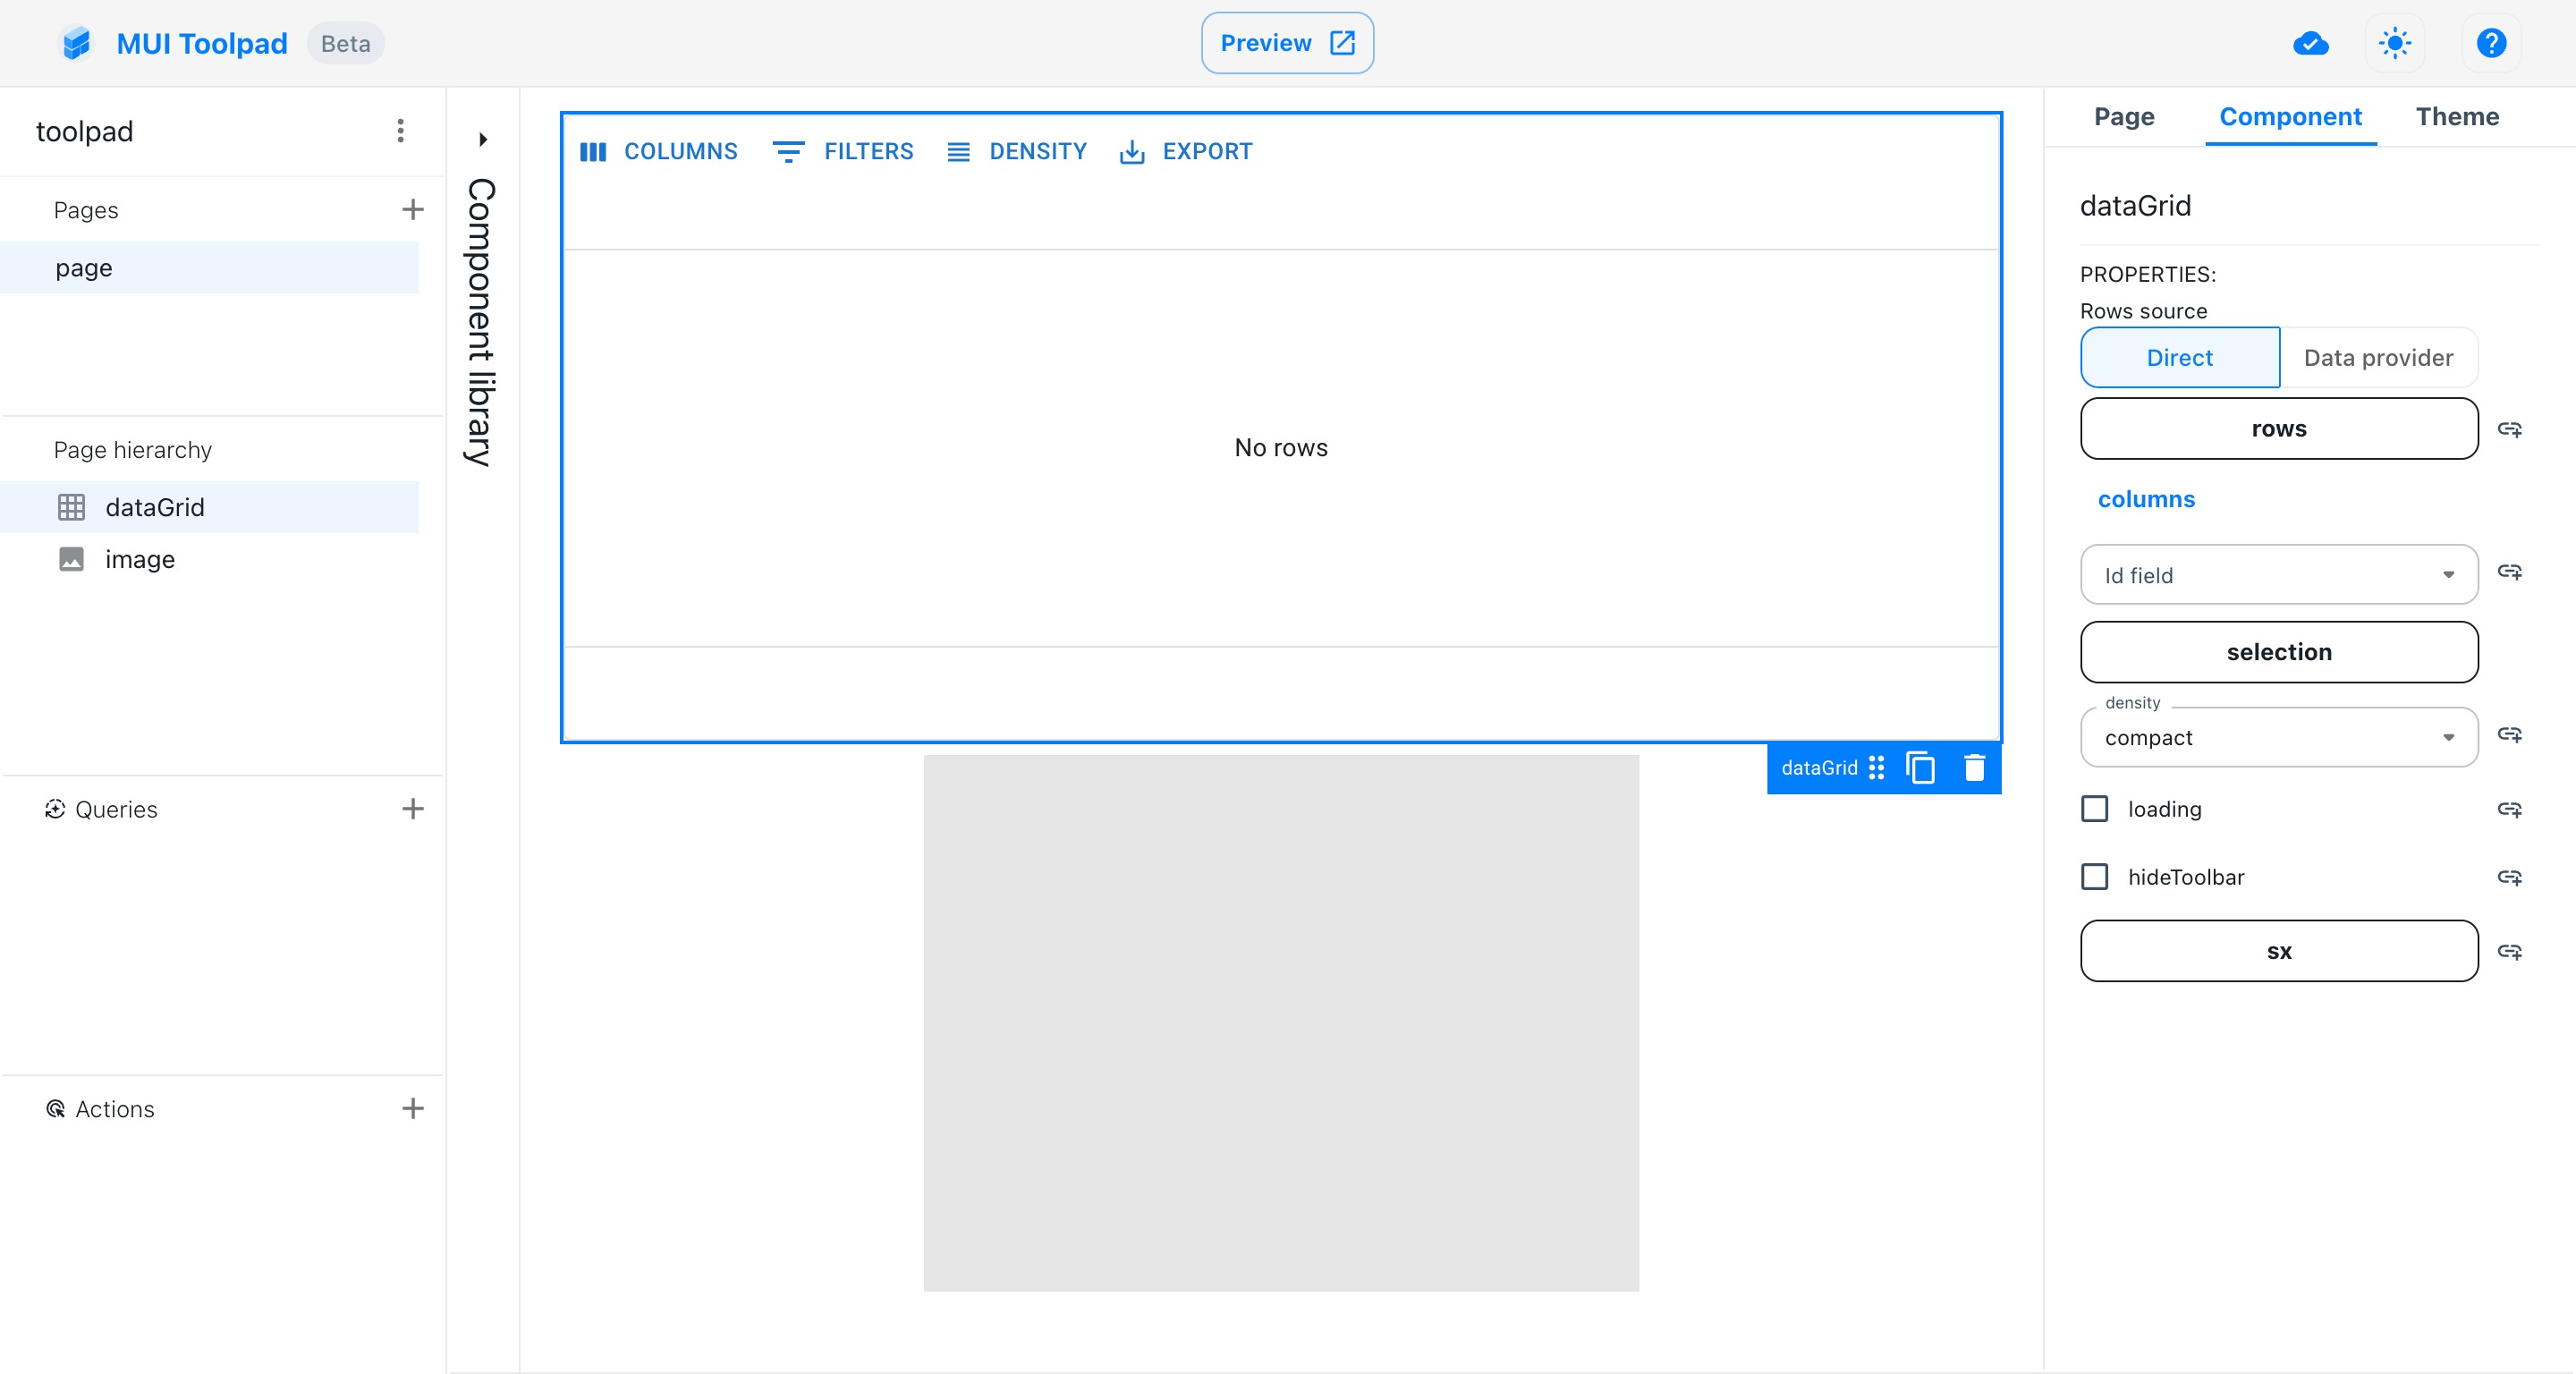
The Toolpad Studio editor with components dragged
Fetch data
- Locate the + (create new) button in the queries explorer. Press it and choose REST API.
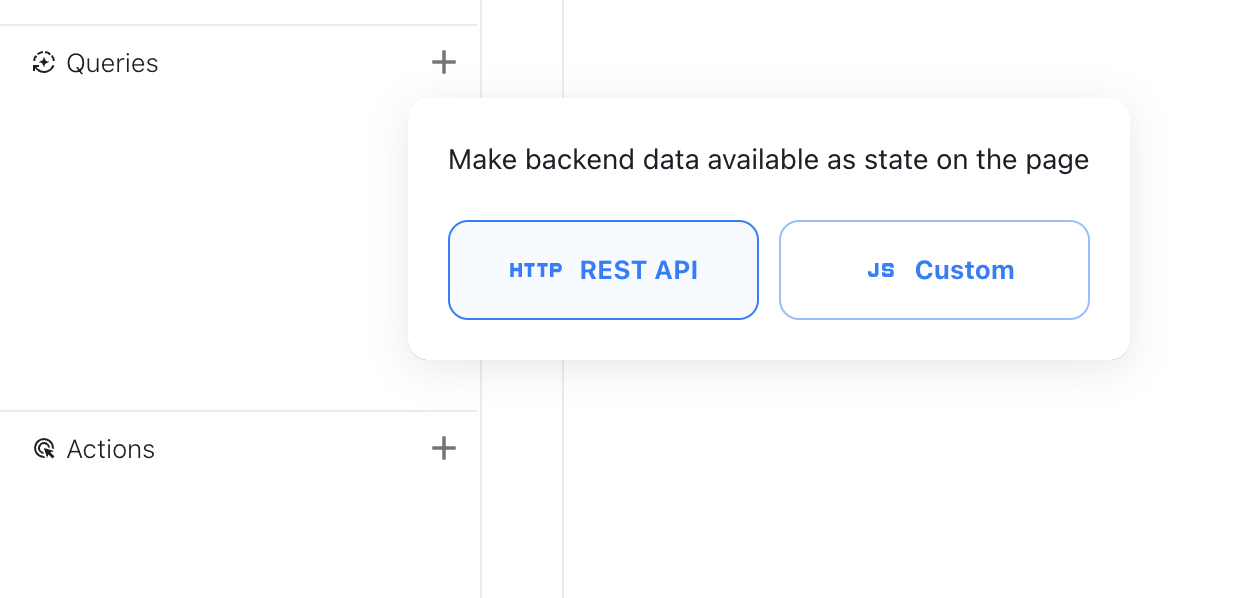
The Add query menu
We'll be using the dog API for this tutorial. Set
https://dog.ceo/api/breeds/list/allas the URL. Click the Run button to inspect the result of this request, and expand the
messageobject in the response. If all went well, it will look like this:
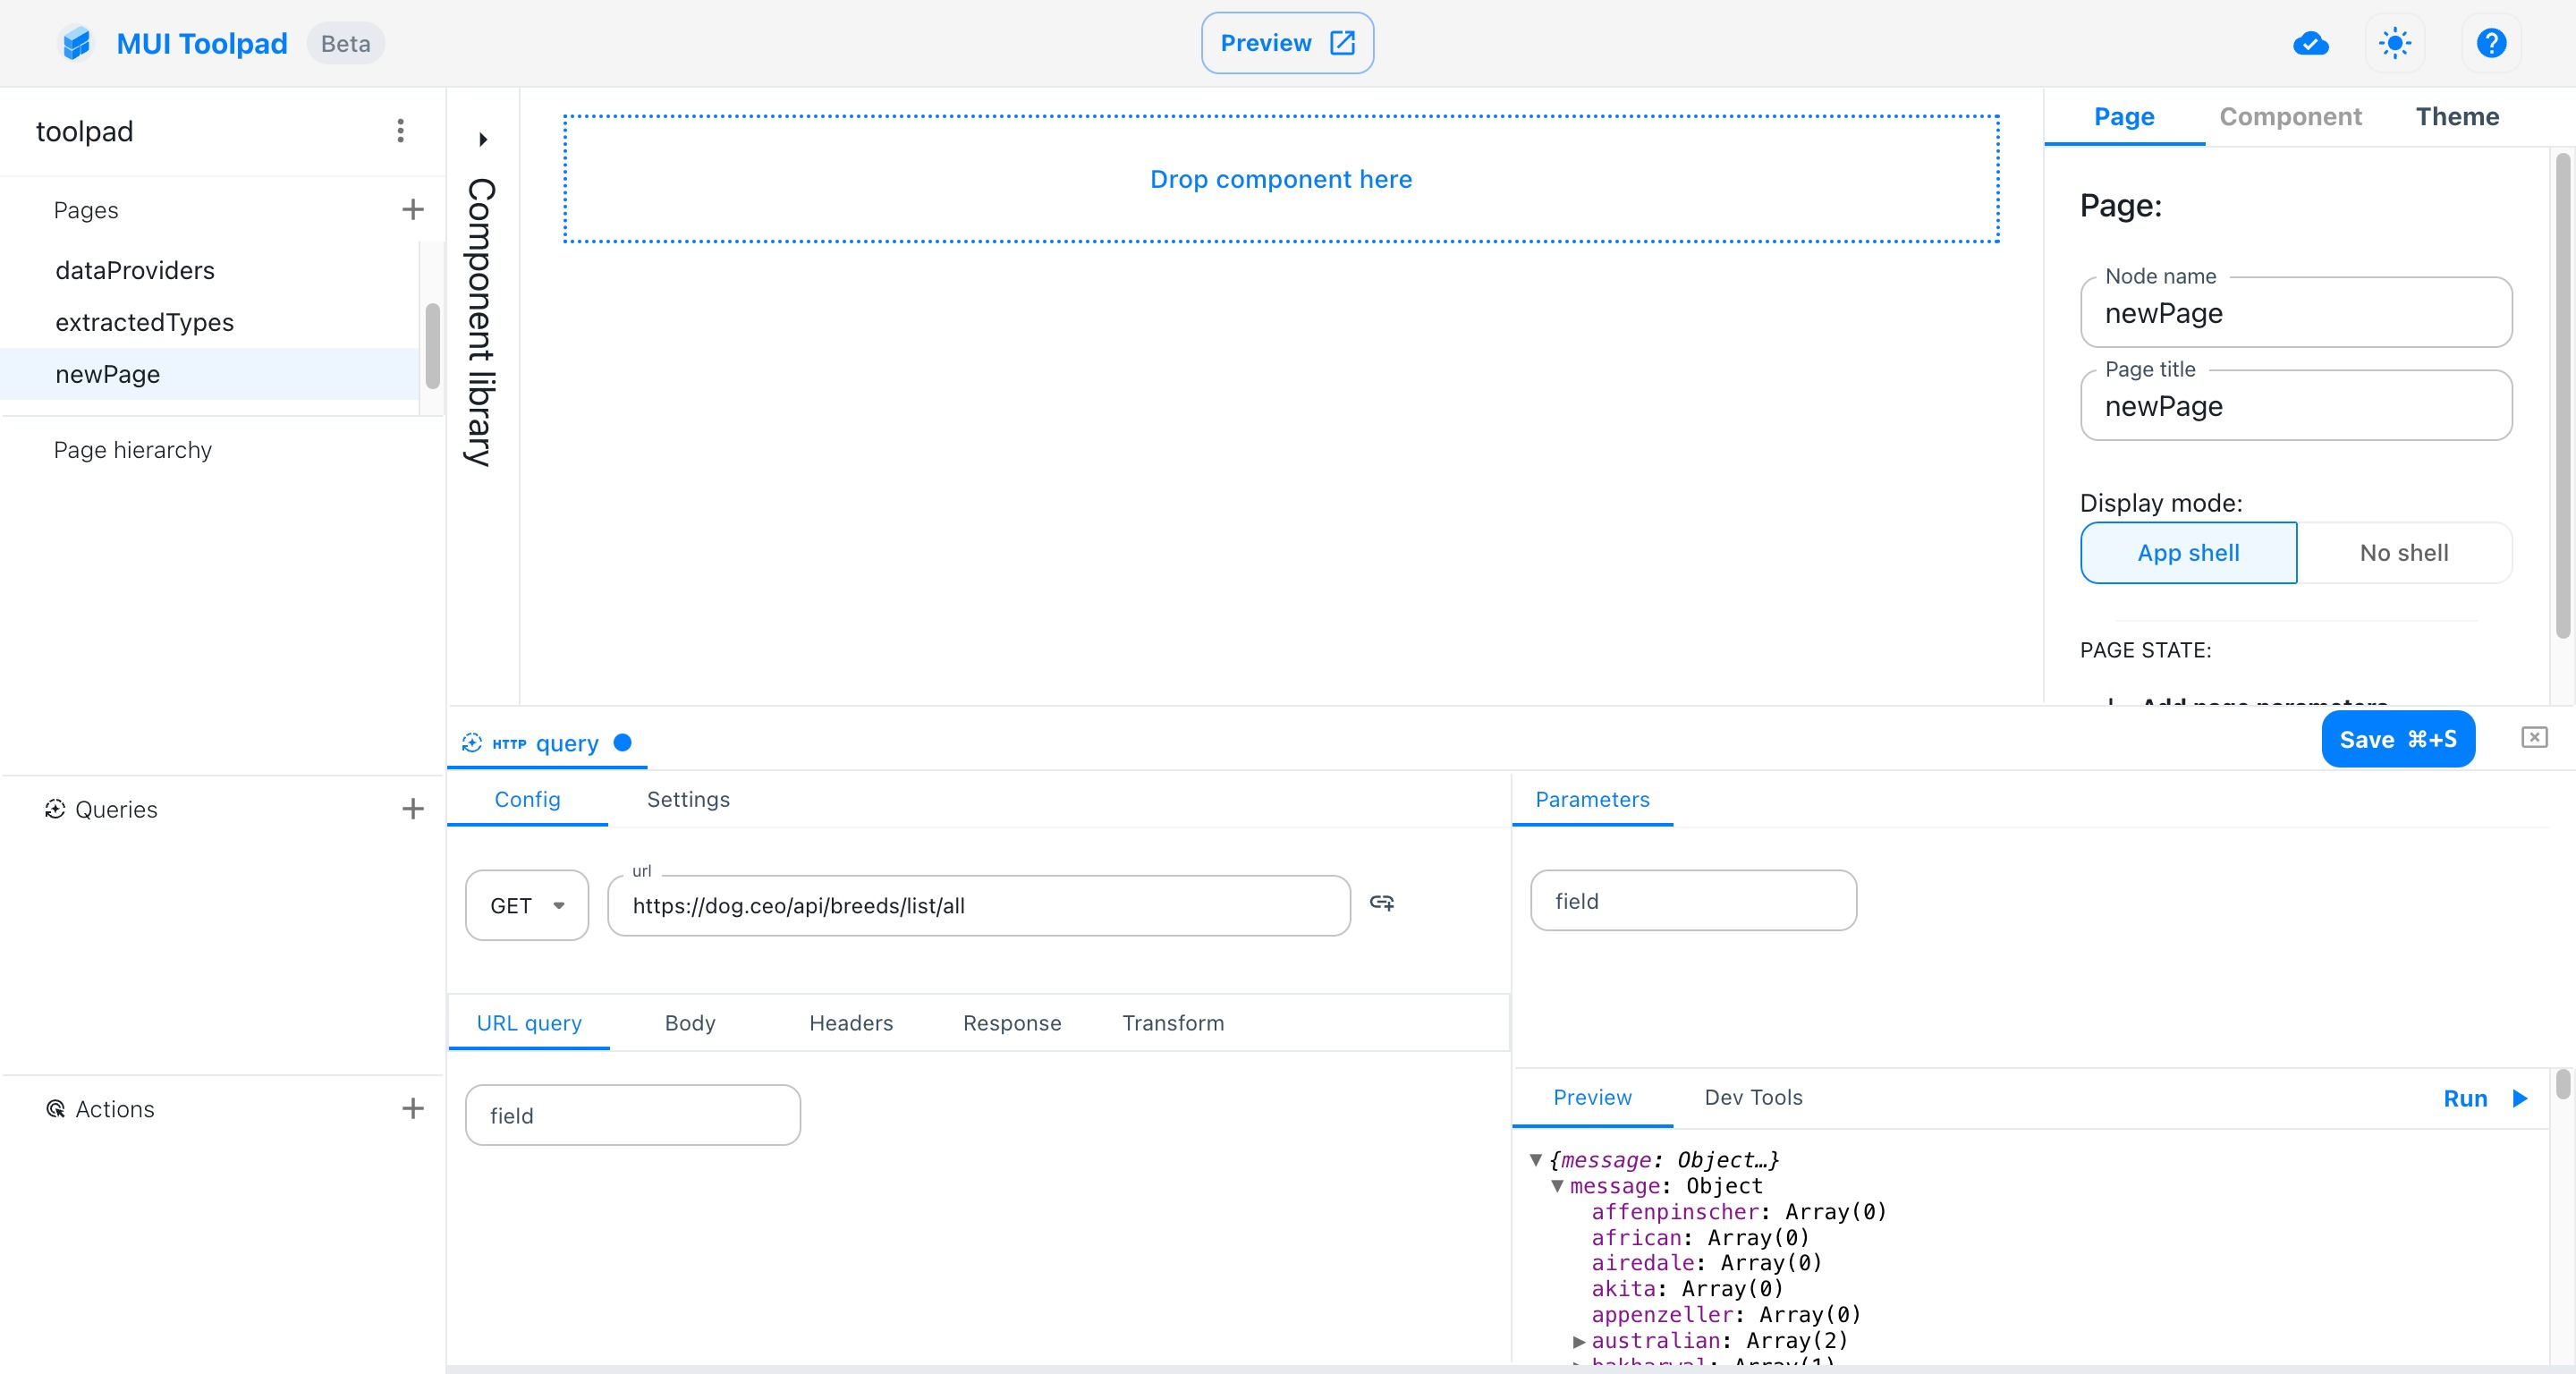
The dog API response
To transform the response according to our needs, we choose the Transform tab and enable the Transform response option. Write the JavaScript expression:
return Object.entries(data.message);in the editor. Click Run again to verify the result.

The dog API response transformed
- Click on Save to save the query, and then rename it to
dogQueryby double clicking on it in the explorer.
Bind data to UI
Next, we will bind this data to components on the page. Click the Data Grid component to select it.
Find the rows property in the inspector. Notice that there's a small Bind button to its right. Properties with this button next to them can be bound to state available on the page:
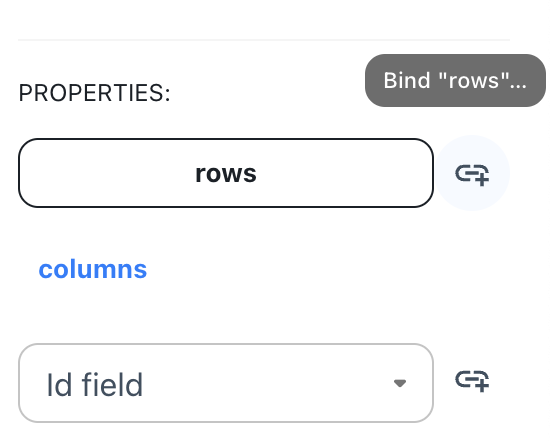
The bindable rows property
Click the button to open the binding editor. On the left you'll see a list of all bindable state in the page and on the right there's a code editor that accepts any JavaScript expression.
Use the
dogQueryavailable in the scope as a binding expression.dogQuery.data;save the binding and close the binding editor.
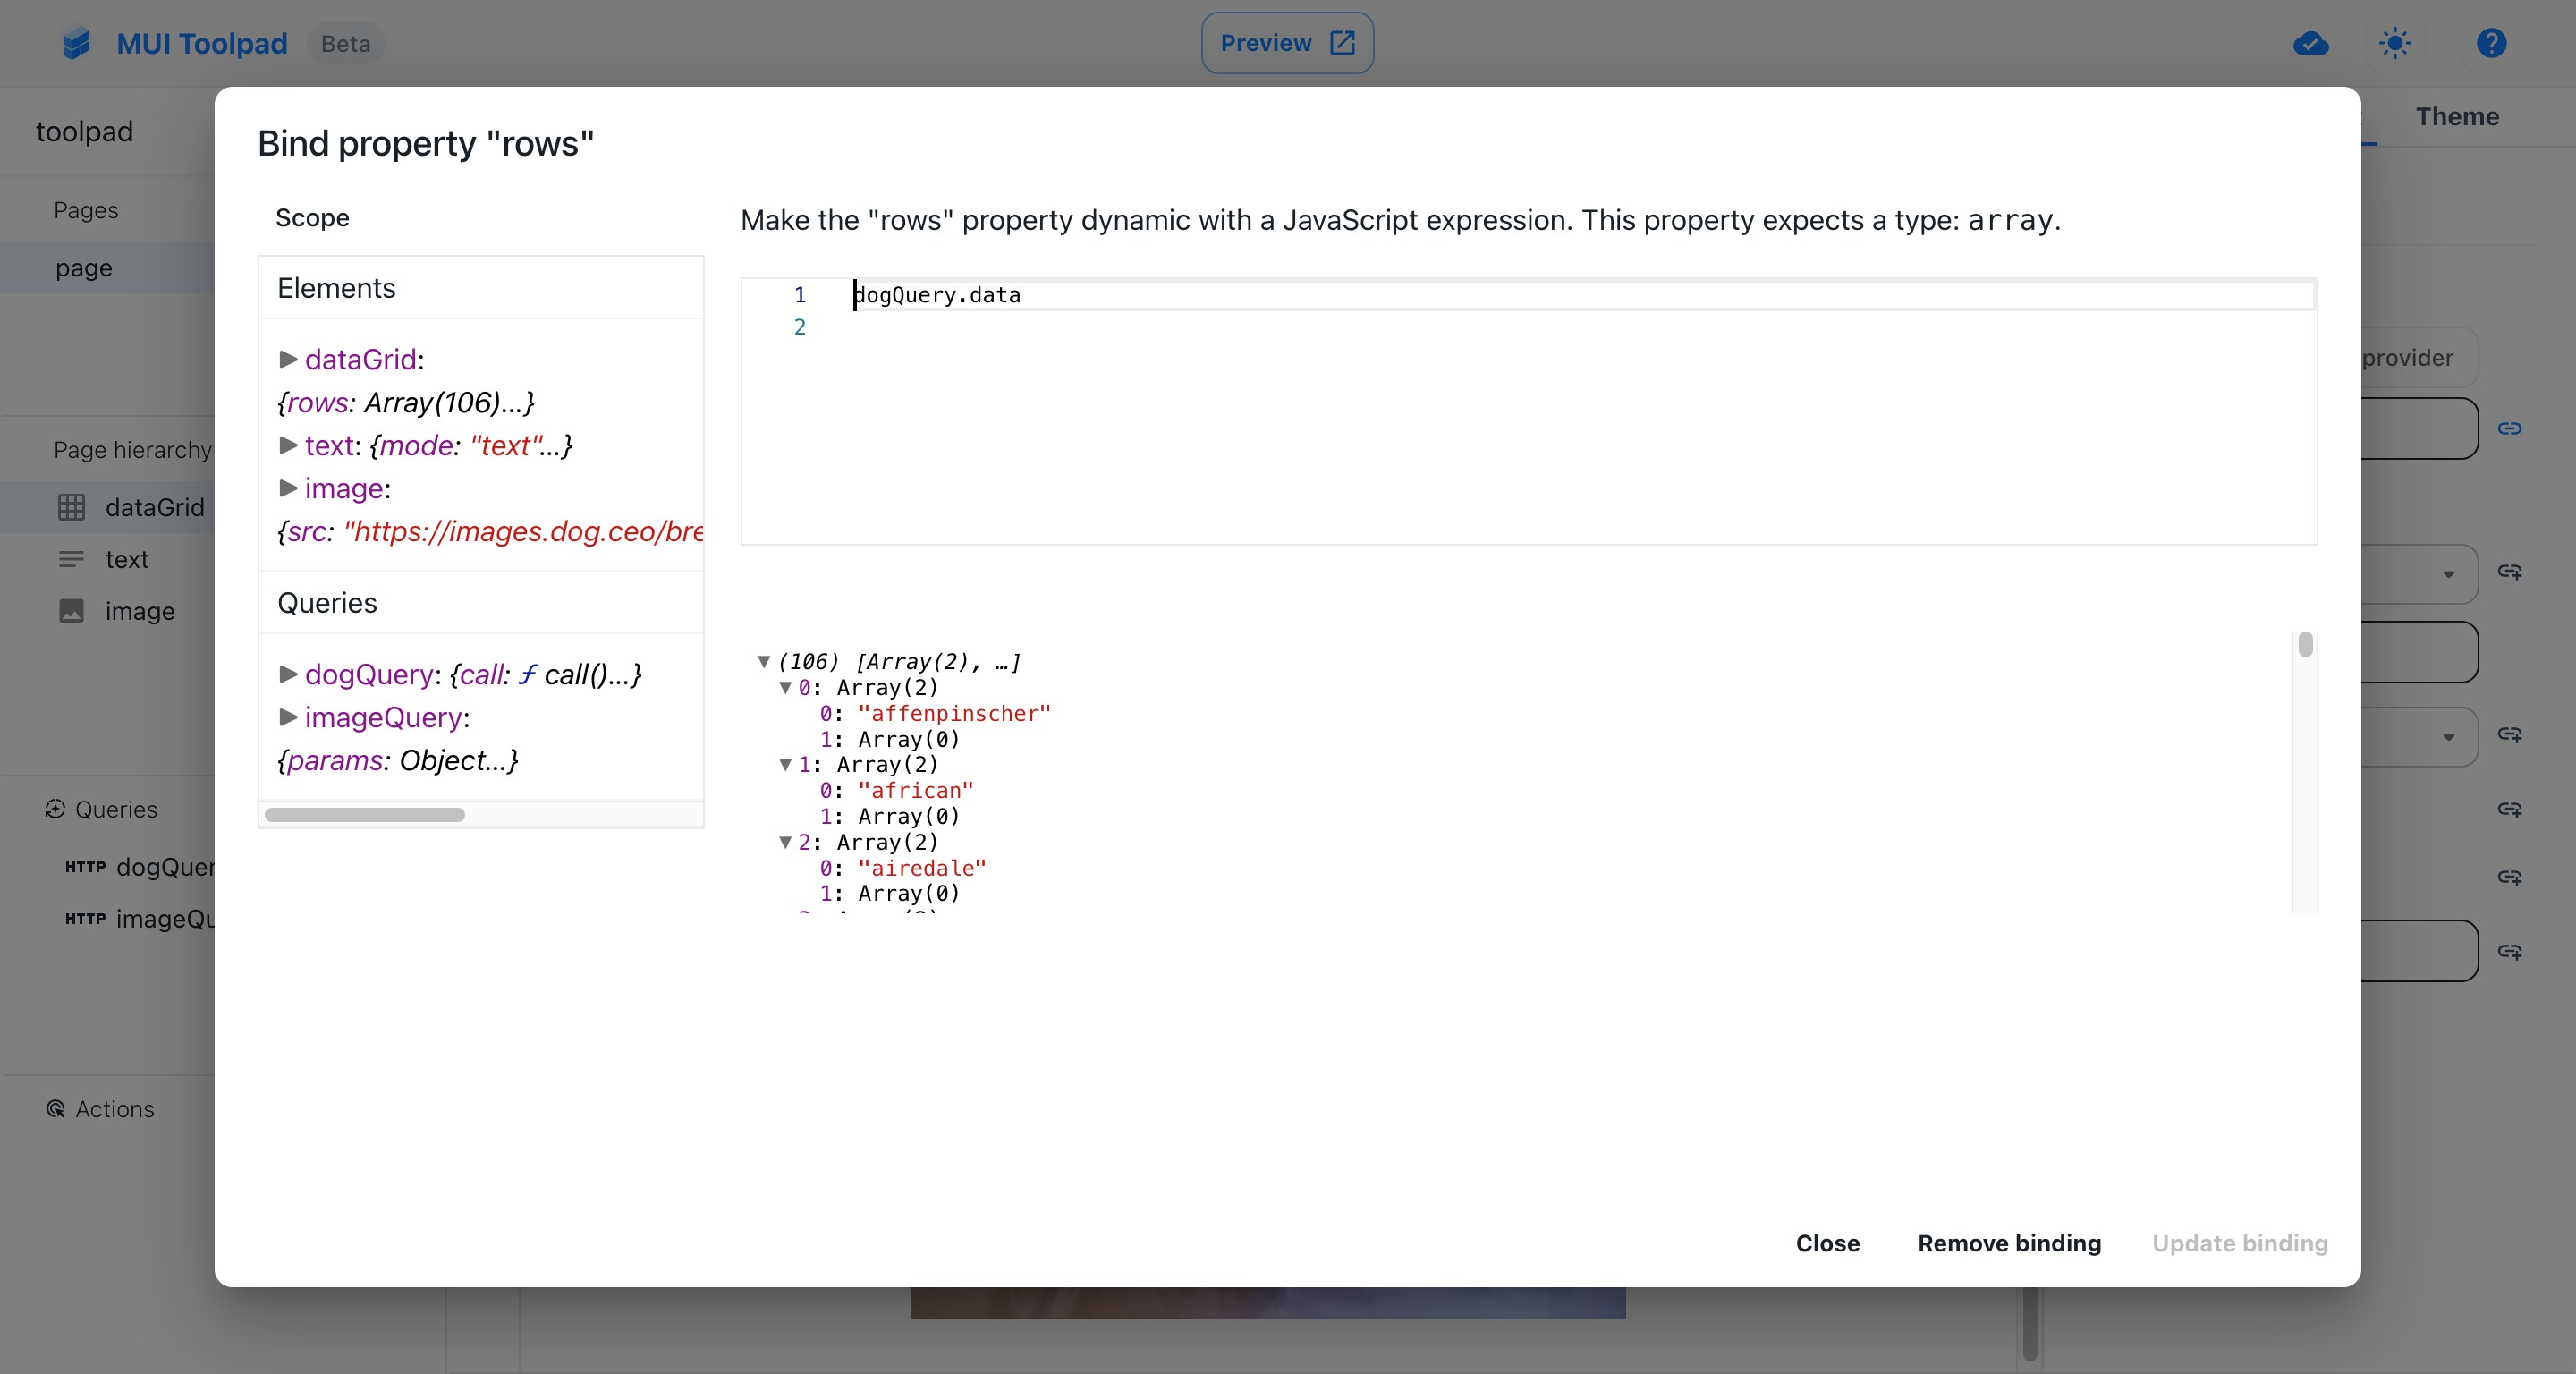
The binding editor
- If all went well, the Data Grid will now display the data from our query:
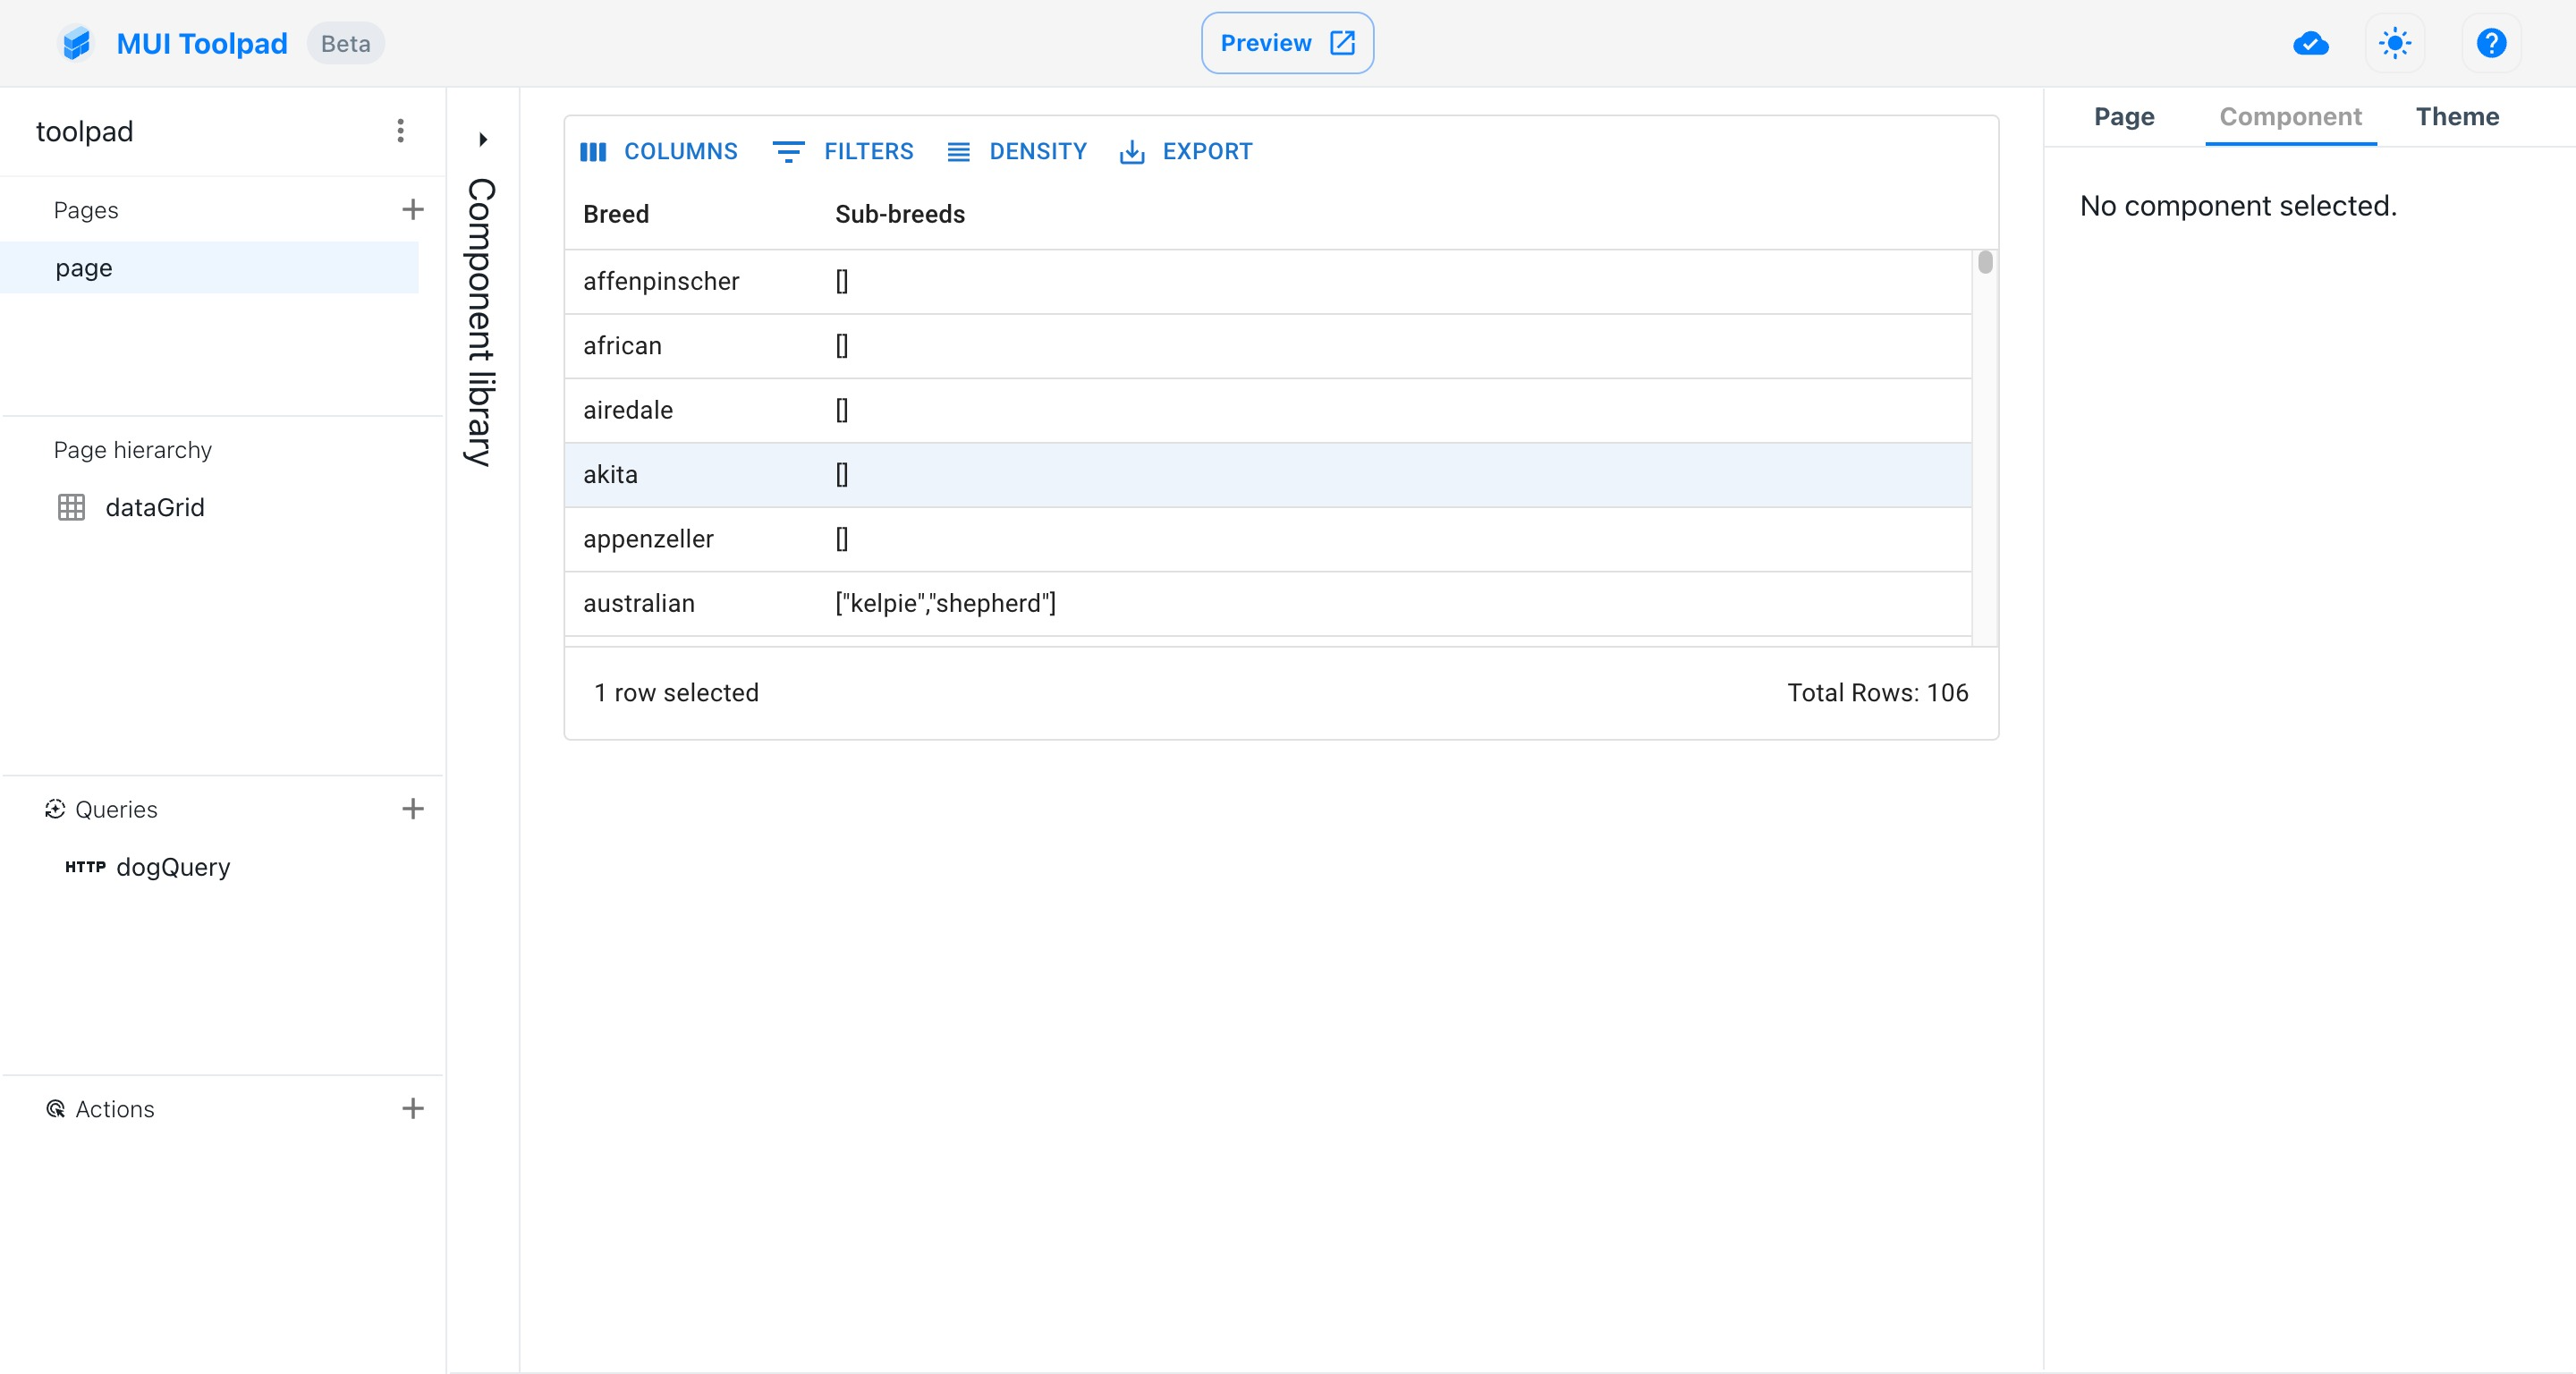
The data grid with bound data
Make the app interactive
Now, we can make this app interactive by displaying a random image of the selected breed. We'll create another query which reacts to the selection inside the Data Grid component.
Create another query of the REST API type and add a
breedparameter in the Parameters section on the right:
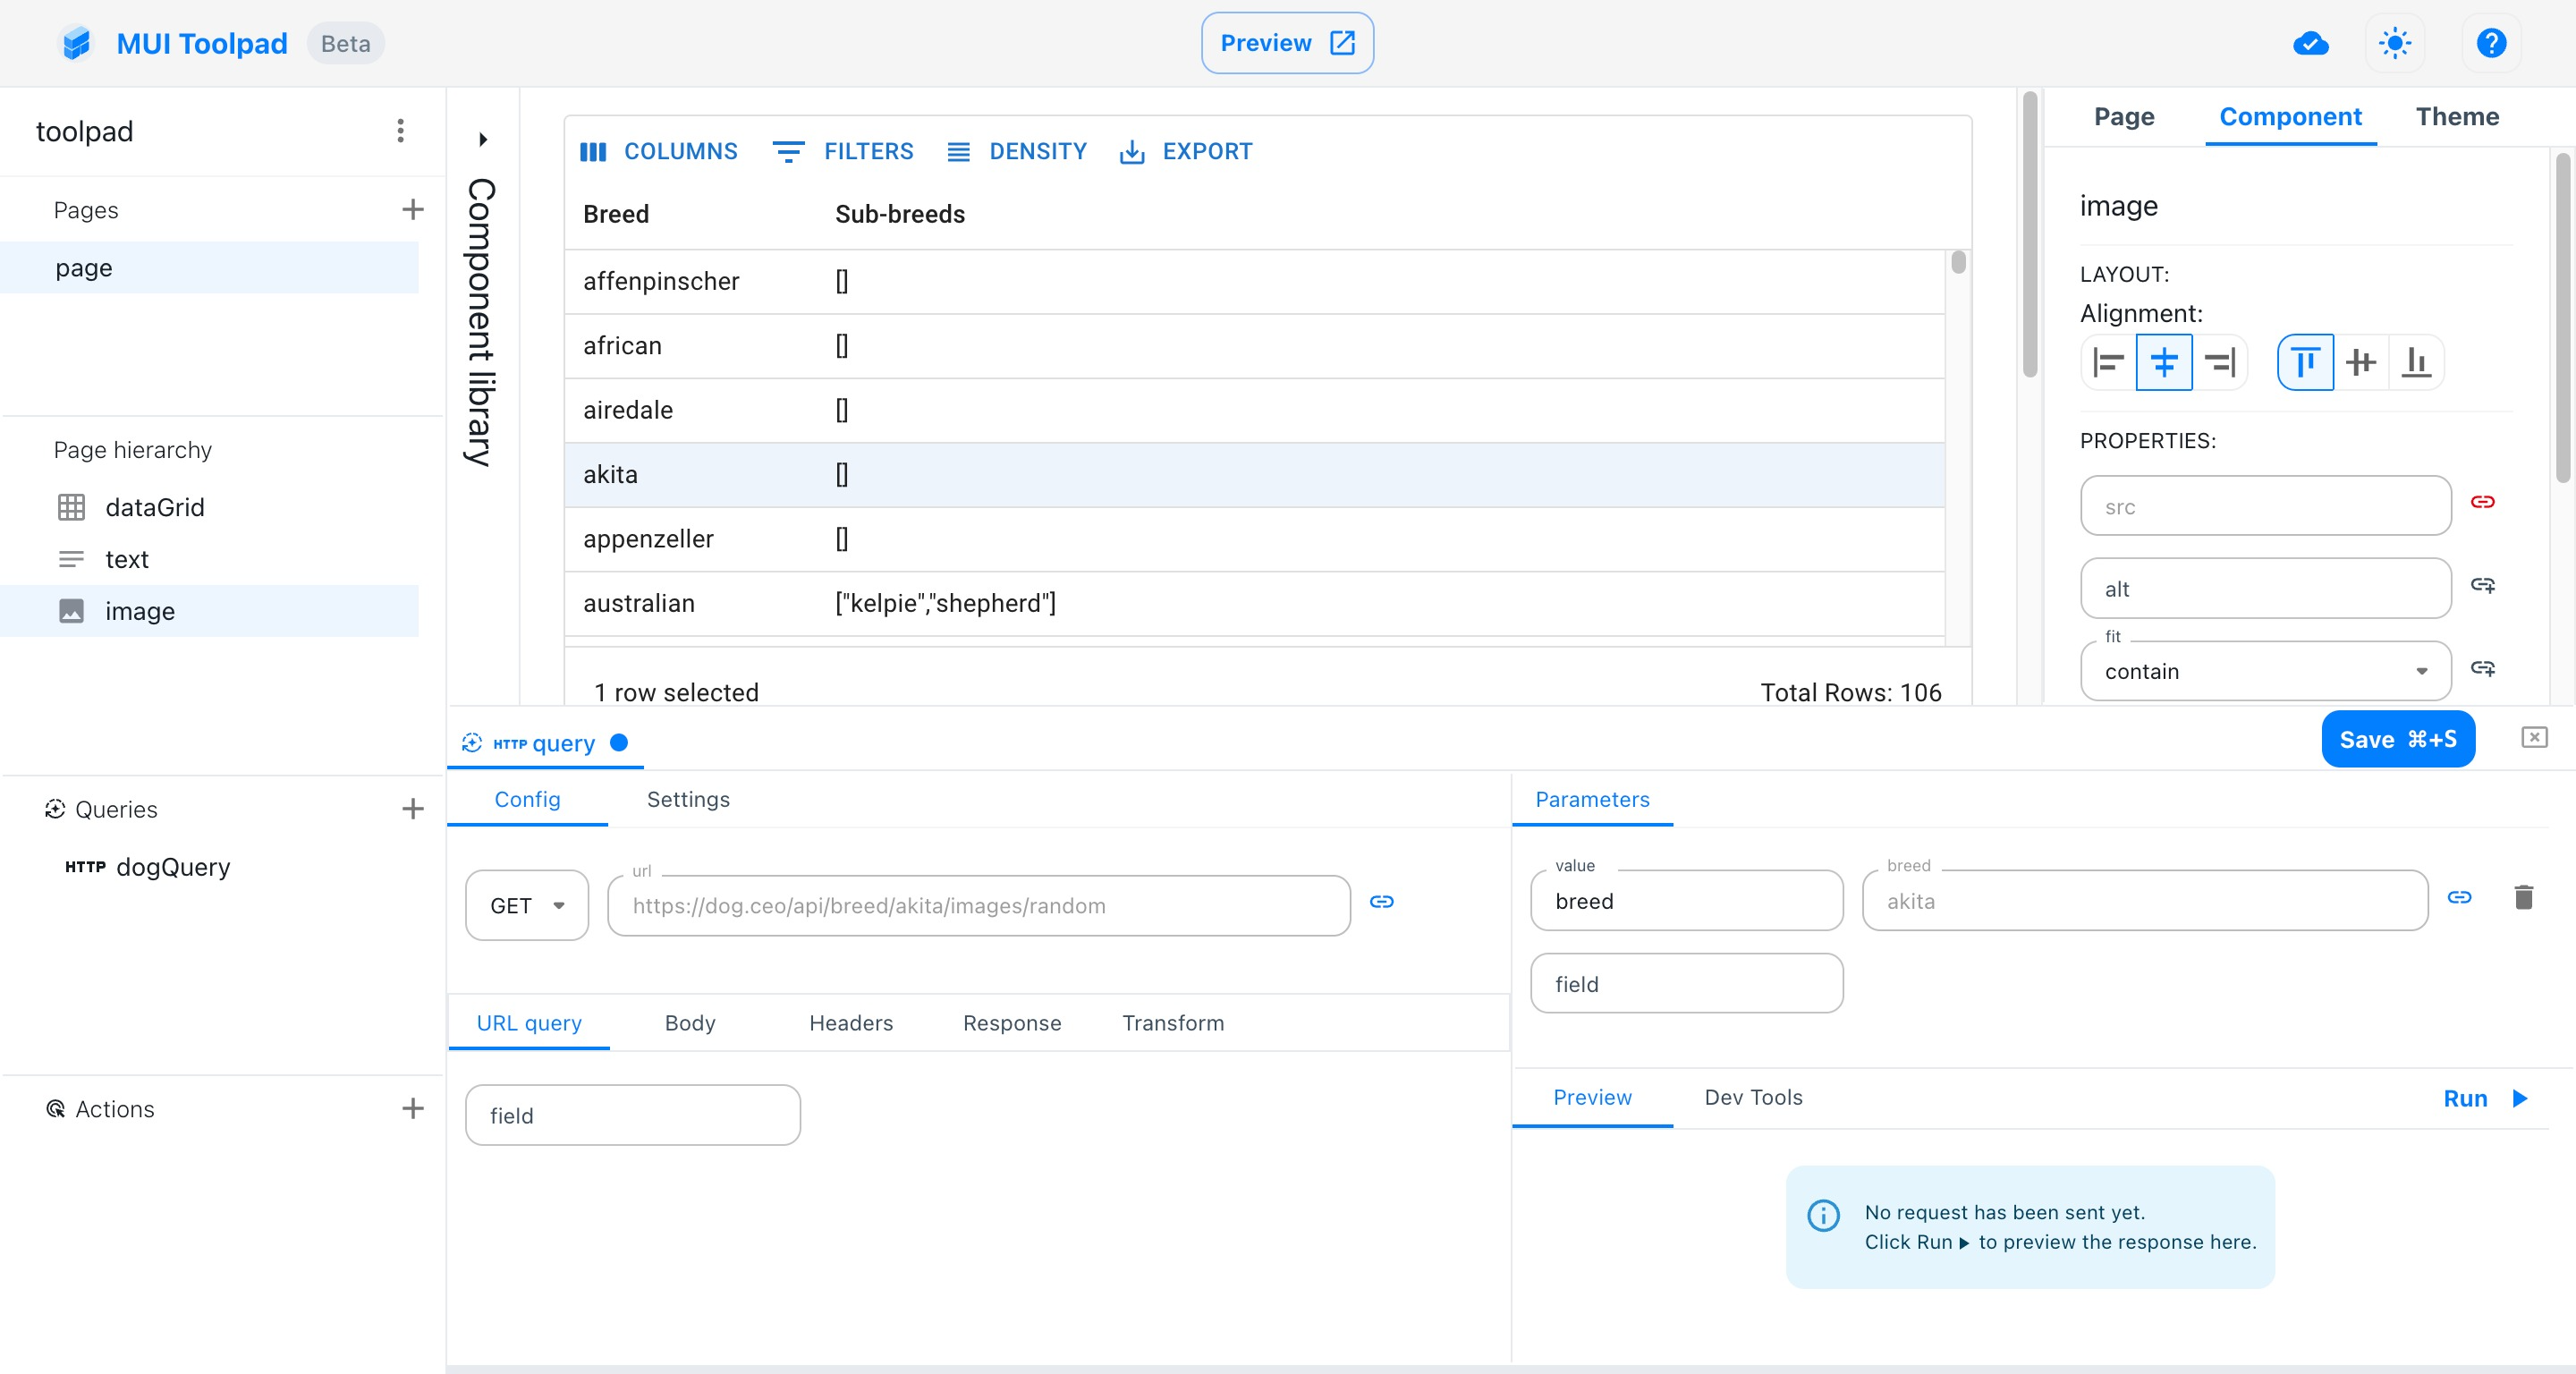
Editing imageQuery
Click on the Bind button next to the breed parameter value, and add the following JavaScript expression in the binding editor:
dataGrid.selection?.[0] ?? 'akita'This will use the selected value from the Data Grid, and default to the "akita" breed when no row has been selected.
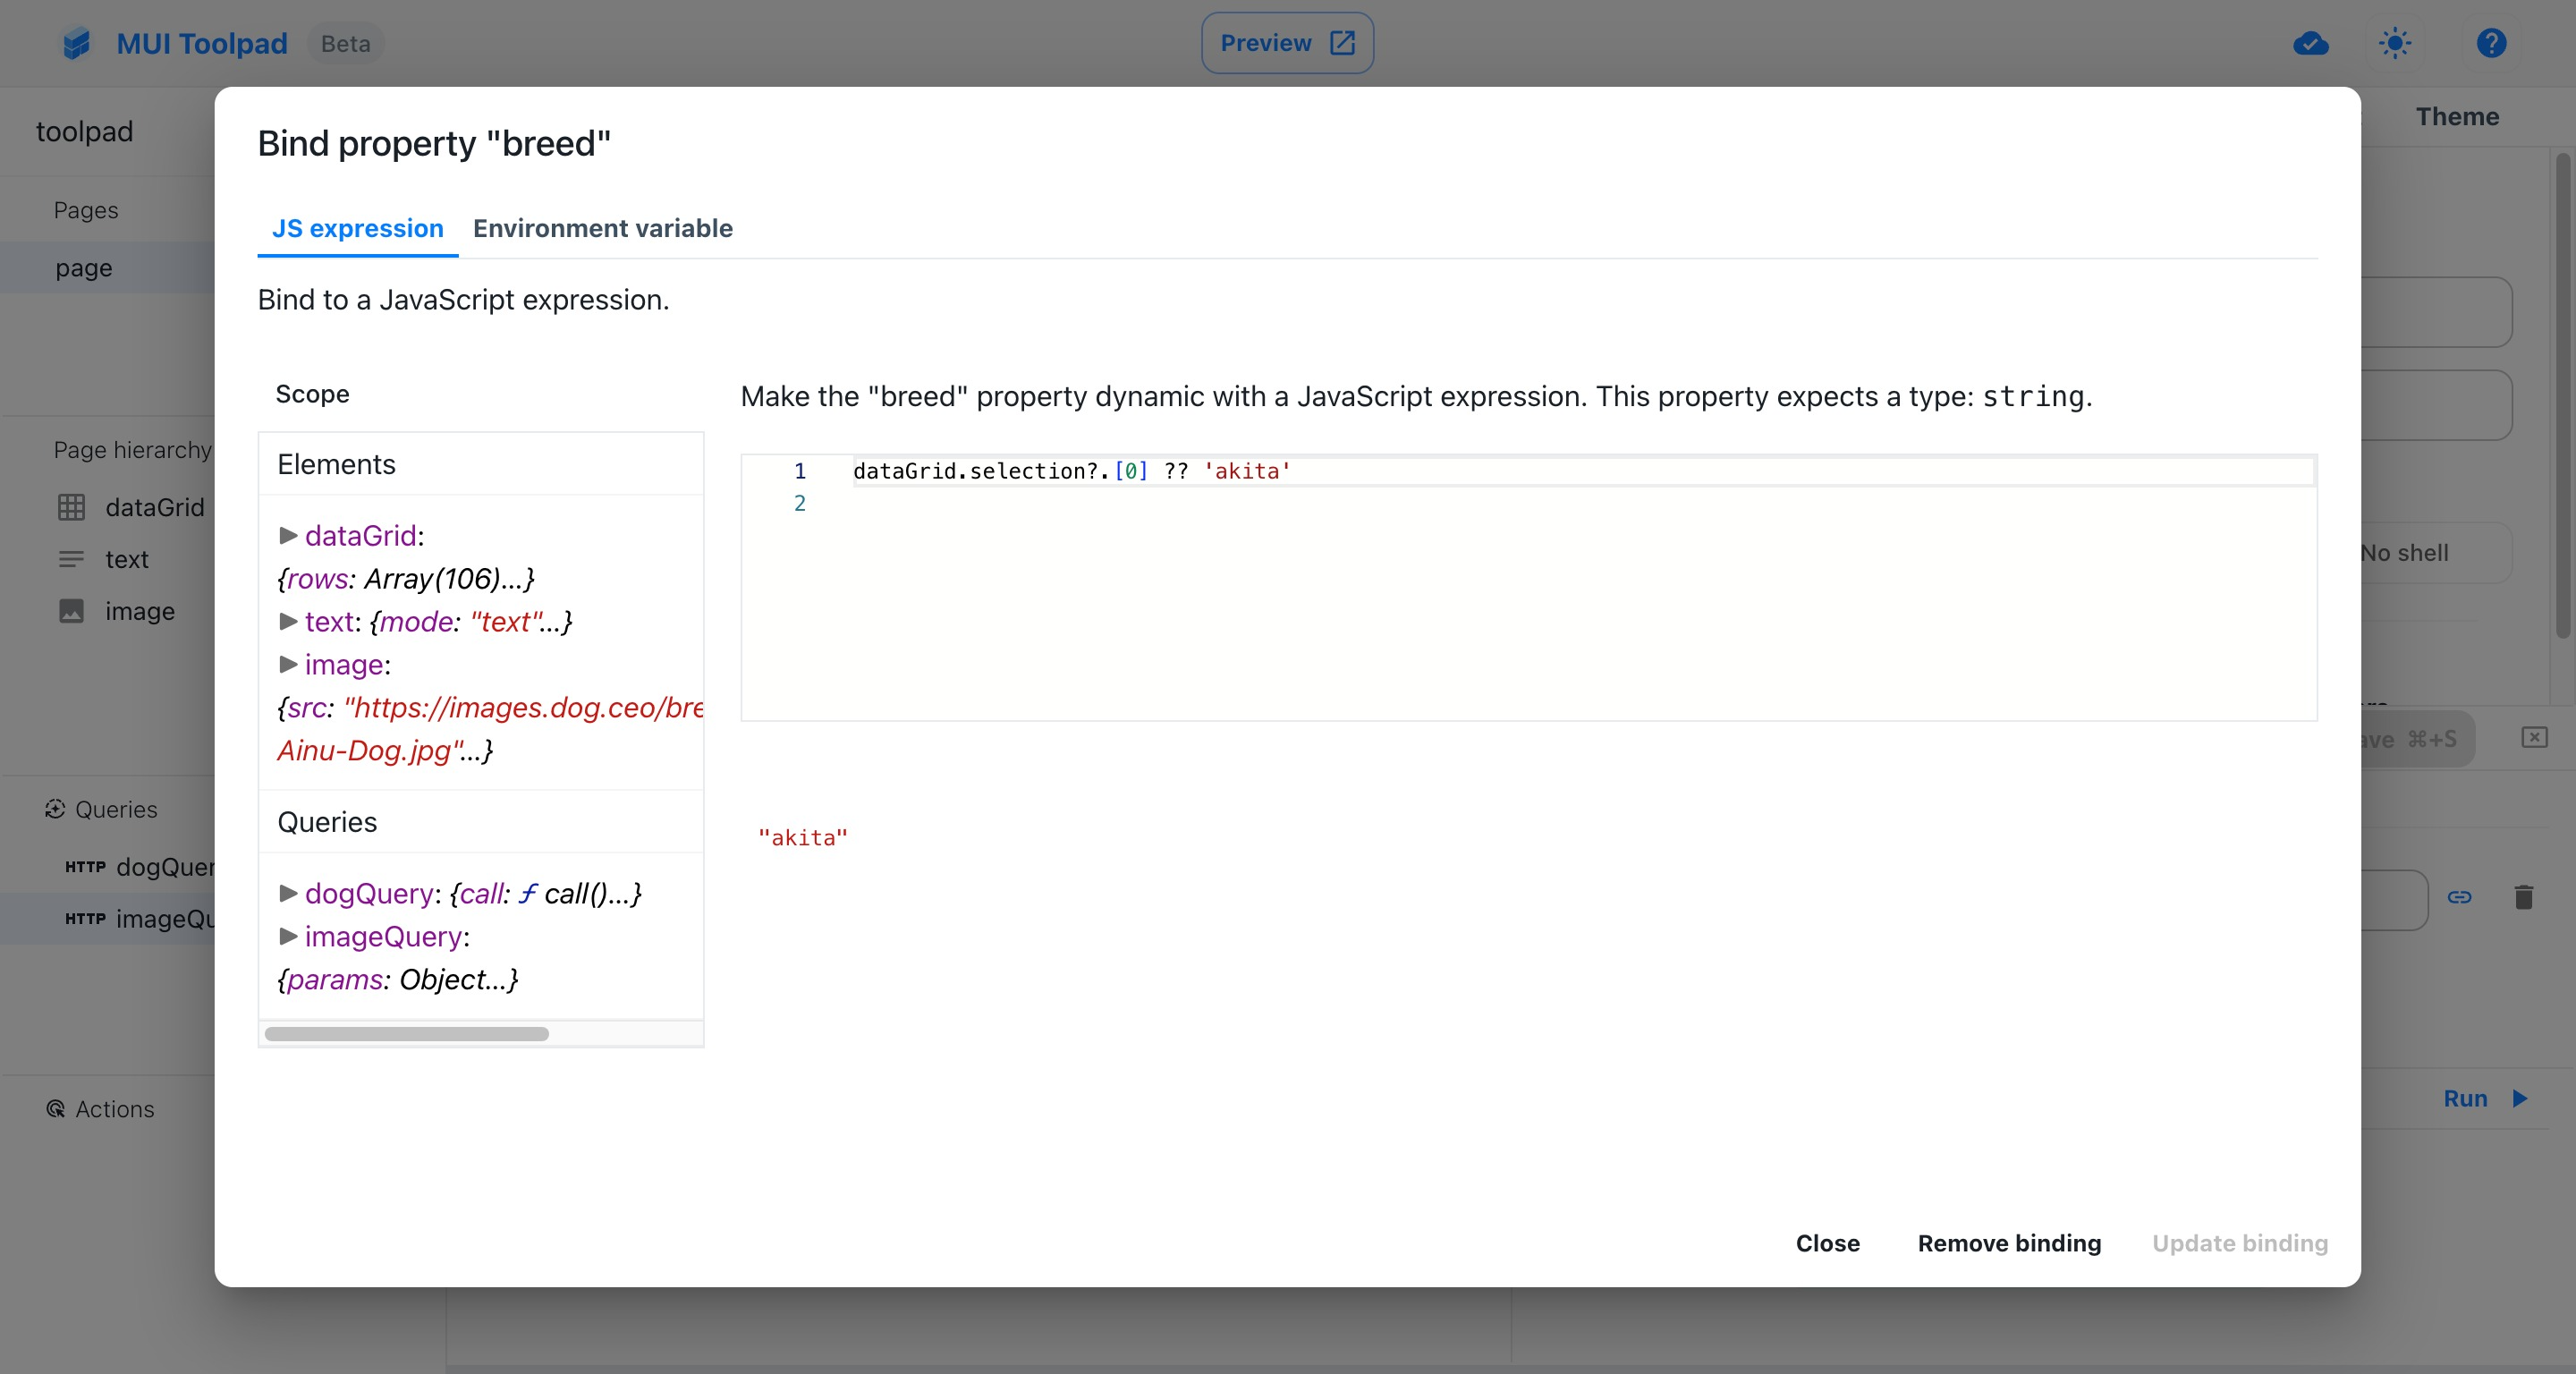
Binding breed to the selected value
Then bind the query URL to the following JavaScript expression:
`https://dog.ceo/api/breed/${parameters.breed}/images/random`
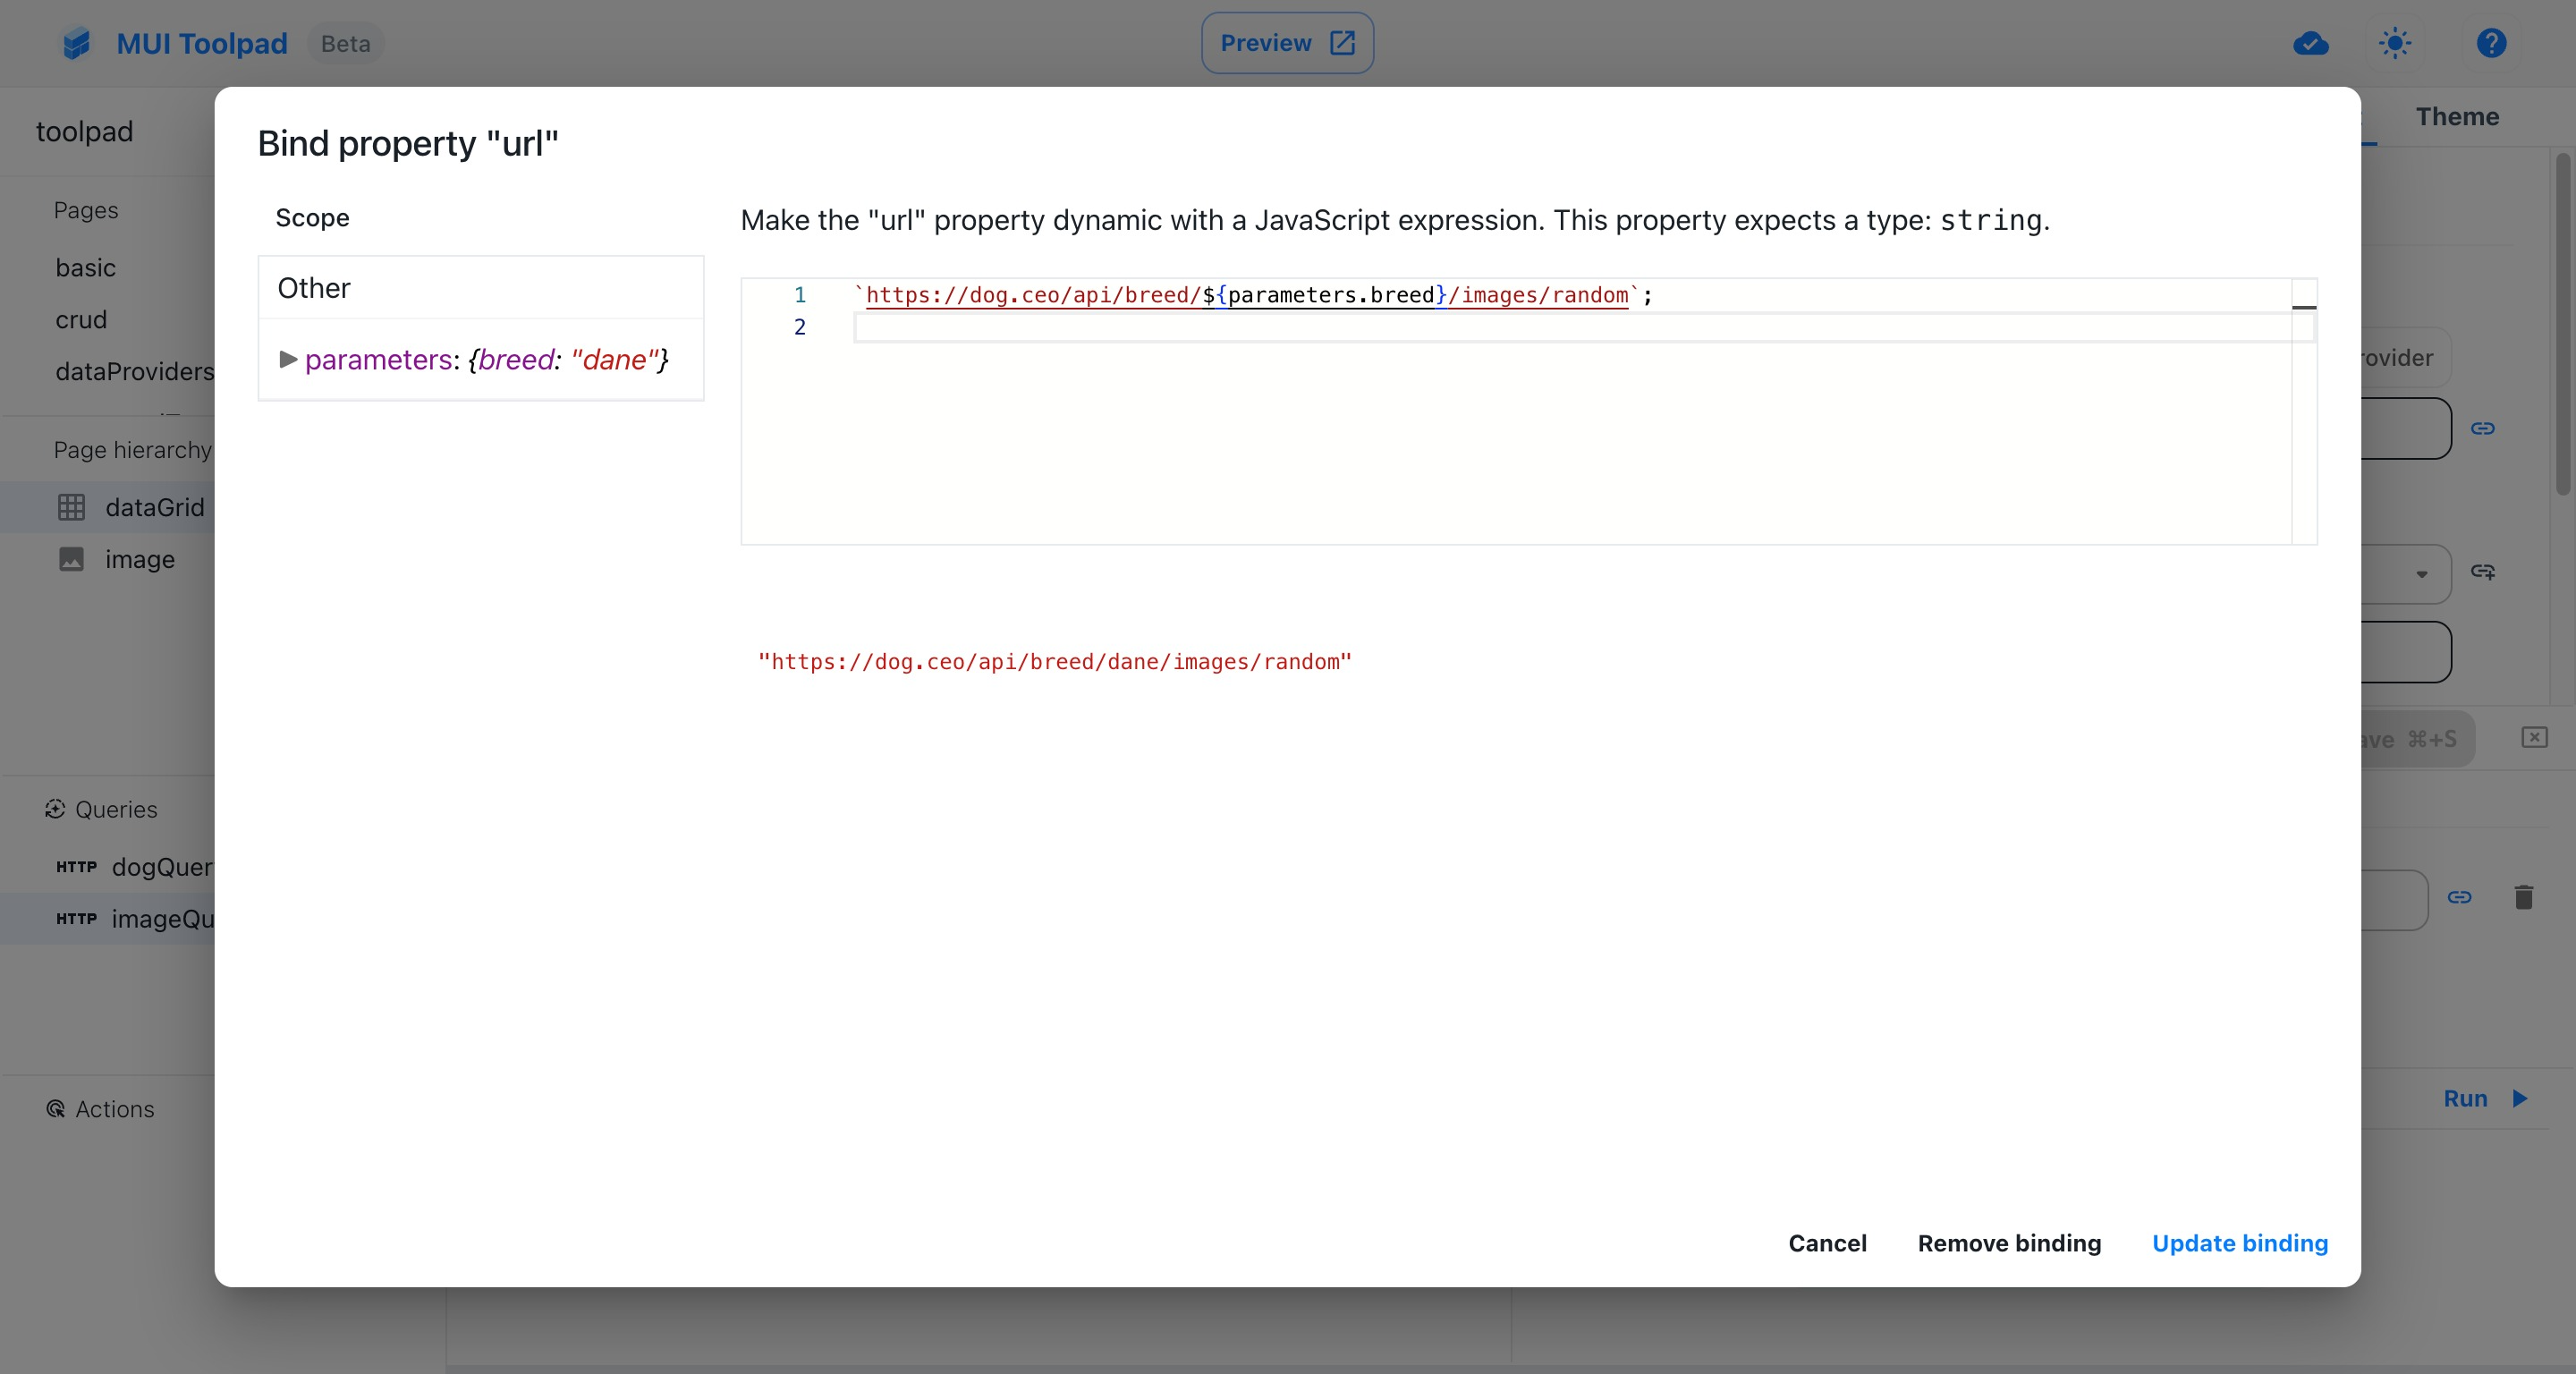
Binding the URL to a JavaScript expression
Save the binding and close the binding editor. Save the query and exit the query editor.
Rename the query to
imageQueryby double clicking on it in the queries explorer.In the canvas select the Image component to view its properties in the inspector. Click on the Bind button next to the
srcprop to open the binding editor, and bind it toimageQuery.data.message.
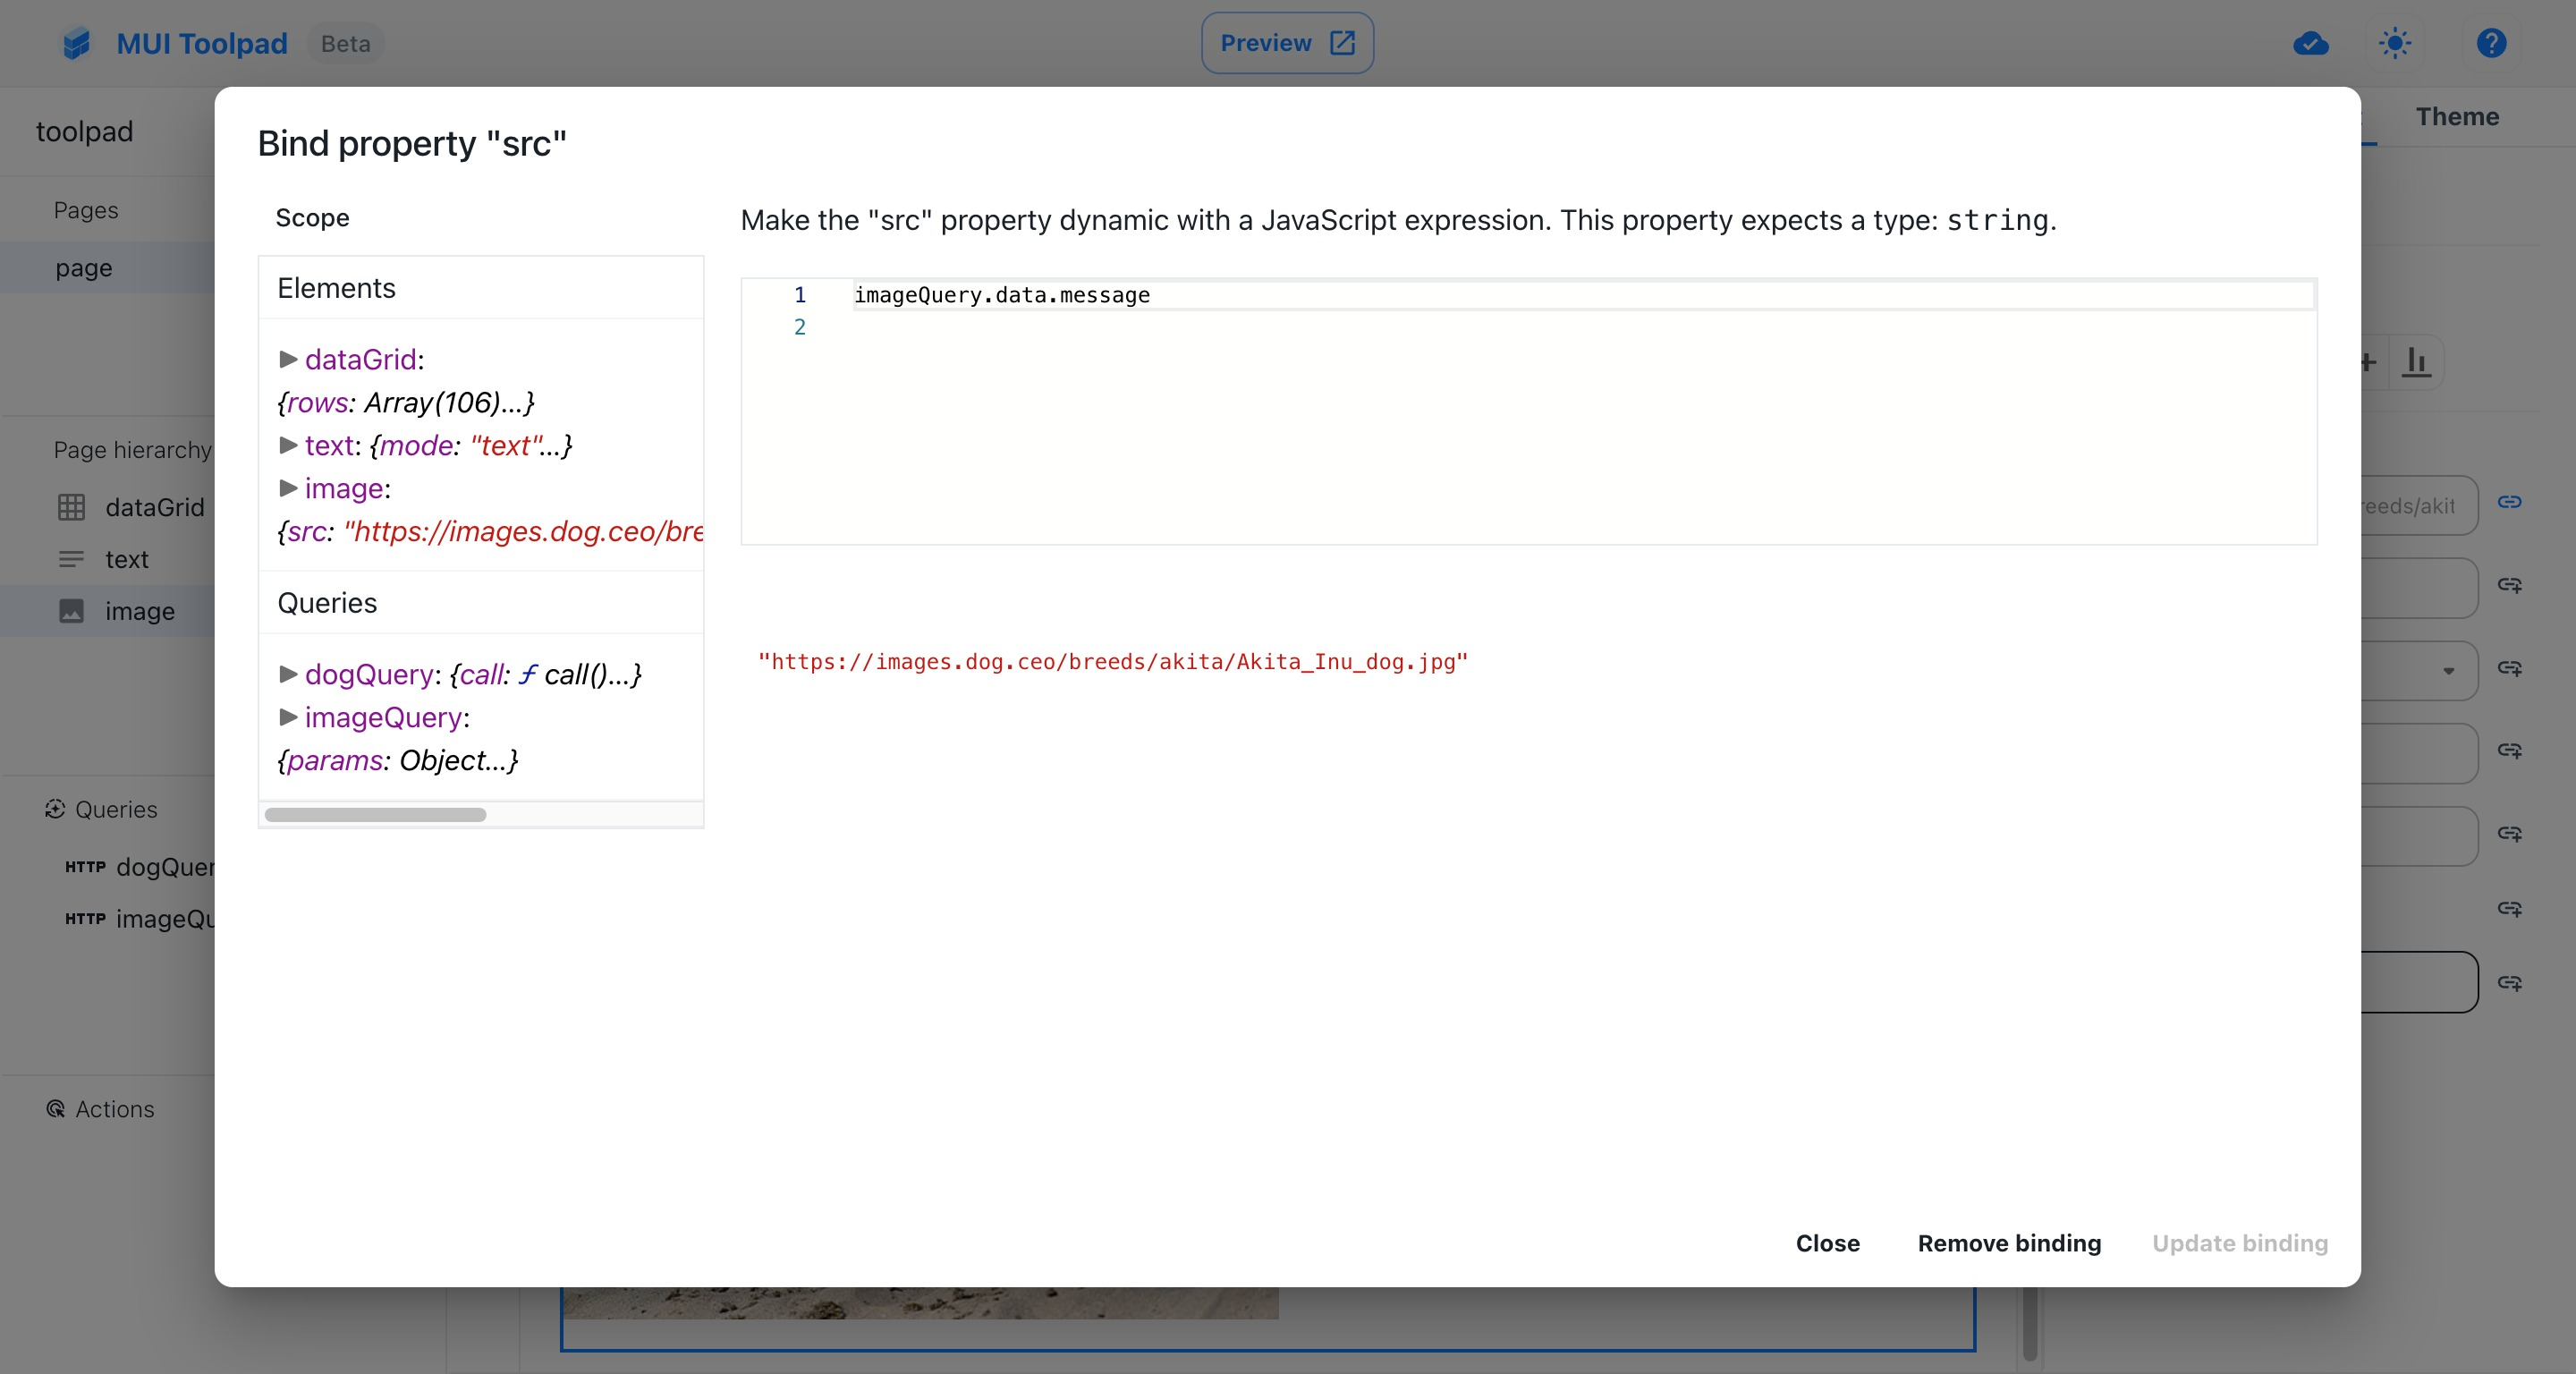
Binding the Image src to the query response
- Try selecting different rows in the data grid to see the image update to a random image of the selected breed.
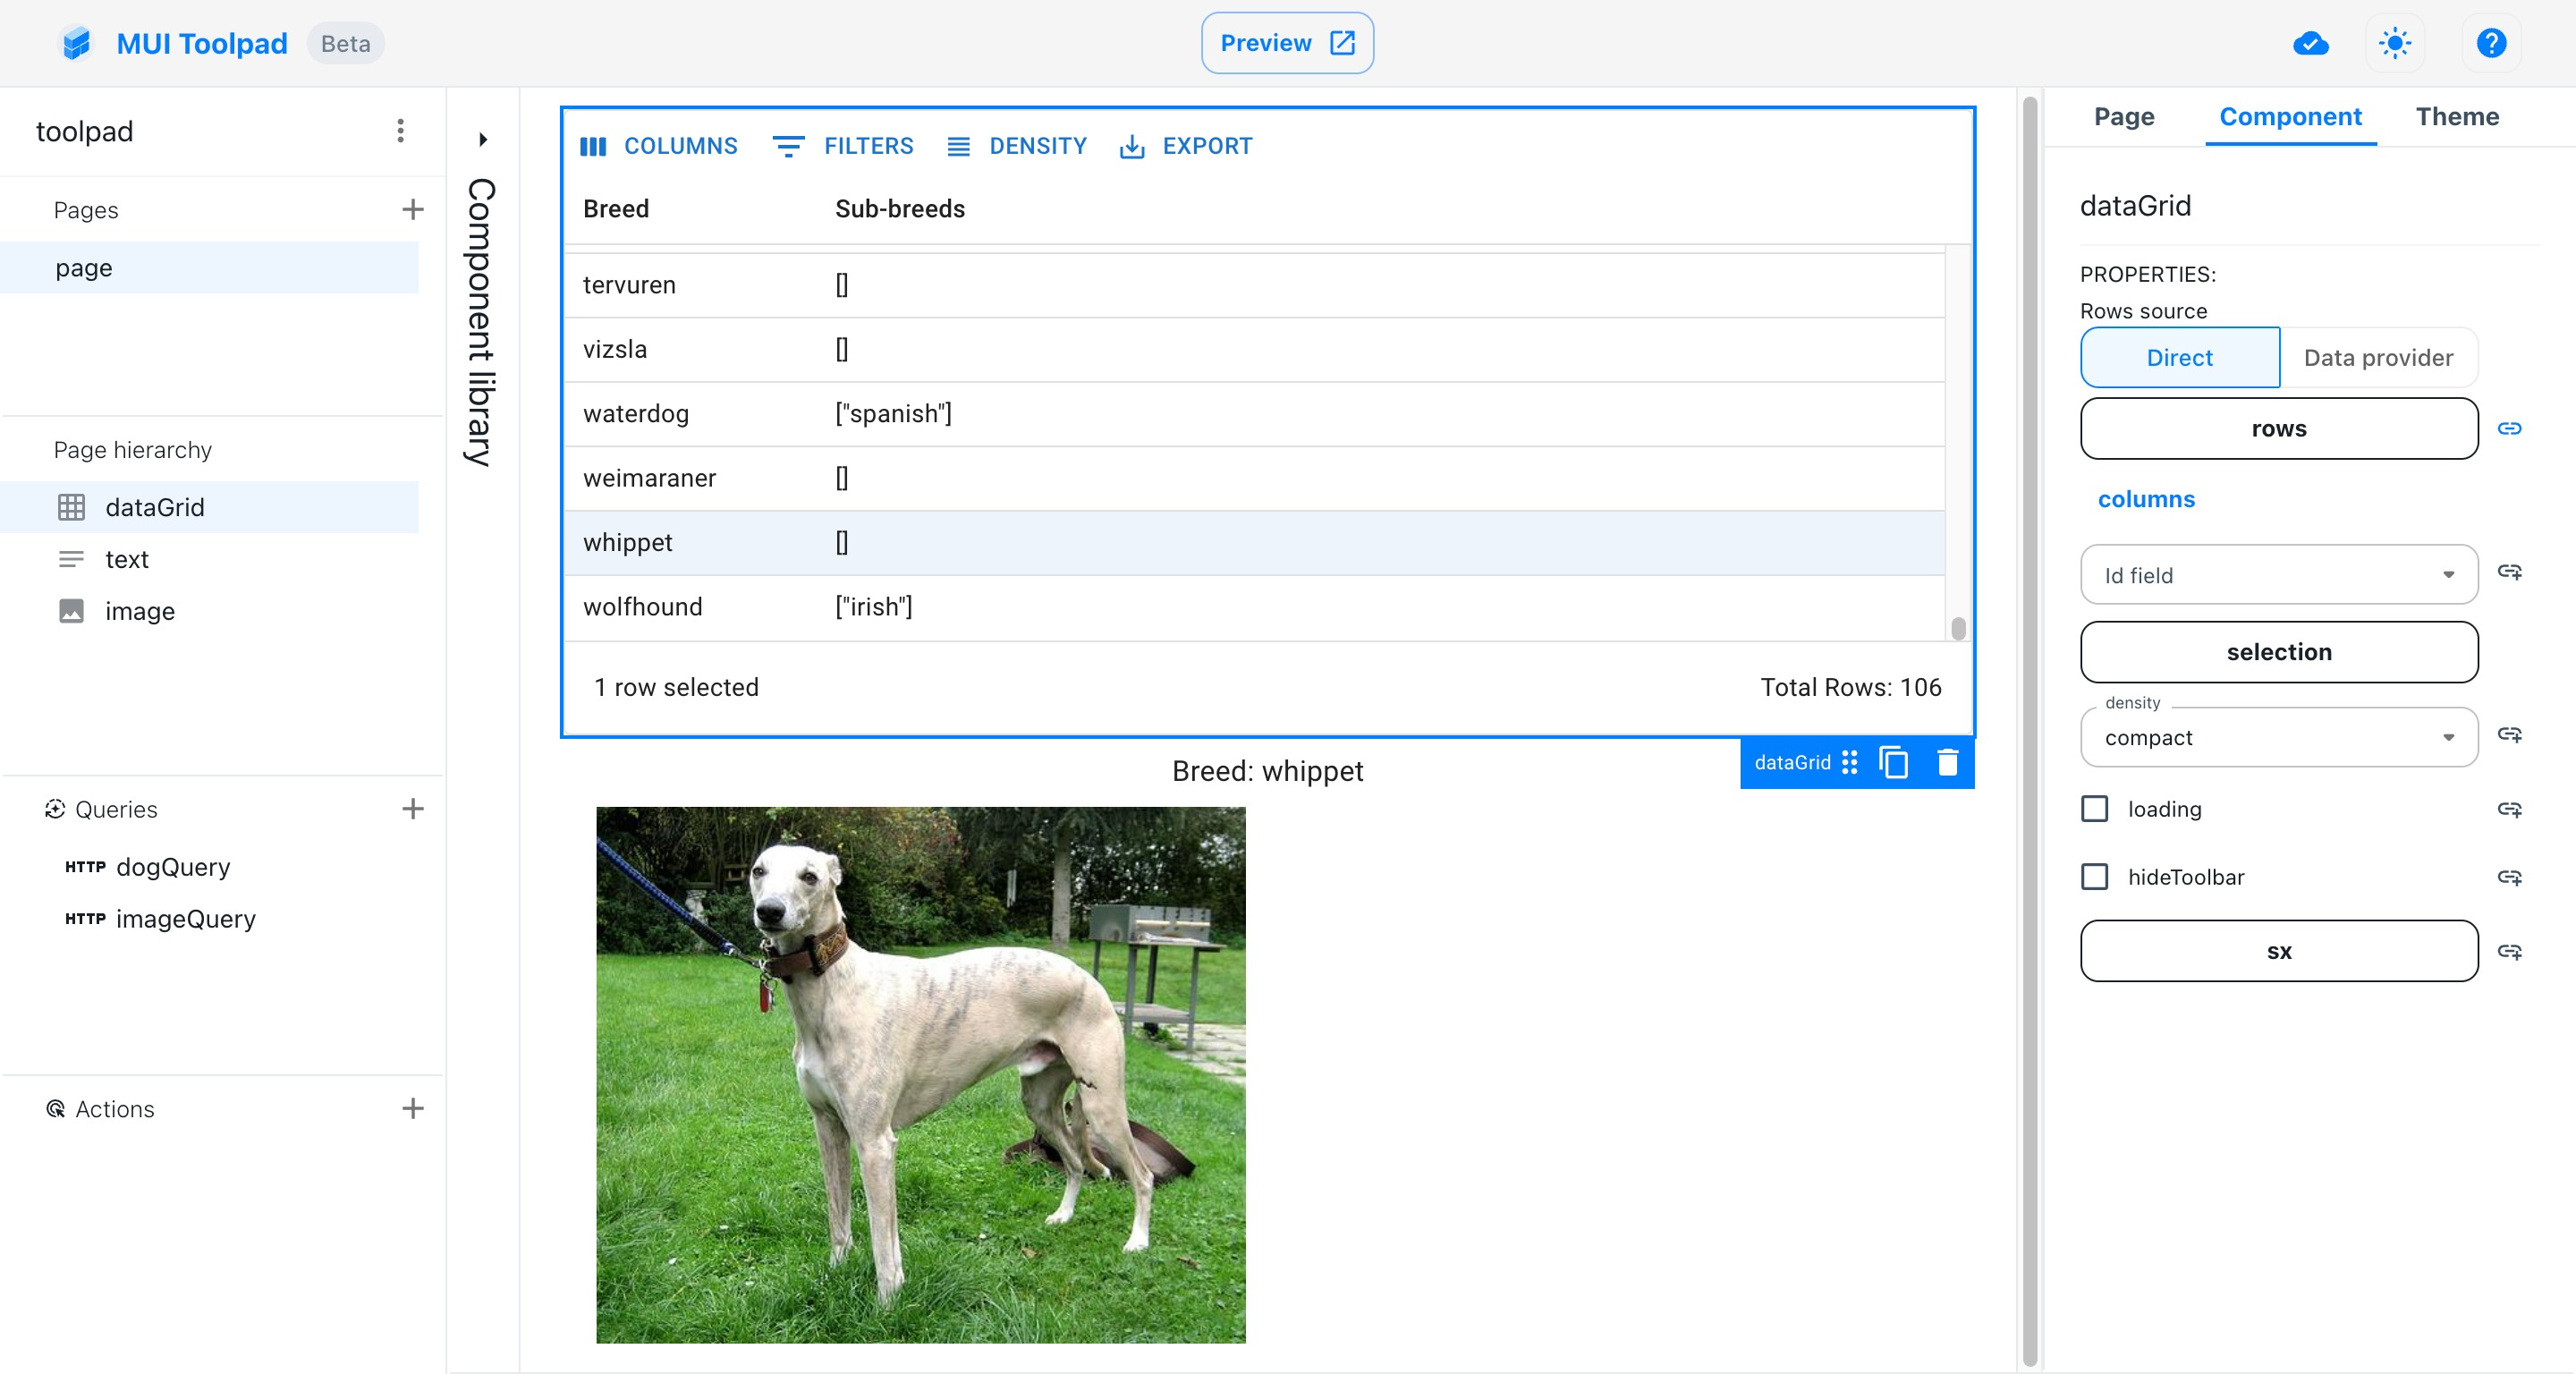
The image changing based on the selected row
Preview the app
- Click on the Preview button to see a preview of what your app will look like when deployed:
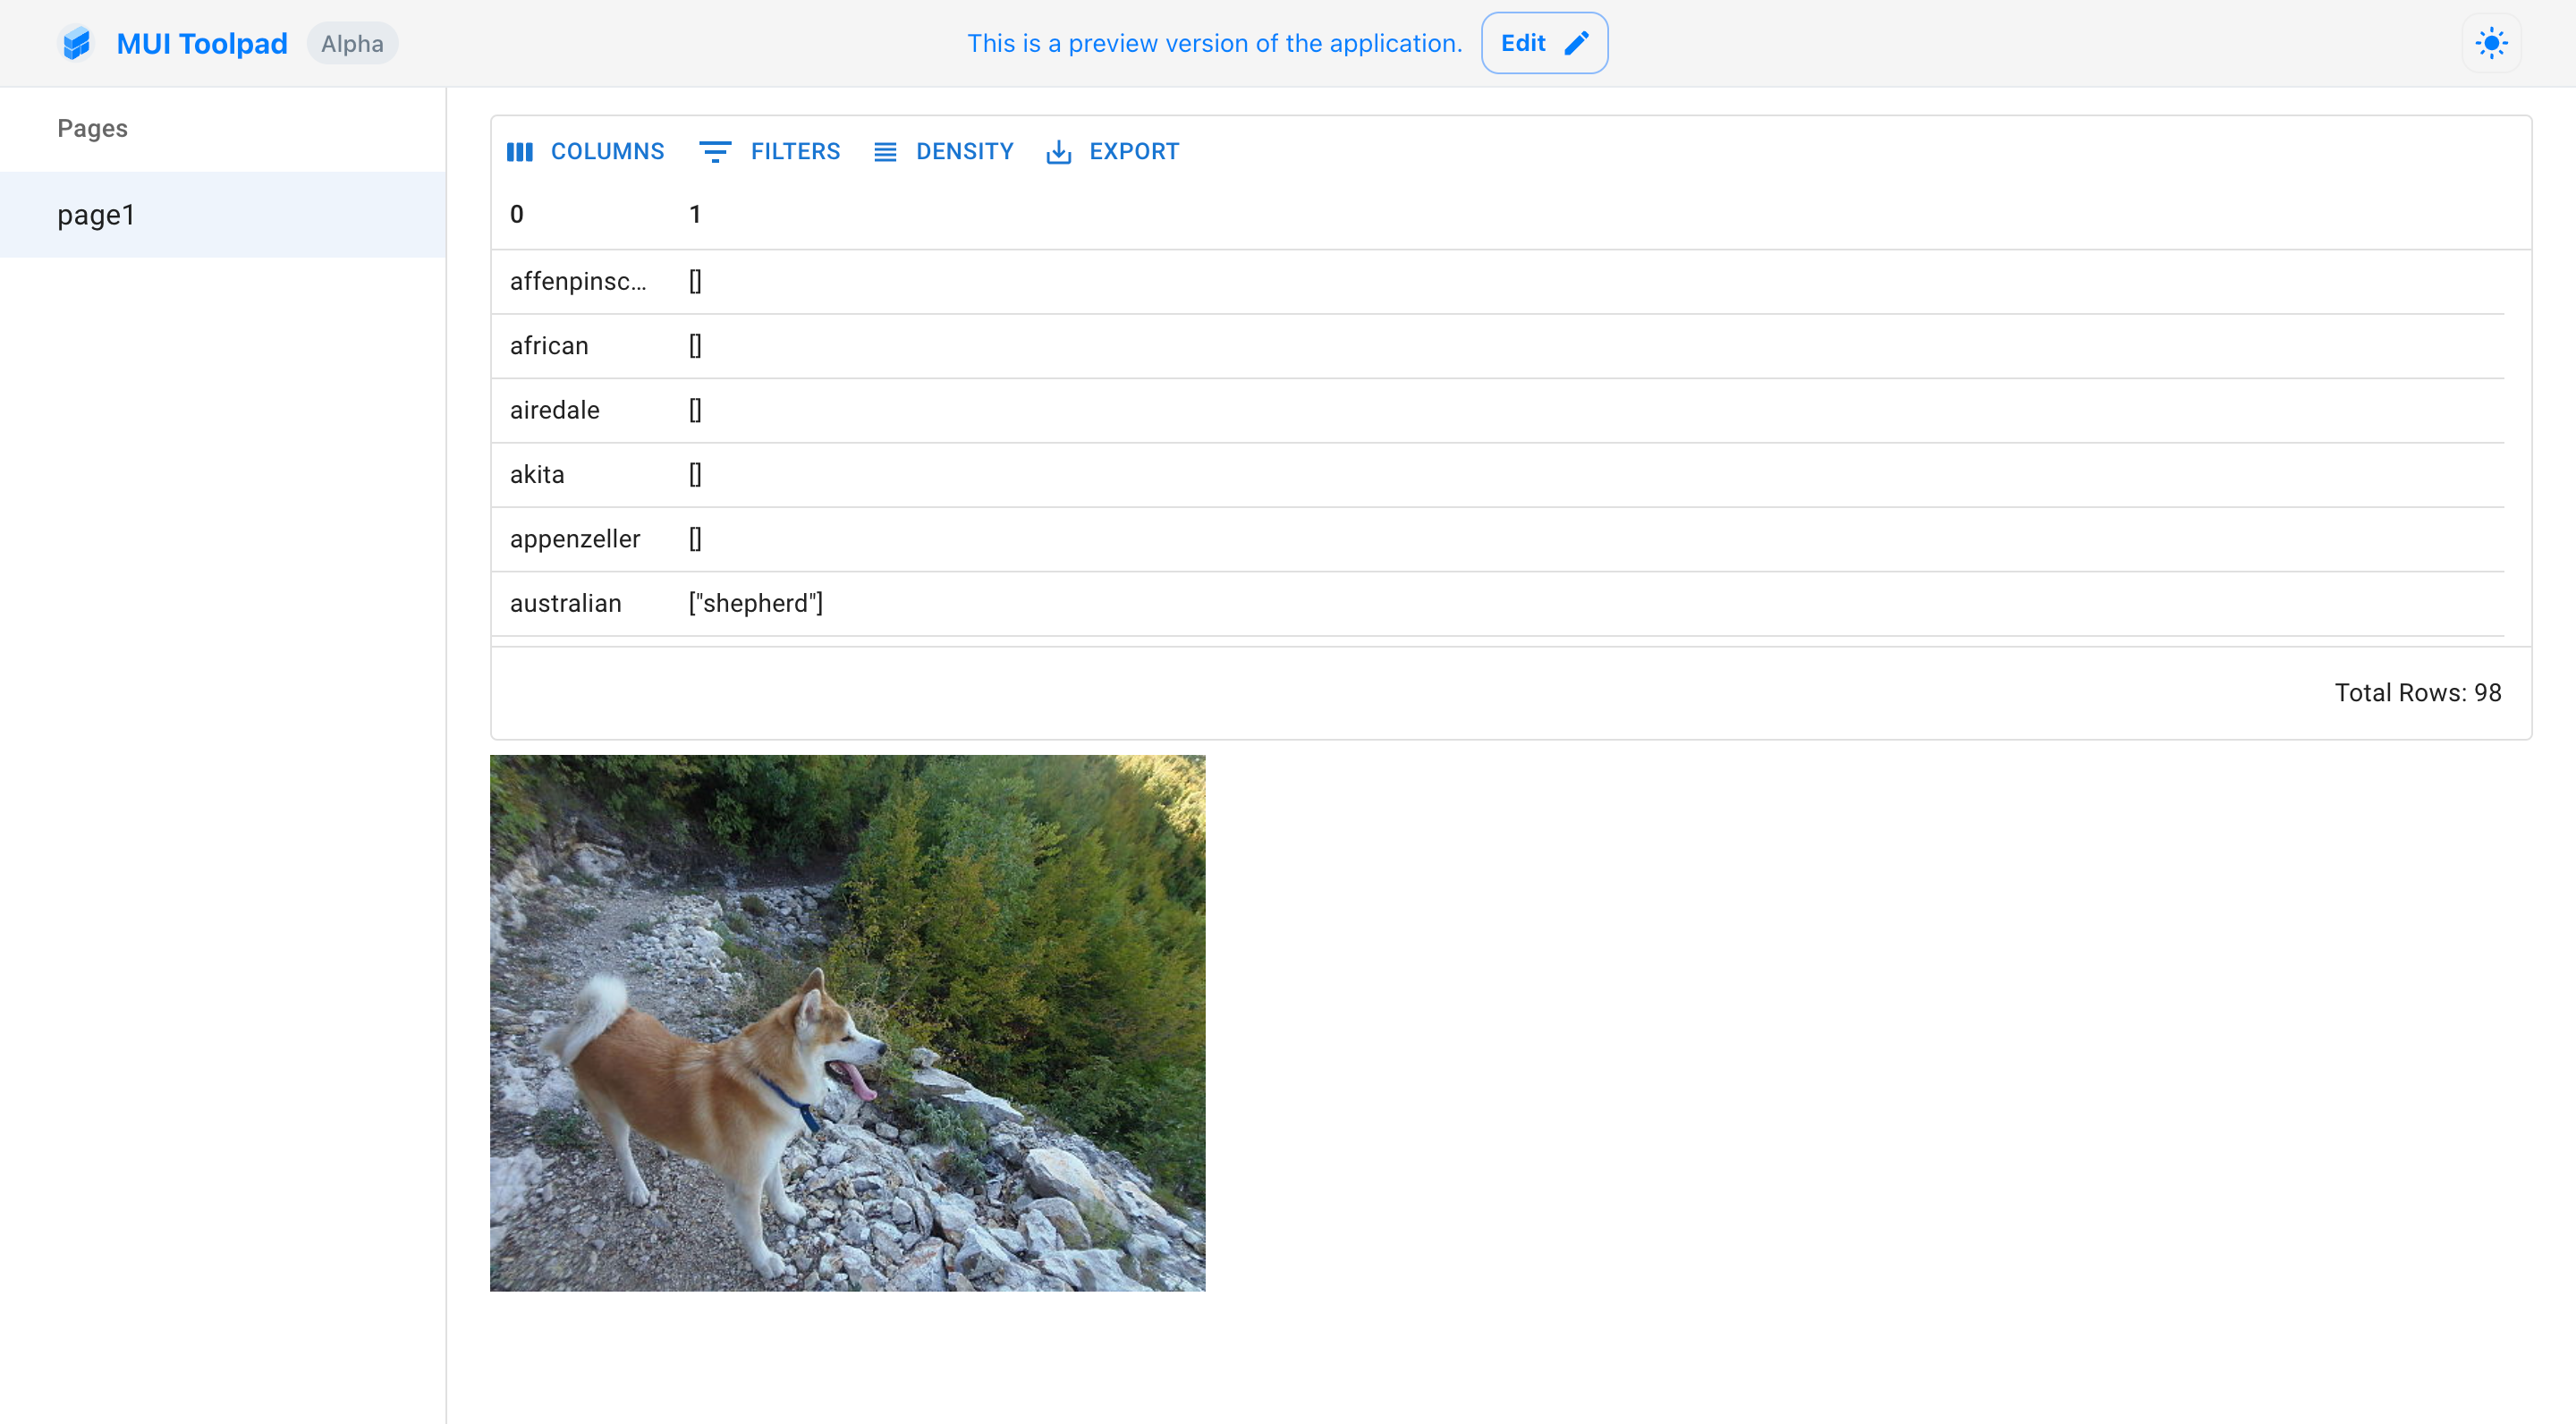
The preview of our application
- That's it! Feel free to browse through the rest of the documentation to know more about what you can do with Toolpad Studio.